Wednesday, May 13, 2015

Happy Wednesday Junkies!  The Crafty Nurse here bringing you a post featuring Technique Junkies May Release.

For today's project I've highlighted "What Cancer Cannot Do #SD607."  The background technique is called, "Stenciled Spray Fun" from the Sensational Stencils CD.  I used Dylusions Ink to get that vibrant pink and purple combination.

I wanted to highlight the stamp so I inlayed the panel using Lawn Fawn's Rectangle dies making one flush panel.  To do this simply cut out a few sizes of the rectangle die and piece them back together like a puzzle. 

I finished off the card with a few flower dies from WPlus9 and added small pearls for the centers.


Thanks for stopping by the Design Team Blog today and look forward to seeing you at the Technique Junkies store for lots more of the May Stamp Release.

By for now,
The Crafty Nurse

Tuesday, May 12, 2015

One Layer Panel Card


Good morning fellow Technique Junkies.  It's Beth Norman here with a tutorial for a one layer panel card that I designed.  It's a good way to use up your favourite stamps.  I am so in love with the Whimsy Branch and use it whenever I can. 

My card measures 5 1/2" x 5 1/2" simply because my Poppy is so large.  This technique works well with an A2 size (4 1/4" x 5 1/2") as well. 

I'd love to see some of your One Panel cards on our Yahoo group.

Stamps Used:

Whimsy Branch SD393
Bee Quotes S402
Poppy SD293


Supplies:  Ink Pads, three (or more) stamps, ink, sponges, sticky Post-it notes


Sponge on your colour.  Use as many ink pads as you desire. 


Sponge colour all over your cardstock and stamp your main image in the center of your cardstock.


Place sticky notes on both sides of your main image.  For my 5 1/2" x 5 1/2" card I left a 1 1/4" (3 cm) border.  Sponge ink along the sticky note.


In the opposite direction, place sticky notes so it leaves a small square, and sponge with ink once again.


Leaving your sticky notes in place, stamp out your images as shown.


Place your sticky notes over top of the sponged colour, leaving the sticky note on the long side in place.  Sponge colour ONLY along the side, and stamp out your image, with the sticky note in place.


Repeat the step above, placing your sticky notes along the edge of the previously inked edge.  Ink your long edge (you will note I forgot to ink before I stamped out my image) then stamp out your image, leaving sticky notes in place.


Take off all the sticky notes, and you will find your card inked as shown.

I hope you liked my technique.  I have done it on glossy cardstock with a Kaleidacolor and brayer on my A2 sized card.

I look forward to seeing your work on our Yahoo group.

Cheers,

Beth


Monday, May 11, 2015

What Cancer Can Not Do


 Hi, It's Gini and I've got another card to share with you today using Technique Junkies stamps.  So many people are effected with cancer, and having an encouraging card to send may be just what they need. I painted Art Anthology Velvet paints on the Wasted Palettini background stamp. After that was dry, I sprayed the Colorations spray over the top.  Then I stamped the What Cancer Can Not Do stamp over the background using VersaMark ink, and heat embossed with black powder.  This was a fun technique to use for this stamp set.

Sunday, May 10, 2015

Proud as a Peacock

Hello!  It's Robin Redd, here!  (a.k.a. Rockin Redd Robin)
I used two stamps from the May Release to make this card.  
I don't know if they were made with each other in mind or not 
but I think they are PERFECT together!
http://techniquejunkies.com/peacock-feathers/ 
The background stamp, S619 Peacock Feathers, was inked up with Kaleidacolor, Blue Breeze.

http://techniquejunkies.com/you-make-me-proud/ 
I used SD612 You Make Me Proud stamp for the focal point.

Get it?  Proud as a peacock?!
Cute, huh!


Thursday, May 7, 2015

Just Chickin' In....

{jane bosi}
Happy Thursday, Junkies!!  I'm chickin' in with this fun and colorful card today :)  The design team has been busy showcasing the May release stamps since our fabulous Hop last week!  Don't forget, you can SAVE on all of the May release images for just a little while longer.....don't wait, go on and get 'em!!

I created my background using an ink dip technique and some Distress Inks (by Ranger).  I wanted a turquoise color in my background---I love turquoise with red and yellow--but, sadly, distress inks don't come in a true turquoise color.....enter, ink dip!  I was able to combine Salty Ocean and Peacock Feathers on my craft sheet along with Barn Door and Mustard Seed....waaaaahhhlaaaa!

And, it was all focused on the fun banner card stock.  I've been hoarding this scrap of red cardstock with flocked polka dots for about 5 years.  It's such a beautiful piece of paper, I couldn't use it on JUST anything.....who feels me?

I love this campy little Chicken image.  I've combined with with the Forever and A Day sentiment to finish things off.  I'm really loving the newly released sentiments.  They are so fresh and unlike anything else I have in my stash.

That's it for today, have a great, inky day and, don't forget to be awesome!
TTFN, Jane

Wednesday, May 6, 2015

May Releases - Palettini NEW Stamp Designs

I’m thrilled to announce ELEVEN new designs in the Palettini line, designed exclusively for Technique Junkies as part of the May 2015 release.
Palettini - Stir the Imagination. Shake up your Style by Sally Lynn MacDonald
Pat Huntoon, owner of Technique Junkies has a few cards on her blog, featuring my designs from this release.
These stamps are so new, I literally picked up my set at her house on the way to the airport so I could work with them this week. But while I make some things to share with you, I’ll be featuring the new stamps each day, during this week on my website.  The first two are:
This background features a bunch of vintage receipts. To make this card, I inked the stamp with several colors of Stazon Midi: Jet Black, Claret and Blue Hawaii. Then I masked off each section of the background with sticky notes and sponged Distress Ink in Scattered Straw, Tea Dye and Victorian pink to seperate each of the images into a collage. The sentiment is from the S546 Things I Want to Do set.
P025 Let’s Face It 6 (don’t giggle, we released this one sooner than 4 & 5, you aren’t missing anything, yet!).
P025-SDX055web
I inked this stamp with Momento Luxe in Toffee Crunch, for the face, and Tuxedo Black, for the hair. I used chalks to color her face and apply makeup. The background was added after stamping, by using the release paper from the stamp as a mask, and placing stencils over the top. I then sprayed Art Anthology Colorations in Patience (pink) and Warm (neutral brown) over the stencils. I picked up the Patience color with a brush and applied it to her lips. I diecut the sentiment with a Spellbinders deckle rectangle and stamped SDX055 Different Flowers in Stazon Midi Ganache color. Finally, I added a jeweled flower to her hair.
Thanks for looking! I'll be adding more cards all week, at http://www.palettini.com.
Sally Lynn MacDonald
Designer, Palettini line of stamps, exclusively designed for Technique Junkies
http://www.SallyLynnMacDonald.com
http://www.facebook.com/sallylynn.macdonald

Tuesday, May 5, 2015

May Releases and Mixed Media Cards

Good Tuesday morning everyone!  Marilyn here and I've got a couple of Mixed Media Cards to use with your Project Life projects (or on their own) to share with you today.


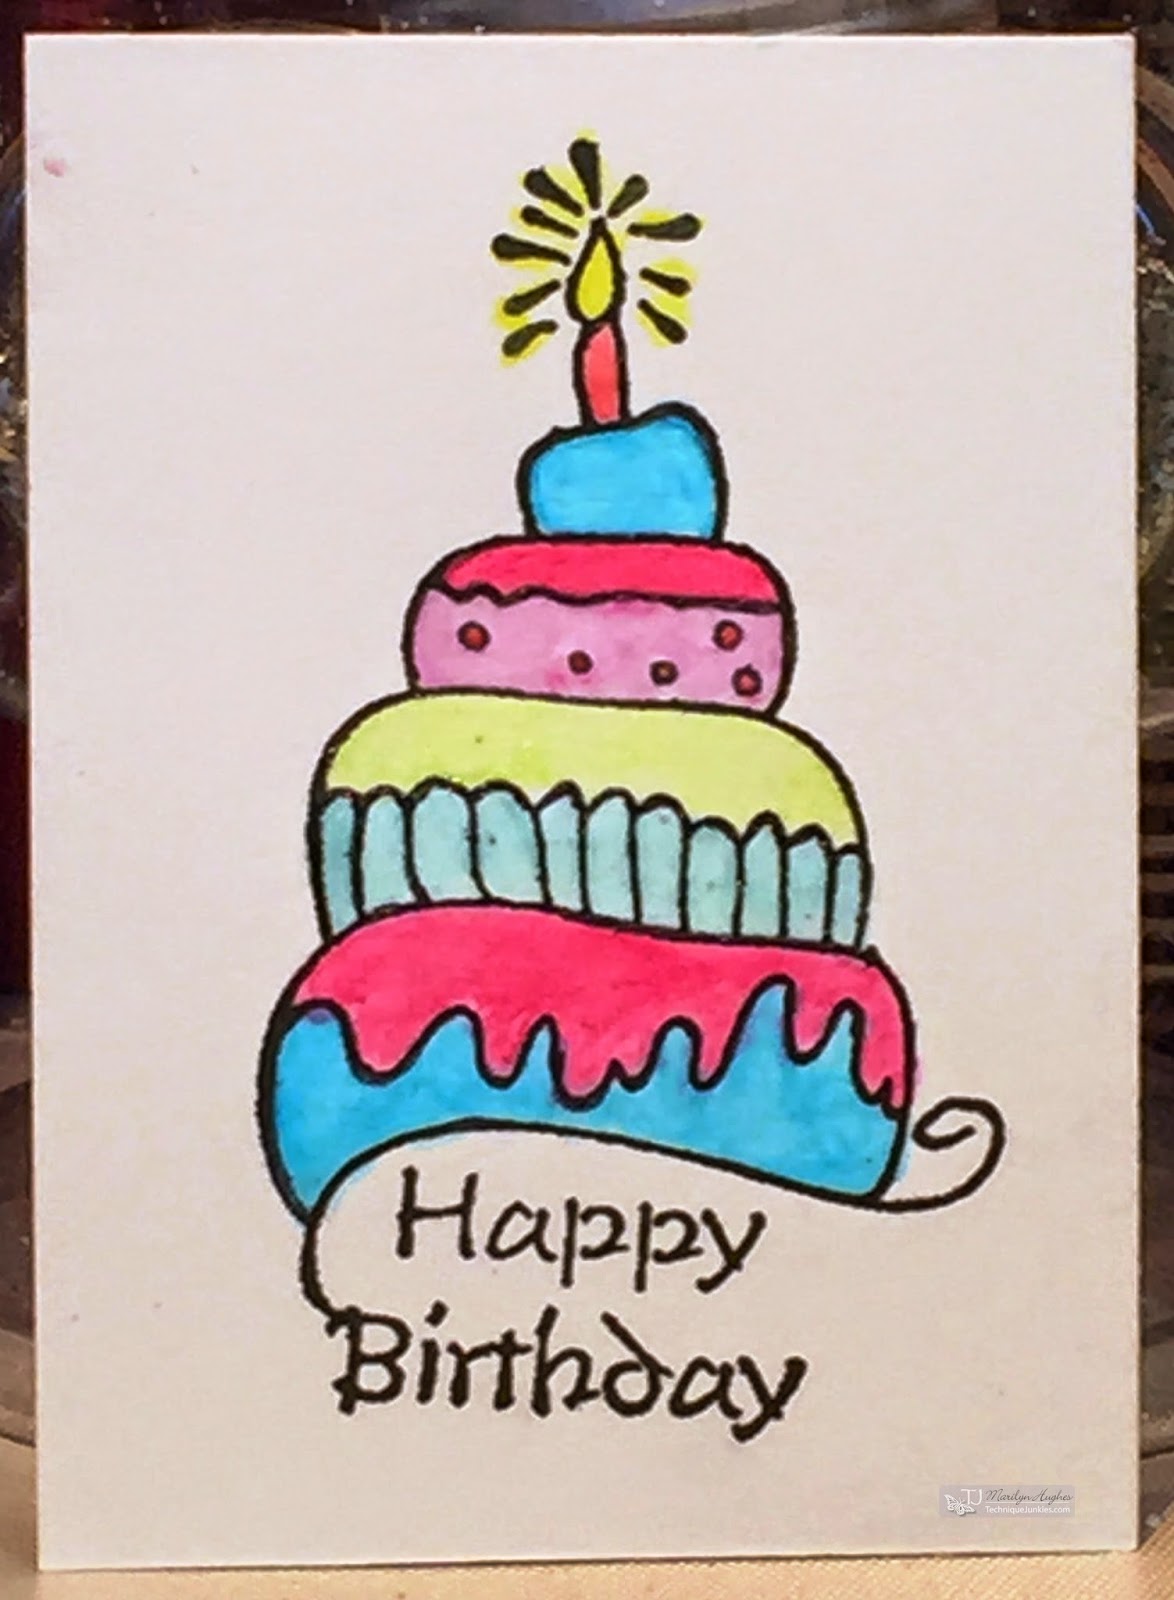
This on was really simple.  I took a 2-3/4 x 4 piece of watercolor paper and stamped the Whimiscal Birthday Cake SD619 using Versafine ink.  I then painted it with Art Anthology Fiesta, Aloha, Orchid, Cotton Candy, and Lemon Tart Velvet and Art Anthology Tink and Pixie Sorbet. Now it's ready to slip into a Project Life sleeve or maybe into a gift if Project Life isn't  your thing.


For this mixed media card, I gesso'd a 2-3/4 x 4 piece of cardboard, then stamped Starfish S629 in Versifine ink.  I colored it with Art Anthology Pixie, Sunshine, Just Peachy, Coral, and Vegas Gold Sorbet.  Next I took a piece of cardstock and sprayed it with Art Anthology Glorious Colorations.  I stamped Let Them Be Little SD603 onto it once it was dry, then cut it out.

I hope you've enjoyed today's projects.  These mixed media cards are perfect for just about any application you can think of.

Until later..............
Smiles~
Marilyn