Friday, October 16, 2015

30 Days of Christmas - Day 2


Welcome to the 30 Days of Christmas!  Every day between yesterday, October 15th, and November 13th, the Technique Junkie Design Team and I will be celebrating all things Christmas!  We have a slew of cards, scrapbook pages and projects to inspire your creativity this holiday season.
The fun happens on the Design Team blog. The artwork for each day will be posted there, or there will be a link to a designer's blog with that day's post. If you don't follow that blog, now is a great time:

Have no fear, though, I will post the links to the week's Christmas inspirational artwork in this email every week this month AND I will have a new project for you here, too!

If you missed Day 1, you can find Jerri's project here:

Now for the best part: 
All Christmas Stamps are 20% off through October 31st!* 
Simply use the word Christmas at checkout to receive your discount.  
*Discount not applicable to wholesale orders.
For today's card, I wanted to create a textural, colorful backdrop for my focal image. It's been a while since I whipped out my embossing folders and much to my delight, I still love them as much as I used to!


I started by embossing, coloring and coloring the Angel of Ascension stamp for the focal image.

To create the textural background, I sprayed plain white cardstock with Timeless, Peacock Feathers, Concord, and Waimea BayColorations Sprays (by Art Anthology).  After spraying randomly, I used a paper twoel to remove the excess spray, heat dryed the paper, then embossed it with an elegant swirl embossing folder.

 
In order to make the texture really pop, I applied white ink to a finger sponge dabber, and rubbed it over the raised areas on the embossed piece. Since I used the embossing folder to dboss te swirls (they are lower than the rest of the card), the swirled areas retain their color while the plain areas are more subtle. 

 
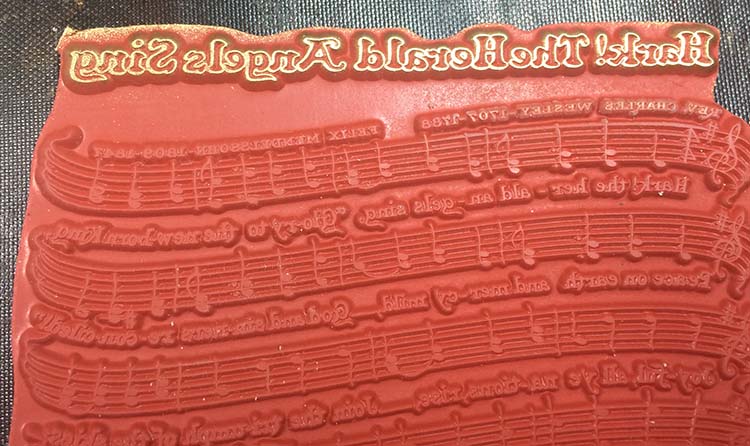
For the sentiment across the top of the card, I thought the title of the Hark the Herald music background was perfect! It is so much fun to use pieces and parts from other stamps in unique ways.
I simply gold embossed the title and colored the letters with a marker.
To make the angel "fly," I used pop dots over the back, making sure to place the pop-dots on the small areas of the angel so that nothing flattened when on the card.


I hope you are a little inkspired by today's card! 
Pat

Thursday, October 15, 2015

30 Days of Christmas!


Happy Thursday Junkies!
Jerri here to kick off Technique Junkies 30 Days of Christmas.  That's right, check in daily at the  Technique Junkies Design Blog  for 30 days of  inspiration, from now through November 12th.


I am in LOVE with the new stamp called Wood.  I used it twice on this card.  First I stamped Wood on a piece of cardstock in green.  Once stamped,  I cut the stamped image into tree shapes.  I used a Sizzix die but of course you could use any die cutting machine. 
 Once I had the tree shapes cut out, I rubbed some brown on the edges to add some interest and give them the rustic feel I was going for.
Using the same Wood stamp,  I stamped the background in brown on a piece of lined cardstock.
I used texture paste along the bottom to create snow. Before the paste dried, I applied some glitter to give the card some sparkle.   
Once the snow was dry, I cut out a border in red polka dot and glued it to the edges of the card.  The trees were then added using pop dots.   
I hope you enjoyed my card.  Have a wonderful rest of your week.

Have a Wonderful Day!
Jerri

Wednesday, October 14, 2015

Bring on the Swag!


Hey Junkies!

The Crafty Nurse here with a technique from the Simple & Easy Inking CD, called "Background Pop."  This technique is great for using background stamps like the new "Pom Pom Swag" released just this month over at the Technique Junkies site.

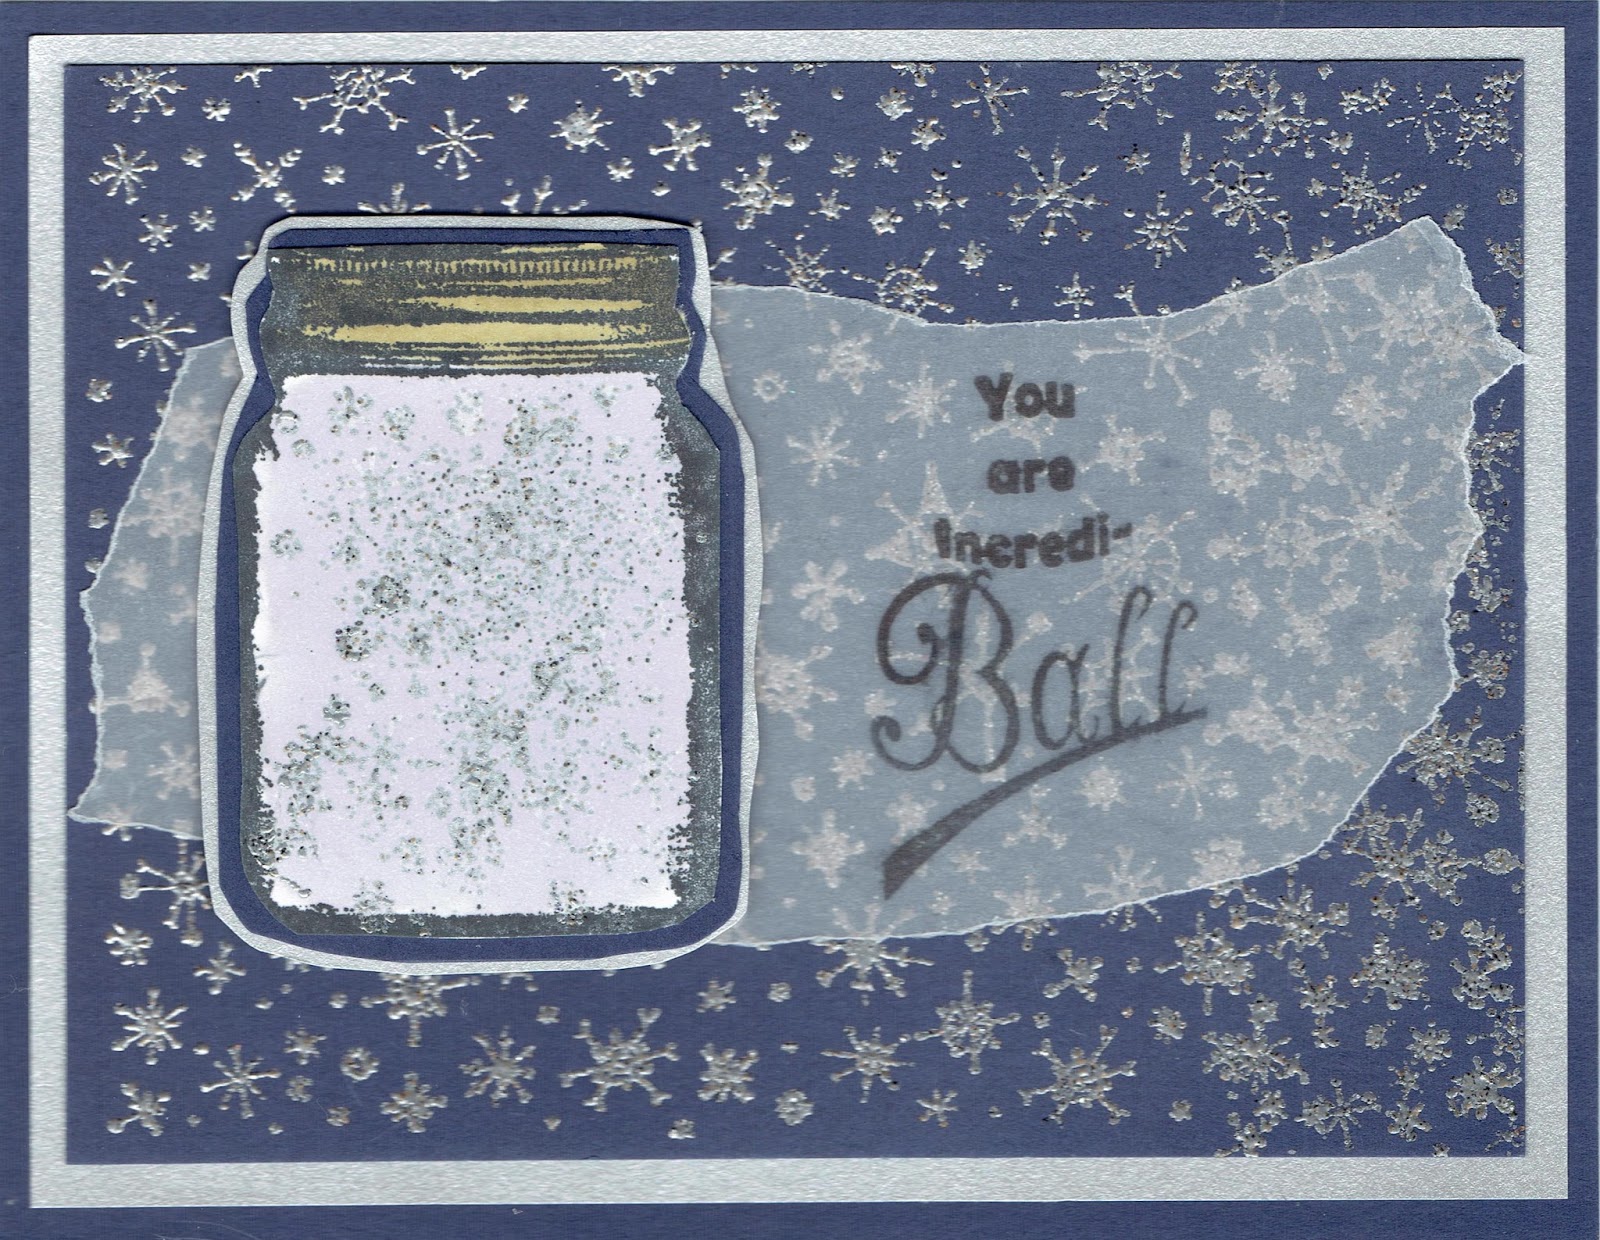
After inking the "Pom Pom Swag" background twice, I stamped the super fun "Incrediball Canning Jar Set of 2" and heat embossed with clear over black Versafine ink.  I kept the card very basic and finished off with some black bakers twine and a few black pearls.


Happy Hump Day!

Tuesday, October 13, 2015

Vintage Botanicals Collage


Hello friends.  Beth Norman here.  I hope my fellow Canadians had a wonderful Thanksgiving.  I had a fun weekend which started out with attending an authentic Octoberfest night on Saturday night then went to a friends house for Thanksgiving with her large family.  I had to work on Thanksgiving Monday, but that was okay because I just finished a week's vacation and was rested and ready to get back into routine.

Adult colouring books are all the rage, but who needs them when you can colour up beautiful Technique Junkies stamps like this one?  I used Vintage Botanicals Collage from the Palettini Collection.  I coloured this image with my Prismacolor pencil crayons and OMS while sitting in front of the TV watching my taped TV shows.

Let's see some of your colouring skills.

Monday, October 12, 2015

There is Always Hope


Hi, It's Gini and I've got a fun, new stamp to share with you today, from Technique Junkies! I used the IncrediBall Canning Jar set and mixed it up with parts of the Vintage Daisy Collage.  I stamped the stems into the jar with green ink and then stamped and colored the flowers, and fussy cut them, and "arranged" them in the vase. the sentiment, Always Hope was stamped onto a die cut, and layered behind the jar.

You Are Incredi-ball!

Hello from Judy Jackson!

There is nothing quite home canned goods in the middle of winter. On my canned goods shelves, I have tomatoes, tomato juice (only a few jars), spaghetti sauce, peaches, bread and butter pickles, dill pickles, Chili sauce for a condiment, and soon I will have apple sauce, and some apple pie filling.  In my freezer I have freezer jam with peach jam, strawberry jam, blackberry jam, and red raspberry jam.

My children and my grandchildren have all caught various bugs over the years in canning jars.  I am showing this kind of activity on this card. I used the Technique Junkie Stamps  jar set http://techniquejunkies.com/incrediball-canning-jar-set-of-2/  and this butterfly stamp http://techniquejunkies.com/butterfly2/.  


Those same children and grandchildren have made fairy dust that sparkles and shines from "glow sticks" broken open into canning jars.


To create this raspberry jam this is what I did.  I stamped the jars on clear acetate with black Stazon ink.  Then i flipped the acetate and colored the inside of the jar with a red Copic marker.  But now I need the "bumps" for jam.  I used the small dots on the Wasted stamp with red Stazon ink and stamped over the Copic ink.  The saying on the front of the card comes from Mae West Sentiment 2 set http://techniquejunkies.com/mae-west-sentiments-2-set-of-5/. 


Do you do any canning in your house to prepare for winter?   Have an inky day!

Saturday, October 10, 2015

Watercolor Thank You

Hello!  It's Robin Redd here, with you, today.

I love using Pinterest for inspiration.  I've heard a lot of people say it's a 'time-sucker' but I actually go back and look at my boards for ideas.  And, I love everything on there because I put them there!
lol

I got the idea for this card from Pinterest.


I used Art Anthology Colorations Sprays to create the watercolor background onto watercolor paper.
It was really quite easy to do.  You can visit my blog for detail instructions on how I made it.


I, also, used the S010 Greetings Set for the sentiment.


I don't know if you've realized this but I use this stamp set A LOT!  It's so versatile.  
You can make a feminine card or a masculine card or a generic card to fit anyone.

Until next time...