Showing posts with label Paper piecing technique. Show all posts

Monday, January 29, 2018

Love You!

Happy Monday! 

I have a super fun card to share today using stamps from the January Release.

Would you like a discount? 
Use code TJ10Jeanne at checkout for 10% off!

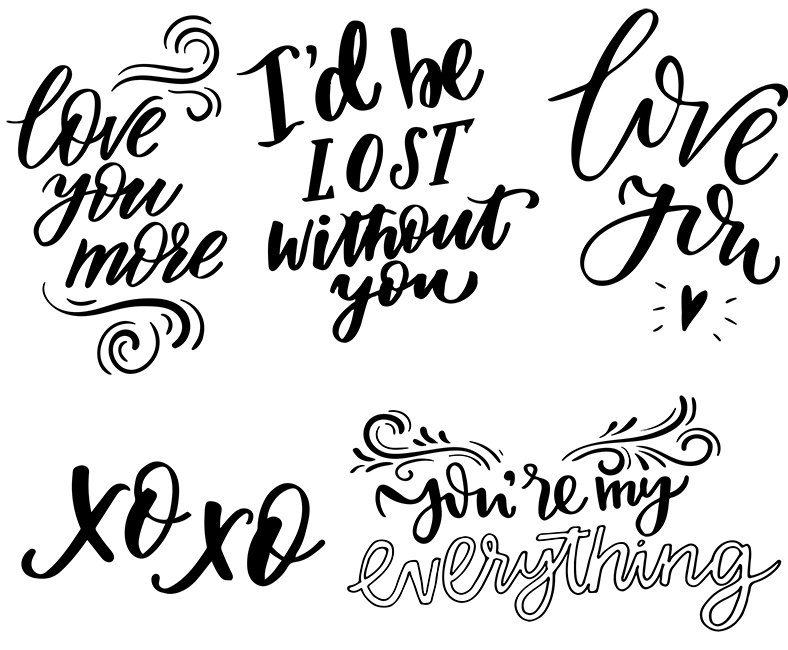
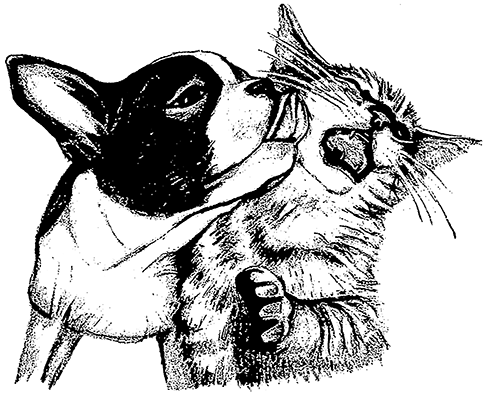
I stamped Love Harlequin background in red ink on my card. I added then added a little white acrylic craft paint (with my finger) to mat the sentiment (let dry completely before stamping). I then positioned the Love You from the Love You More (set of 5) set on my MISTI and stamped it a couple times to get good coverage over the paint. I stamped The Kiss in black ink onto some white cardstock. I colored with watercolors and then cut it out (minus the whiskers). I stamped the image again on my card and lined up my cut out image and layered it on top. 


S782 Love Harlequin

SS079 Love you More, Set of 5

SD813 The Kiss


 10% off !!!
Use code code TJ10Jeanne

Have a great day!!!
Jeanne

Wednesday, August 5, 2015

Let's Face It!

Hey Junkies!

The Crafty Nurse back with you for a little inspiration from Pat's August release. Today, I'm featuring another card I made using the Let's Face It Palletini Collection.  This stamp called to me and I had a blast coloring her.

The background started with Distress Paint in Squeezed Lemonade, Mowed Lawn, Mermaid Lagoon, Picked Raspberry and Spiced Marmalade.  Once that dried I applied black paint through a Heidi Swapp Stencil using the "Stencil Turn" Technique on the Sensational Stencil CD.

For my image I stamped "Let's Face It 5 #P030" on book paper using Adirondack Espresso Ink. Her face is colored with Liquitex Fluid Ink in Burnt Sienna diluted with water, the lips are Twinkling H20's in Hopeful Honeysuckle, and the Eyes are FW Pearlescent Liquid Acrylic in Genesis Green. Okay, Okay - yes, I have a lot of inks.....

For her headpiece, I stamped it on Amy Tangerine's Rise & Shine paper and clear embossed.  I fussy cut the head piece and applied it back onto the image.  Once everything was dry, I applied Tim Holtzs' "Distress Glaze" because all my mediums were water based and I didn't want it to run when I applied the Gel Medium.  I then created some depth using a Pitt Artist Pen in Brown around her head piece.  This is a great way to complete your paper piecing so it doesn't look disconnected or out of place.  To finish, I colored the flowers with more FW Pearlescent Paint in Waterfall Green and called her done!


I'm thrilled you stopped by the Technique Junkies Design Team Blog today and sure hope you've had a chance to check out the new August Stamps at the Technique Junkies store because there is only a few more days left for our August sale!

By for now,

The Crafty Nurse

Friday, February 28, 2014

Holly Brown: Paper Piecing Flower Girl


Hi folks, it's Holly posting today.  One of my favorite TJ techniques is Paper Piecing, and I love using it when I have a cute line art stamped image.  On my card today, I've paper pieced the girl's dress, the flower, and her headband with the same yellow patterned paper that I used at the bottom of the card.  It's a fun way to add a little oomph to a stamped image.

Stamp Credit: Stamping Bella


Friday, November 9, 2012

Holly Brown: Distress Stain Dip Postage


Hi folks!  It's Holly posting today, and I'm sharing this vintage-style Distress Stain Dip card.  I stamped the whole postage stamp onto my Distress Stain Dip panel, and then I cut out the bird collage and paper pieced it onto the same postage image stamped on white cardstock.  This Distress Stain Dip technique is so much fun - you never get the same look twice!  You can find this technique in the latest issue, Oct/Nov 2012.

This stamp is from I Brake for Stamps, one of the Technique Junkies vendors.  Don't forget to use their special coupon code (found in your newsletter) when you order from I Brake for Stamps.  :-)

Saturday, June 16, 2012

Band Aid Box Cupcake Cards-Paper Piecing

Hello TJ Friends! Kathie McGuire here on your stamping Saturday! Today, I'm sharing a gift project I made for a dear friend who has a penchant for cupcakes. The cupcake image is from The Rubber Cafe. I wanted more than a card, so I decided to make a boxed set of cards for her with a cupcake theme. The technique I used is Paper Piecing from the Feb/2003 TJ newsletter. I stamped the upper part of the cupcake image onto pattern paper.The box is called a Band Aid box. I printed a template onto cardstock and cut it out and folded it. Then, I filled it with four 3" X 3" cards. Thanks for stopping by today and HAPPY TECHNIQUING!

Tuesday, February 8, 2011

Try That Technique: Level Up


Hi, it's Beth Norman with this week's Try That Technique challenge. It is so kind of you to take the time to visit. This week Diana Enns challenged me to use the Level Up technique from the August 2010 issue.

If you would like to have a chance at have your Level Up card on the TJ Yahoo home page for a week, simply submit your Level Up card to the TJ Yahoo group. It's that simple.

To see the full Mr. Owl, please visit my blog.


Last week April Puzzuoli created a card using the Designer Tiles technique. Her card was submitted to the Yahoo group and is this week's winner. Congratulations April Puzzuoli, your card is now on the TJ Yahoo group home page.

Stamps: Hero Arts, Odd Bird Planet Sentiment: Computer generated Background: Old dictionary Designer Paper BasicGrey

Have a great day!