Wednesday, November 30, 2016

Welcome to Day 16 of the 30 Days of Christmas!

Welcome back, Inky Friends. It's Ro back to share with you the Technique Junkies Design Team 30 Days of Christmas! Remember, you will receive a 25% discount on all Christmas Stamps until December 15, 2016. The discount will be reflected at check-out.

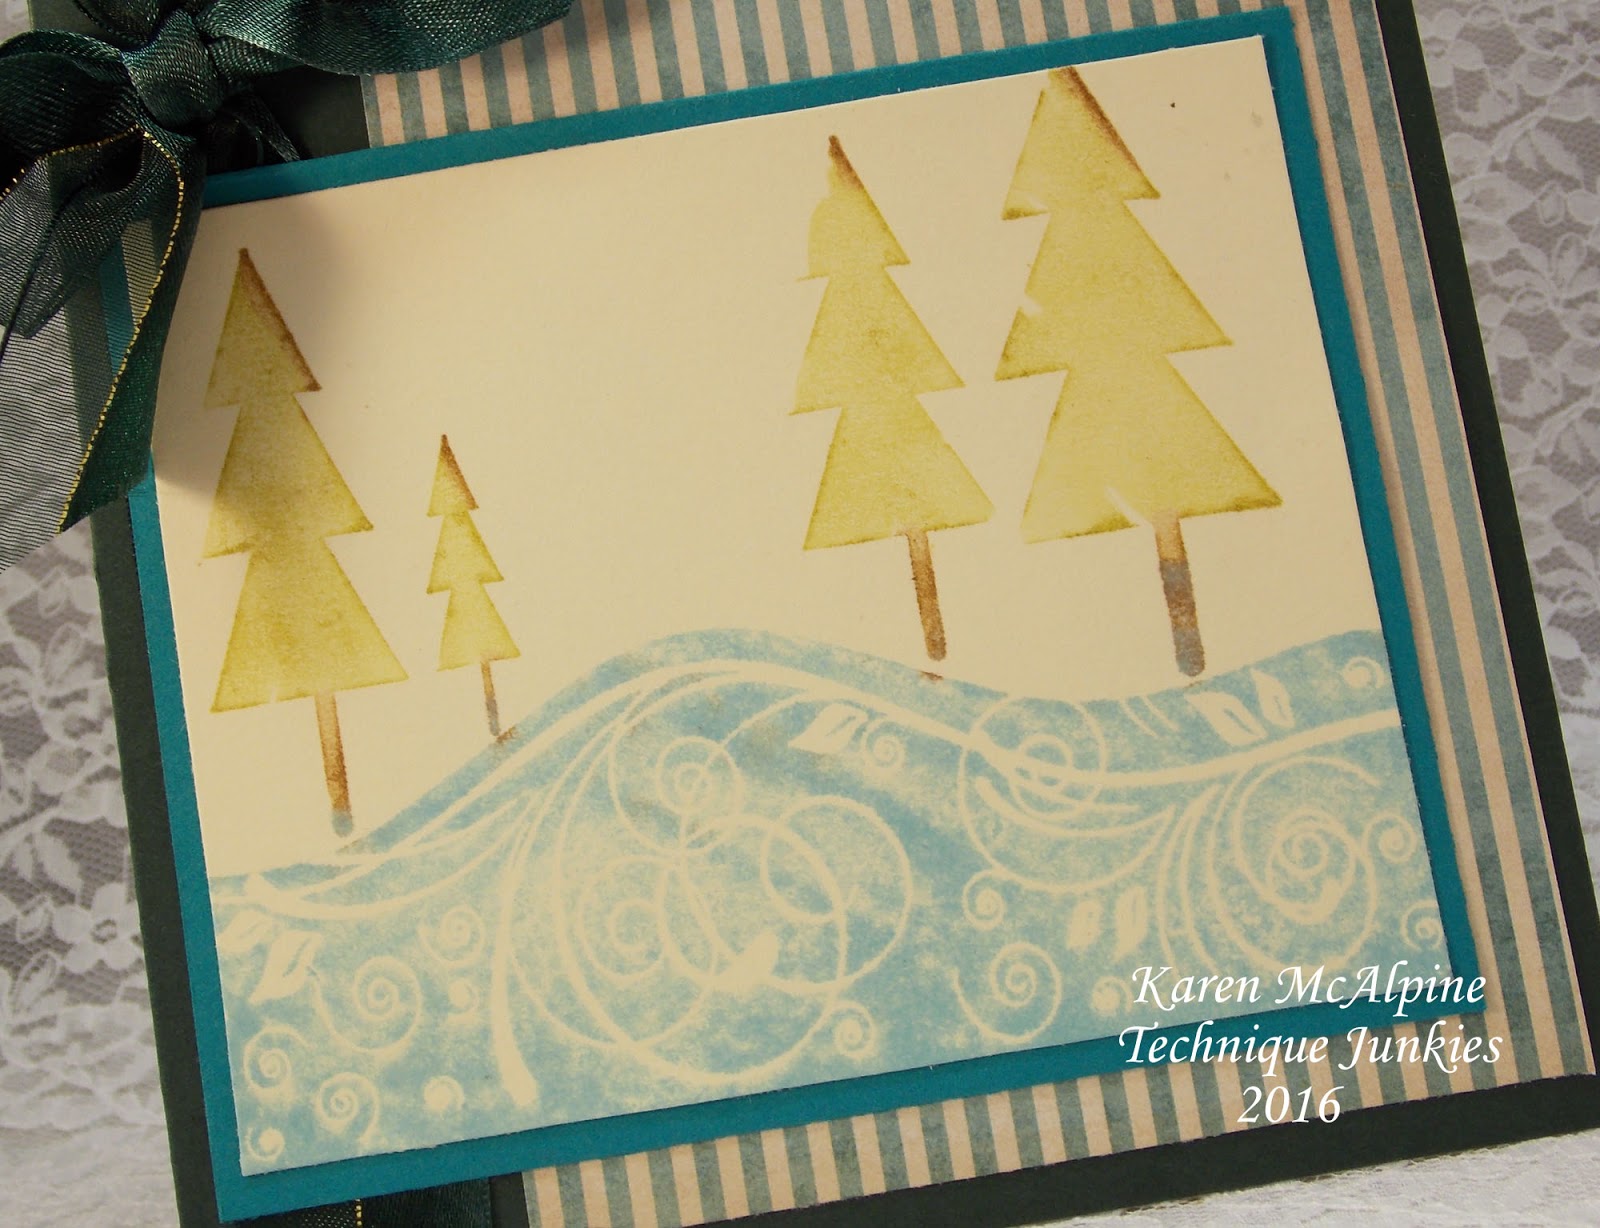
For today's card, I used one of my favorite background stamps along with one of my favorite color combinations.


Supplies:

Build It:
  • On black cardstock, stamp the Pinecone stamp with Versafine Ink. On separate piece of black cardstock, stamp the All Is Calm sentiment with Versafine Ink. Using white embossing powder, heat set both images.
  • Trim down the pinecone background and mount to a piece of red cardstock cut slightly bigger than the pinecone panel.
  • Using an oval die, cut out the sentiment. Then cut out a red piece of cardstock using a scalloped oval die. Attach the two pieces together.
  • Wrap twine three times around matted pinecone panel, staggering where the string overlaps, and secure on the back of the panel.
  • Attach the panel onto card base. Then attach sentiment panel onto front of card.
This card is very quick and easy, yet leaves a very striking impression. Using the MISTI, it would be a cinch to mass produce a card such this.

Come back tomorrow for Day 17!!

Til next time,
Keepin' It Inky!


Tuesday, November 29, 2016

A CHRISTMAS COW JOINS THE 30 DAYS OF CHRISTMAS PARTY

Hello Junkies!!!  It's almost Christmas and I'm here celebrating 30 Days of Christmas with you and my 'bovine' party animal!!!  The celebration goes until December 14.

I used my artistic license to transform the giraffe in this "Safari Santa" stamp 


into a cow!  As a matter of fact, a holstein cow.  I'm sure it was sketched and designed to be a giraffe due to the title, so I hope I don't insult the artist.  I just couldn't help myself.  We live on a farm, and while we don't have livestock (including cows) of our own, each summer my husband's cousin uses our farmland to graze some if his holsteins.  So, I saw a cow in this stamp.  


I used Copic Markers to color this entire image, including the blue sky background.  I don't know if the photo shows the Wink of Stella highlights I put on the hat and furry cuff, but it really gives it a gimmery touch.  After framing it with brushed gold cs using a stitched square frame die, both are from MFT, I mounted that layer on a barn red cs layer I'd embossed to look like a barn.  I then punched out some snowflakes and stars in glitter paper to add as random embellishments.  The sentiment is Merry Christmas 2, which was stamped in VersaMark and then heart embossed with white ep.  

I hope you're finding as much inspiration from the 30 Days of Christmas as I am. And don't miss the 25% off all Christmas Stamps from now until December 14.  

Thanks for stopping by.


Monday, November 28, 2016

Day 14 of 30 Days of Christmas

There is nothing quite like silver and gold that speaks of Christmas to me -- and I suspect to most people.  I chose this lovely card stock color for this card.

Lest you think that Design Team member never mess up on cards -- let me change  your mind!  I "knew" that embossing powder often spread and I knew therefore you can have difficulty getting words to emboss and look good.  That is especially true if the font is small and close together.  I just didn't think that these words were in such a small font, but oh yes they are!  I had stamped them in Versamark and then covered with silver embossing powder.  Oh, it was bad!   I evidently do not have "detail" silver embossing powder!  The words were a total mess.  So I had to start over.

The second time I used Stazon silver metallic ink.  The problem with that ink is that it dries very quickly so you must get the stamp die covered and stamped quickly.  That took me several tries to get a successful image stamped. Then I cleaned it right away with Stazon cleaner.  This ink doesn't come off easily even with Stazon cleaner.  

I am using Technique Junkie Peace on Earth Dove - http://techniquejunkies.com/peace-on-earth-dove/.  Next I reinked with Versamark the area around the dove and the larger block words in the bottom right corner. I covered the ink with detail gold embossing powder and heart embossed.   Then I  "fussy cut" out the dove and used dimensional to pop it up. I did the same the block words at the bottom. 

I layered it on gold and then on the burgundy card stock to complete the card.  

Don't forget all Technique Junkie Christmas stamps are on sale 25% through December 15.

Now to finish the rest of my cards, get presents wrapped and under the tree, and start on Christmas baking!  -- Have a great day and get inky.

Judy Jackson

Sunday, November 27, 2016

Day 13 - Thirty Days of Christmas

Hello Everyone!
Welcome back for day 13 of 


The Thirty Days of Christmas 

event with the Technique Junkies!!  


When: November 15 - December 15

The Design Team will be sharing Christmas/Holiday projects using Technique Junkie Stamps.  All Christmas stamps will be on sale during the event--
25% off!!

Karen McAlpine with you here today to share my day 13 projects!!!  
I used one of the new Christmas Sentiment stamps (which is 25% off) and a non-holiday stamp.  See all The Christmas Sale stamps here.  


It looks like I used two different branch stamps, but I just angled the stamp in the opposite direction for the second card.  Doesn't this Whimsy Branch make a great Holiday card!!??---and just by stamping in red and green.


Materials List:
Stamps: Joyous Noel and Whimsy Branch both from Technique Junkies
Ink: Garden Green Stampin' Up
Red Marker
CS: white, green, and red
DP: MME Found Christmas Pack
Red Narrow ribbon


Make It:

  • Make two card bases from green CS
  • Add a layer of DP to each card
  • On white CS, stamp the Whimsy Branch with Garden Green ink


  • Add a layer of red CS
  • Add to card base
  • Stamp the sentiment with Garden Green ink
  • Layer with green CS and add to card with dimensional adhesive
  • Tie bows in the ribbon and glue to the branch


Such a fun stamp and it really makes a great Holiday image.
Thanks for stopping by today.  Check out all the projects from the Design Junkies!!
See you next time!
Karen McAlpine
Dreaming and Creating

Saturday, November 26, 2016

Day 12 of the 30 Days of Christmas - Hello, Mrs. Santa!


Greetings! Pat here with Day 12 of the 30 Days of Christmas, and I am happy to share my red and white confection with you! Today's card uses the Peppermint Swirl background with the Mrs. Santa's List focal image. I loved making this card!

First, note how perfect the Peppermint Swirl background is - NO INK HOLES. That's because I used the MISTI to stamp the background -- I just stamped over the image several times with the red ink until it was perfect. Have I mentioned that I LOVE my MISTI?

The second reason I love this card is because of it's sparkle. I glittered everything on this card -- from Mrs. S.'s hat, to the embellishments I used. Can't have enough glitter!!

Note that Mrs. Santa has a touch 'o grey in her mane...cause you know she and Santa are a bit up there in age, after all...

Remember that ALL of the Christmas Stamps are 25% through December 15th.  Enjoy your weekend!

Pat

Friday, November 25, 2016

Day 11 0f 30 Days of Christmas - Repeating Trees Background

The 30 Days of Christmas Continues today! Hopefully you've been following along. Today is Day 11...

For 30 days the Technique Junkies Design Team celebrates the holidays by showing you Christmas projects using Technique Junkies stamps every day on the  
 Don't Forget...from today through December 14th, ALL stamps in the Christmas category are 25% off.  Simply place any Christmas stamp in your shopping cart and the 25% discount will be automatically applied to your purchase. No coupon codes required!

Today is Day 11 of the Christmas celebration. I am excited to show you how to use the Christmas Trees set to create a repeat background using the  MISTI. 


To start, I placed the trees directly in the top acrylic portion of the MISTI, rotating the orientation of the trees, and keeping the trees approximately equidistant apart.


The paper was placed below the stamps, the trees were inked, and I stamped the paper. To stamp the top, Just move the paper over and stamp the rest of the paper.


The piece was then used as a background for Father Christmas.


To make additional pieces, simply replace the paper and start again -- again, one of the joys of using the MISTI. This was my second piece:


Simply put, I just sprayed the background with three different Art Anthology Colorations sprays: Avocado, Timeless, and Warm. I allowed them to dry and used the piece as the background.
 

Happy Shopping!
Pat

Thursday, November 24, 2016

Dsy 10 -Thirty Days of Christmas -Whimsical Trees

Hello Everyone!
Karen McAlpine with you today and it's time for  a bit more Christmas inspiration!!  Are you making any holiday cards this year??  I have made all my cards --finally I got a bit ahead--amazing!!  LOL
The Design Junkies have lots of ideas for holiday cards and to get you in the mood for the season,
The Technique Junkies will be celebrating the Holidays with ............


The Thirty Days of Christmas

When: November 15 - December 15

The Design Team will be sharing Christmas/Holiday projects using Technique Junkie Stamps.  All Christmas stamps will be on sale during the event--
25% off!!
On my day 10 project, I used two TJ stamps (which are both 25% off).  See all The Christmas Sale stamps here


Materials List:
Stamps: Whimsical Winter and All is Calm (sentiment)  both from Technique Junkies
Ink: Black dye
Markers
CS: cream, turquoise, dark green
DP: Authentique Tradition Stack
Green ribbon


Make It:
  • Make a card base from dark green CS
  • Add a layer of DP
  • Tie the ribbon around card
  • Ink the stamp with Markers and stamped on cream CS
  • Add a layer of turquoise CS and add to card
  • Stamp sentiment with black ink


More ways to use the Whimsical Winter stamp:


Hope you got your inspiration fix!!  Check out all the Holiday projects on the Design Junkie blog.  

Thanks for stopping by.  

Happy Thanksgiving!!!

Karen McAlpine
Dreaming and Creating

Wednesday, November 23, 2016

Holiday ATC - Day 9 of 30 Days Of Christmas

Hello Junkies!!

Are you totally enjoying the 30 days of Christmas here at The Technique Junkies Design Team Blog? I know I sure am.

Today, I've got a sweet little ATC card to share with you today that I created using a piece of sticky back canvas that I stenciled with embossing paste using a Tim Holtz holiday stencil.  Once that was dry, I sprayed with Art Anthology Coloration Spray in Avocado and Leaf.  The red ATC base is created using the Red Pepper Color Wash spray with a small spritz of Dylusions White Linen.  To add a little old school feel I broke out the oldie but goodie brads.  My sentiment is from the October Release called, "All is Calm #SDX079" and stamped on black card stock also spritzed with Dylusions White Linen to mimic snow.  Finally, to add some flare, I edged my sentiment with Gold Kylon.


Stop by every day through December 15th to enjoy the Design Teams 30 Days of Christmas here at Technique Junkies.

We'd love to see some of your creations so keep posting them at in the Technique Junkies Yahoo Group!

Happy Inking!!

Tuesday, November 22, 2016

All is Calm, All is Bright-30 Days of Christmas, Day 8


Hello, Beth Norman here with a very fun card. Today is Day 8 of the 30 days of Christmas and I am thrilled to show you what I did! Even I get intimidated when I have something in mind and wonder if it is going to turn out.  I held my breath from the beginning to the end, hoping it would turn out, and it did.

I started by pulling out my background stamp called Pinecones, then using a sponge dauber on the pine needles with SU's Old Olive and the pinecones with Walnut Stain using Distress Stain.  Next, while holding my breath, I lightly spritzed water over the entire background stamp very lightly, and quickly stamped my stamp onto ivory coloured cardstock.

After allowing the background to fully dry, I covered the entire surface with VersaMark and sprinkled Tsukinek #06 Sparkle over top and then heat embossed.

My last step was to stamp out All is Calm onto ivory cardstock and die cut it with an oval scallop die. I then distressed the sentiment with Old Olive.

You can see the shine below.


Please don't forget to come back tomorrow for more of the 30 Days of Christmas.


Monday, November 21, 2016

Day 7 of the 30 Days of Christmas: Merry Christmas Holly


Today is Day 7 of the 30 Days of Christmas, and I am pleased to share one of the Christmas cards that I am making for my friends and family. Note that i said "one of" my cards -- that's because I usually make 10 - 15 each of 5 or 6 designs -- I just would get horribly bored making 100 of any one thing!

I also love red and green on Kraft paper. I find the combination lovely. The card above uses the Vintage Botanical Holly stamp for the background, with the Merry Christmas stamp as the focal image. The stamp was colored with red and green glitter pens, and highlighted with Red Dimensional Pearls. I regret not using my Red Berry Nuvo drops for the berries -- I am very disappointed the red dimensional pearls flattened out on this sample. The cards I am sending to my family and friends will  use the Nuvo drops, and will have perfectly domed berries.

In any case, here is a close-up of the glittered coloring:


Remember, all of the Christmas stamps are 25% off through December 14th. Simply add them to your cart and the discount will be applied at checkout.

Until next time:
Pat

Sunday, November 20, 2016

30 Days of Christmas, Day 6: Mistletoe

Who doesn't love Mistletoe? Personally, I think it is one of the more charming aspects of the season. A little romance during the holidays is always lovely!

Today's card, for the 6th Day of the 30 Days of Christmas, uses the Mistletoe stamp as the focal image. The Big Flourish image was stamped over tone-on-tone patterned paper to add an elegant touch. 

If you missed it, all of the Technique Junkies Christmas stamps - both new and old stamps - are 25% off now through December 14th - simply add any stamp from the Christmas stamp category and your discount will be applied automatically at the end of the transaction. Don't miss out!

Until next time!
Pat

Saturday, November 19, 2016

Day five is full of JOY!

Hello All Lanette Here!

Welcome to day five of our thirty days of Christmas! I hope that we are helping you find your holiday cheer!

To day I wanted to share a quick card that I created using one of our fabulous Christmas stamps.


Here is a closer look at the stamp I used today...


Thank you so much for stopping by today! 
I hope that I have inspired you in some way!

Friday, November 18, 2016

Day 4 of the 30 Days of Christmas -- with a discount, too!

The 30 Days of Christmas are here!

For the next 30 days, the Technique Junkies Design Team is celebrating the holidays by showing you Christmas projects using Technique Junkies stamps every day on the  
Design Team Blog.

And...from today through December 14th, ALL stamps in the Christmas category are 25% off.  Simply place any Christmas stamp in your shopping cart and the 25% discount will be automatically appied to your purchase. No coupon codes required!

Today is actually Day 4 of the Christmas celebration. I am excited to show you a fun way to get more out of one of the new Technique Junkies Christmas stamps. For the tutorial today, we are using the Calm and Bright stamp to create several VERY different cards.

First, the stamp is great all on its own, just with plain gold embossing:
 
One of the things I love about the Calm and Bright stamp is it's versatility. While the stamp is pretty all on its own -- like the way it is done above, in embossed gold, it is also great with a DIFFERENT center focal image. 

For comparison purposes, I stamped and gold embossed the image three times.
The center area measures 2c3/8" x 3 3/8". I simply created two different focal images that were matted slightly larger than the center part of the image:


Then the focal images were adhered to the center -- allowing the snowflakes to border the center area, totally transforming the background stamp.

The first look uses the Red or White Christmas stamp:

And the second uses the Ho Ho Ho Dog stamp:


Doesn't it really transform the stamp to use it just as a border? I love the versatility here!

Make sure to take advantage of the 25% discount -- and check back every day for a new Christmas Project!

Warmest regards --
Pat

Thursday, November 17, 2016

Day 3 of the 30 Days of Christmas

Hello Junkies! Pam here today to celebrate Day 3 of the 30 Days of Christmas and all things Technique Junkies!
The holidays are fast approaching so we want to share some inspiration for your holiday cards.

For my project today I used two of the Holiday/winter themed stamps:
Both stamps were stamped in Versamark ink, covered in white embossing powder and heat set. The night sky was created with Distress ink blending and a few splotches of white acrylic paint for the stars.

Thanks for joining me today and be sure to check back daily so not to miss the entire 30 day of Christmas celebration with TJ.
Embrace Imperfection!
Pam

Wednesday, November 16, 2016

Day 2 of the 30 Days of Christmas

Planner Clips Using Technique Junkies Stamps

Hey, Inky Friends! Ro, here, with a special project just for you. 

I jumped on the Planner Bandwagon some time ago. I love keeping track of all my "stuff" in there. So I thought for the holidays, I would make some cute planner clips using the Technique Junkies Christmas Stamps currently featured.  


I created a set of three clips using the Christmas Trees set of 6 stamps (SS045). I even created a little video for you to show you how simple they are to make using Shrinky Dinks. It's my first instructional video, so be gentle...lol.


Basically, you sand the shrinky dink medium, then stamp with a permanent ink, shrink and mount to a paper clip. And with this set of stamps you get six individual trees in all different styles. So much fun!

Hope you are inspired to give it a try! And remember to come back tomorrow for Day 3 of the 30 Days of Christmas!

Til next time,
Keepin' It Inky!


Monday, November 14, 2016

Winter Wonderland


This is not necessarily a Christmas card, but it sure could be.  It involved some creative stamping but it was not hard to do. I had this vision in my mind of snow covered trees in the forest.

I first stamped the trees (Technique Junkie Stamps Hillside Pines - http://techniquejunkies.com/hillside-pines/)  with a nice dark green ink.  I stamped them in layers - one on top of the others.  I then cleaned my stamp very well.  I used a heat tool to dry the green ink.  Then I used my embossing buddy over the entire sheet of card stock so I wouldn't get embossing powder where I didn't want it. I inked my tree stamp lightly with Versamark ink.  I didn't want to get a solid image. I did not use my MISTI because I didn't want to have the Versamark exactly where my green trees were stamped.  Then I covered the Versamark with white embossing powder and heat set.  I repeated this process over both the tall and short trees.

Then I used  my handmade and home drawn could stencil.  Sponging different colors over the different sections of the stencil gives a unique look and no sky will ever look exactly the same.

Then I used the Winter Wonderland stamp from the Technique Junkies Winter Wonderland Sayings set - http://techniquejunkies.com/winter-wonderland-sayings-set-of-3/.

Several layers and ruffled ribbon finish the card.  Enjoy your winter.

Have a great day -- and get inky!

Judy Jackson

Thursday, November 10, 2016

Fall Colors and Trees

Hello Junkies!
Karen McAlpine with you today!!  I live in Michigan, USA.  And we are really enjoying Fall weather.  The leaves are turned and falling--now I have to rake--again!  Oh well, the trees are so pretty.  And, with all the beautiful colors outside, I just had to use those same colors on my projects.  I made two Fall cards using stamps from the Technique Junkies November New Release .


Materials List:
Stamps: Creaking Trees and Glowing Branches both from Technique Junkies
Ink: Archival Black and Sepia
CS: Kraft, black, and orange
Tulle 
Ribbon


Make It:

  • Make a card base from kraft CS
  • On orange CS stamp the branches of the Glowing Branches stamp with Sepia ink; set aside
  • On kraft CS, stamp Creaking Trees with black ink; add a layer of black CS


  •  Add stamped trees piece to orange background
  • Wrap tulle around this unit; tie in a knot and then add to card base
  • Tie ribbon around tulle


*******************


On the second card, a dry embossed background was used.  Distress the dry embossing with Vintage Photo Distress ink.
Add ribbon in a criss-cross pattern.  


I just love this stamp.  I would use this for Thanksgiving too.
So glad you stopped by today.   There are lots of fun Fall and Winter projects coming up over the next two months.  Technique Junkies is having a Thirty Days of Christmas Event starting Nov 15.  The design team will be showcasing Christmas stamps--with a discount on those stamps during the entire event!!!
 So, I will see you next time!!
Karen McAlpine
Dreaming and Creating