Showing posts with label Tags. Show all posts

Thursday, October 21, 2021

Christmas Tag Card Idea


Mass-produce holiday cards easily by creating large "gift tags" to use as card panels! 


I used the "Retro Ornaments" background stamp for this project. This background stamp is part of the October 2021 NEW STAMP RELEASE, but any background stamp would work great!


Create tags easily by trimming out the background-stamped area to about 4" x 3" (or whatever size you like). Then, LIGHTLY FOLD the rectangle in half (but be careful not to crease). While holding the folded paper, cut the corners off of one edge and unfold. Magic! Keep the cut corners and use on other projects!


Ink the edges of the tags, and add embellishments and sentiments of your choice. For this project, I used the "Snowflakes Set of 9" and a little ribbon and patterned paper from my craft stash.


I also used some snips of green scrap glitter paper instead of ribbon at the top of the tag. And I used one sequin instead of a brad... just because. 😊

REMEMBER you can save 10% on your next order at techniquejunkies.com with coupon code TJ10ERIN 


Here's a look at the finished card:


Thank you for looking! 


Saturday, March 11, 2017

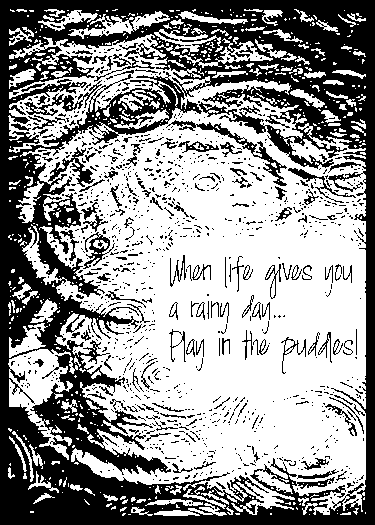
Play in the Puddles!

Hello All Lanette Here!

I just wanted to share a fun mixed media tag that I created using one of this months new releases. 


Products Used: Technique Junkies stamp Play in the Puddles & Crosshatch, Archival Ink, Watercolor Tag, Twinkling H2O's, Art Anthology Sorbet & Stencil, Distress Ink, UmWow Chipboard,  Misc. Sequins, Tread, Buttons  Ribbon.

Now lets take a look at how my tag came together...


I started by stamping my image on my watercolor tag and twice on a sheet of white cardstock using Archival Ink.


Next I stared building my background by spraying my tag with water and adding a mix Twinkling H2O watercolors.


Then I added a bit of texture with a bit of Art Anthology Sorbet through an Art Anthology stencil. 


Next I added a bit of my faviorte background stamp (Crosshatch) using a bit of Distress Ink.


I embossed my chipboard using a bit of White embossing powder and a Versa Mark Ink Pad.


After building my cluster I added a few finishing splatters :)


A few details just for fun..


Here is a better look at the stamps I used today...


Thank you so much for stopping by today! 
I hope that I have inspired you in some way!


Saturday, October 2, 2010

Sanded C'Ordinations


Hi Friends! Kathie McGuire here on the first stamping Saturday of the month!!! Are you stamping today? If not, I hope my little book project will inspire you to get out your sanding blocks and join me.

You're seeing the front cover of a mini-book project. To add interest, I used the Sanded C'Ordinations technique from the 4/10 TJ Newsletter on the die cut flowers. It's such a great way to add another dimension to an otherwise single color die cut! And it's fast and easy too!

This book has lots of little pages which hold tags. You can see some of the tags peeking out above the top edge of the book along with the many fibers that I added.

I hope you'll try Sanded C'Ordinations soon and thanks for stopping by today!