Monday, June 11, 2012

Circle Color Collage by Judy Jackson

This is Judy Jackson hoping your June day is glorious!  Plenty of sunshine and warm breezes wherever you are!

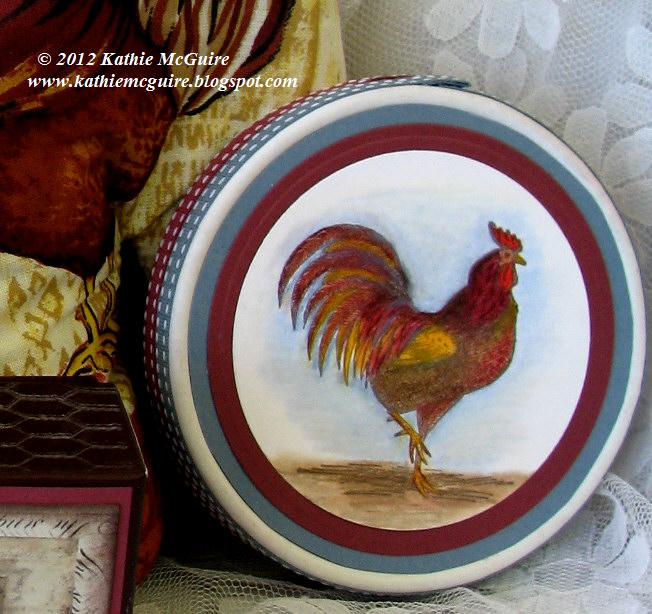
Have you ever had a large stamp and you loved the image but you felt the details were too tiny to color effectively?  And yet you wanted to add color to the image and not a tone on tone on solid card stock?  This is a wonderful technique to do just that!  Add your embellishments, and a greeting of some kind, and you are done!  Have you tried this technique from the June/July newsletter?  If not -- then why not?

Stamp credits belong to Stampin' Up.  I hope you have some fun stamping today!

Judy Jackson

Sunday, June 10, 2012

Sanded Bee

Ann Clack here with a cute little bee card that I created for an upcoming Copic Class I'm teaching in Springfield, Oregon! 

Sometimes scanners really frustrate me!  The bee's wings have all kinds of subtle colors in them (blues, purples, pink) and none of it showed up!  The background paper is a Technique Junkie technique called sanded coordinations.  I thought the flower embossing folder was perfect for the little bee!  The bee stamp is from a company called Peddler's Pack.  Hope you enjoy!

Friday, June 8, 2012

Holly Brown: Wisped Frames Sympathy card


It's never easy to make sympathy cards, so I wanted to use soft colors instead of somber black and white colors.  I wanted to create a soft, gentle, soothing card that will be welcomed by someone who needs comforting.

I've used several products from Classy Cards 'n Such, one of our TJ newsletter vendors.  If you are a subscriber, check your latest newsletter for a coupon code so you can save 10% off your order.  :-)

I started by stamping the sentiment (JustRite stamps from Classy Cards 'n Such) with kraft ink onto vanilla cardstock, then I cut it out with an oval die and used the Wisped Frames technique (from Technique Junkies).  The scalloped kraft layer was cut out with a Classic Scallop Oval Large die.  I adhered the sentiment to the scalloped kraft layer and set this aside.

I cut a long piece of Chalk White seam binding and pressed it into my kraft inkpad until it was mostly covered with ink.  I needed to soften the color a bit, so I crumpled up the seam binding in my hand and misted it with water.  I set this aside to dry and continued working on my card.

The kraft card base is 5.5" x 4.25" and I cut some designer paper to 5.25" x 4" and adhered that to the card base.  I used a Labels 21 die to cut the soft blue polka dot piece and adhered that to the card.  I tied the dried colored seam binding around the card and fashioned a shabby bow on the right side.  Lastly, I adhered the sentiment with some foam tape to the center of the card.

Thank you for looking at my artwork today.  I hope you have a wonderful day!


Thursday, June 7, 2012

Try That Technique Challenge

{Jane Bosi}

Welcome Friends....to the June edition of the Technique Junkie Newsletter AND a new Try That Technique Challenge!  This time around, we are using a technique from our brand new issue-- June 2012.  The technique is called Acrylic Block Taping.  Such a simple technique, but OH, so brilliant!!  I love the effect and the variety that this technique provides. 

This cute little Raggedy Ann image is from one of our new TJ Vendors, Impression Obsession.  I've adored the Raggedies since I was a child--clearly it was not an image I could reisit.  Check out the Impression Obsession store.....lots of goodies!  Make sure to tell them the TJNL sent you!

TTFN, Jane

Cut Out Borders


I have been sitting on this card for over 3 weeks waiting for my time to post. It was so much fun to do and is from the June/July newsletter. I used a variety of stamps from All Night Media, Club Stamp, and Hero Arts. I added the magic mesh to give it a more of a nautical feel.I hope you like it.

Thanks for stopping by to look and share!

Jackie K

Monday, June 4, 2012

Dotty Edges

Hello Junkies, Chrissy D here! On today's card I used the June/ July 2012 Technique Junkie Newsletter and the Dotty Edges technique! Fast and easy and what a WONDERFUL way to high light your edges and create a frame with out adding a bunch of layers and weight to your projects. 

All stamps are available at Mark's Finest Papers. I hope you enjoyed my project! Thank you for stopping by! Have a great day!

Chrissy D

Friday, June 1, 2012

Pencil Over Marker 2/05

Hello Stamping and Paper Crafting Friends~ Kathie McGuire here. Thanks for stopping by today to take a look at one of my recycling projects. For this box, I used an empty container from the Laughing Cow Cheese Wheels. I used a few Spellbinders dies for the circles, minus the first layer (I didn't have a punch or die that was the right size). I hand cut the first layer by drawing around a coffee mug and then cut the cardstock with scissors. Not the ideal method, but sometimes we have to just do the best with what we've got, right? The image layer was made by stamping the rooster image (Stampin' Up! from ages ago) in black ink and then I colored with makers and colored pencils and Gamsol using the "Pencil Over Marker" technique from the 2/05 Technique Junkies Newsletter. I used some red line tape around the top and bottom of the container's sides and added some Stampin' Up! ribbon. This box ended up being the ideal container for two necklaces I made and gave to a friend for her birthday. Thanks for stopping by today and I hope you have a lovely weekend. Kathie