Hello fellow stampers. It's Beth Norman with a Reverse Embossing tutorial for you today. I used the elegant Peeking stamp and Believe in Yourself.
We now have a deal for you. Simply use TJ10Beth to get 10% off your stamp order.
Supplies: Oversized cardstock, 4 x 5 1/4 cardstock, two colours of ink, sponges, die
With your die, cut out your shape on your oversized cardstock, leaving a lot of room to sponge without getting colour on the edges of the template.
Lay your smaller sized cardstock under your cardstock that has been cut out with your embossing machine.
Sponge in your lightest colour and cover the entire open area. Here I used SU Flirty Flamingo.
Next, sponge in a darker colour, keeping it close to the outside of your circle, or whatever shape you use. Here I used SU Sweet Sugarplum.
Finished sponged work.
I love my Misti. It allows for fabulous placement. Finish your image as desired.
Tuesday, March 28, 2017
How to Do Reverse Embossing
Labels:
Beth Norman,
Reverse Embossing,
Technique Junkies
Saturday, March 25, 2017
Spring time Daisies!
Hello All Lanette Here :)
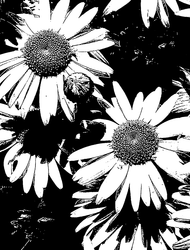
Since spring has finally arrived I thought I would share a fun mixed media layout that I created using one of this months fabulous new releases.. This release is packed full of Spring time fun but today Spring Daisies was the stamp for me. So without further ado lets take a look at my layout.
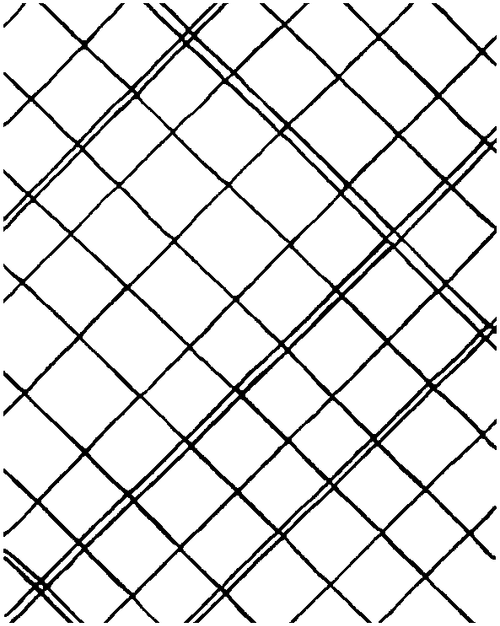
Technique Junkies Stamps Used: Crosshatch & Spring Daisies
If you would like to see how I created this layout you can checkout my process here:
Here is a better look at the stamps I used today:

Spring Daisies

Crosshatch
Thank you so much for stopping by today!
I hope that I have inspired you in someway :)

Crosshatch
Thank you so much for stopping by today!
I hope that I have inspired you in someway :)
Labels:
Art Anthology,
Lanette Erickson,
mixed media,
Scrapbooking
Friday, March 24, 2017
Distress Oxides with Stencils
| ||||||||
| ||||||||
Wednesday, March 22, 2017
DRAGONFLY DREAMS
“The Dragonfly brings dreams to reality and is the messenger of wisdom and enlightenment from other realms.” – Author Unknown
I have always been fascinated by dragonflies and butterflies. Their ethereal wings fluttering by. I love it when a dragonfly hitches a ride when I'm kayaking. So, admittedly, Dragonfly Collage (S681) is one of my favorite background stamps. It was my inspiration for today's card. I love how the light airiness of the wings are balanced out by the heaviness of the stenciled word. Might just have to make one to frame for my craft space!
To make this card:
--> What inspires you?
Til next time,
Keepin' it inky!
I have always been fascinated by dragonflies and butterflies. Their ethereal wings fluttering by. I love it when a dragonfly hitches a ride when I'm kayaking. So, admittedly, Dragonfly Collage (S681) is one of my favorite background stamps. It was my inspiration for today's card. I love how the light airiness of the wings are balanced out by the heaviness of the stenciled word. Might just have to make one to frame for my craft space!
To make this card:
- Start with black A2 card base.
- Cut floral paper slightly smaller and adhere to card base.
- Stamp Dragonfly Collage (S681) onto a 3 7/8” x 5 1/8” piece of kraft cardstock using Versamark Ink, then emboss with clear embossing powder. Adhere to slightly bigger piece of black cardstock and attach to card base.
- Stamp Dragonfly Collage again onto floral paper using Tuxedo Black Memento Ink. Trim out the larger butterflies and dragonflies.
- Add foam adhesive to the wing area of each trimmed piece. Remove backing tape. Add glue to the body of the images and attach to the appropriate areas of the embossed background image.
- Using the Art Anthology Soliloquy Stencil and painter’s tape, mask around the desired word and attach to the card front. Add Art Anthology Stone Effects Dimensional Medium in Lava with a paint brush, dabbing through the stencil. Be sure stencil is kept flat to avoid bleeding. Remove (and wash) stencil. Let dry.
--> What inspires you?
Til next time,
Keepin' it inky!
Tuesday, March 21, 2017
HELLO CUPCAKE WITH SPONGING
Hey there, Junkies,
A very quick post today. I had some fun making this very quick card using the sponging of various colors of Distress Inks and the new Hello Cupcake stamp set. This is an awesome set!
To make this card, I sponged on the diagonal then colored the various cupcakes with Copic markers. I also highlighted and did some doodling with my white gel pen to help make the image pop off the background.
After I finished coloring, I splattered some black acrylic paint on the layer with my paint brush. I like the detail that gave the bg. I had a scrap piece of designer paper so I used it to accent the layout.
I hope you find ways to use this technique with some of your stamps.
Thanks for stopping by.
A very quick post today. I had some fun making this very quick card using the sponging of various colors of Distress Inks and the new Hello Cupcake stamp set. This is an awesome set!
After I finished coloring, I splattered some black acrylic paint on the layer with my paint brush. I like the detail that gave the bg. I had a scrap piece of designer paper so I used it to accent the layout.
I hope you find ways to use this technique with some of your stamps.
Thanks for stopping by.
Monday, March 20, 2017
Friendly Daisies
To create this lovely spring card I used Technique Junkies Spring Daisies - http://techniquejunkies.com/spring-daisies/. I used black Memento ink and then used both Copic markwers and watercolors to add the color to this panel. The verse on the tag is called A Good Friend - http://techniquejunkies.com/spring-daisies/ - and is a wonderfully true thought. Good friends are are very real treasures.
The verse was stamped with black Versafine ink and heat embossed with detail black embossing powder. I punched out the shape and several "ribbon tags" of both green and gold glitter paper. I adhered the "ribbon tags" with glue dots, and used several layers to finish the card.
Have a great day and get inky!
Judy Jackson
The verse was stamped with black Versafine ink and heat embossed with detail black embossing powder. I punched out the shape and several "ribbon tags" of both green and gold glitter paper. I adhered the "ribbon tags" with glue dots, and used several layers to finish the card.
Have a great day and get inky!
Judy Jackson
Wednesday, March 15, 2017
Strike a Pose!
Hey Junkies!
The Crafty Nurse back with some inky inspiration for this wonderful almost spring day! This is such a beautiful time of year filled with new hope and promise of beautiful things to come.
Along that thought, I wanted to share my favorite stamp of the new March 2017 release called, "Queen SD787". Such a striking figure, right? To create her I used my MISTI. Stampers, if you don't have one of these tools, run, don't walk. I resisted for a long time but once I got one I wish I'd done so a lot earlier. They really making getting good impressions so easy to achieve and the techniques that you can do with these are just amazing.
For the focal image, I began by selecting the areas I wanted brown and I used Distress Markers in Gathered Twigs to color just those areas. I had to do this multiple times, but that's okay because the MISTI allows for perfect alignment. Once I did that, I repeated the areas I wanted black, coloring those with Black Soot and then the lips in Fired Brick. Now, here comes the really cool part. Apply clear embossing powder to your entire image and heat set. Now your entire image is resistant allowing for any application of technique over it.
The final step for my focal image is application of Faced Jeans Distress Ink through the Art Anthology Cracked Stencil cool, right? For the background I used a version of Distressed Stain Dip from the Artistic Effects CD also using Faded Jeans and Gathered Twigs Distress Ink. Finally, I added another TJ stamp to the edge of my background called, "Bubble Icicle #S573", which I also stamped using my MISTI with Archival Ink.
Thanks for stopping by the Technique Junkies Blog today and we all wish you lots of creative play today and always.
Subscribe to:
Posts (Atom)