Thursday, December 8, 2016

Day 24--The Thirty Days of Christmas--Two projects

Hello Junkies!
Karen McAlpine with you today!  Welcome to Day 24 of the Thirty Days of Christmas Event with Technique Junkies!
The Design Junkies have lots of ideas for holiday cards and to get you in the mood for the season,
The Technique Junkies will be celebrating the Holidays with ............


The Thirty Days of Christmas

When: November 15 - December 15

The Design Team will be sharing Christmas/Holiday projects using Technique Junkie Stamps.  All Christmas stamps will be on sale during the event--
25% off!!
On my day 24 projects, I used  TJ stamps (which are  25% off) and a non- Christmas stamp.  See all The Christmas Sale stamps here


Materials List:
Stamps: Christmas Ornaments Trio Set  (25% off) from Technique Junkies
Ink: Archival Cobalt and Black
CS: white and navy
Metallic Marker
Twinkling H2O's watercolor paints
Paint brush
Silver and navy ribbon


 Make It:

  • Make a card from navy CS
  • Stamp three of the hanging ornaments with Cobalt Archival ink on white CS
  • Dip a wet brush into the watercolor paints and add splotches of color to the background-- the ornaments will not smear because they were stamped with Archival ink.
  • Add dots with a metallic marker and run the maker along the edges
  • Add stamped piece to card
  • Stamp Merry Christmas (also included in the Ornament Trio stamp set)with black ink in lower corner
  • Tie ribbon into three bows and add one to top of each ornament

 Inside of the Card:

Change up!!
I'm Dreaming of a White Christmas Chicken !!??  Now, I know you have a bird or chicken lover on you card giving list.  They will love this little Christmas Chicken card.  And, this card also shows how you can use non-Holiday stamps to make holiday cards.


Materials List:
Stamps: Chicken and Red or White Christmas (sentiment) both from Technique Junkies
Ink: Red
CS: white, red, green
DP: MME Found Christmas pad
Snowflake ribbon

Stamp this sweet little chicken with red ink and pair with red and green papers. Stamp the sentiment from the Red or White Christmas stamp; cut out and layer with green CS.  Tie ribbon in bow.


I hope you are enjoying all the Technique Junkies' Holiday projects!  Don't forget to grab you favorite stamps while the 25% sale is on.  See you again soon!!
Karen McAlpine
Dreaming and Creating

Wednesday, December 7, 2016

Father Christmas - Day 23 of 30 days of Christmas


Hello Junkies!

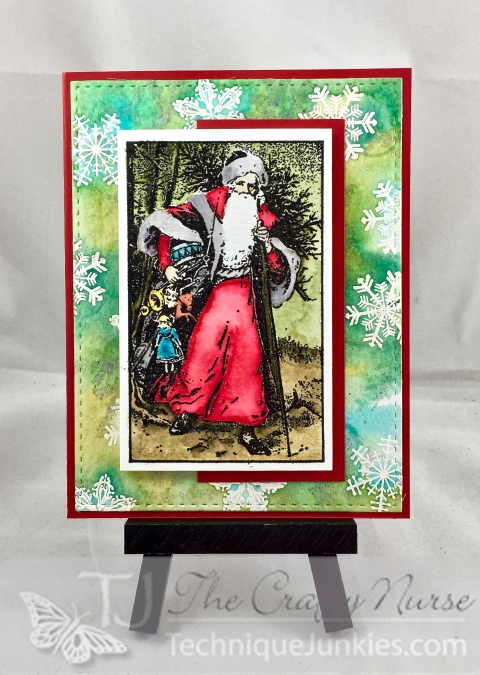
The Crafty Nurse here celebrating Day 23 of the 30 Days Of Christmas.   Pat is generously offering 25% off all holiday stamps over at the Technique Junkies store through December 15th.

I've featured a favorite TJ stamp, "Father Christmas" which I watercolored with Distress Markers. The background uses another holiday staple, called Snowflakes, which I heat embossed in white and used the Stained Resist Tutorial from the Artistic Effects CD.  I finished off with some Distress Mica Spray for some glitz.

12-7-16

We would love for you to follow the Design Team Blog for more Christmas ideas using the Technique Junkies stamps. There are only a few days left so we hope you've enjoyed the cards and found inspiration for your holiday card making.

By for now,

Monday, December 5, 2016

Layered Swirls, Christmas and Birthday FUN!

Greetings Inky Friends!

Here's the last card in my own little personal series of using
the Layered Swirls background stamp!

I created the background using the Polished Stone technique
with alcohol inks and blending solution and inked the back ground stamp
with Black Archival ink and stamped on top.
The polished stone piece that Trust Your Journey is stamped on was a 2nd or 3rd generation of the original inking of the background piece! 
I added some Rhinestones to selected area of the Background and called it complete!
I love the jewel-tones colors in this card!


Here's a couple Christmas cards I did at the last crop I hosted....

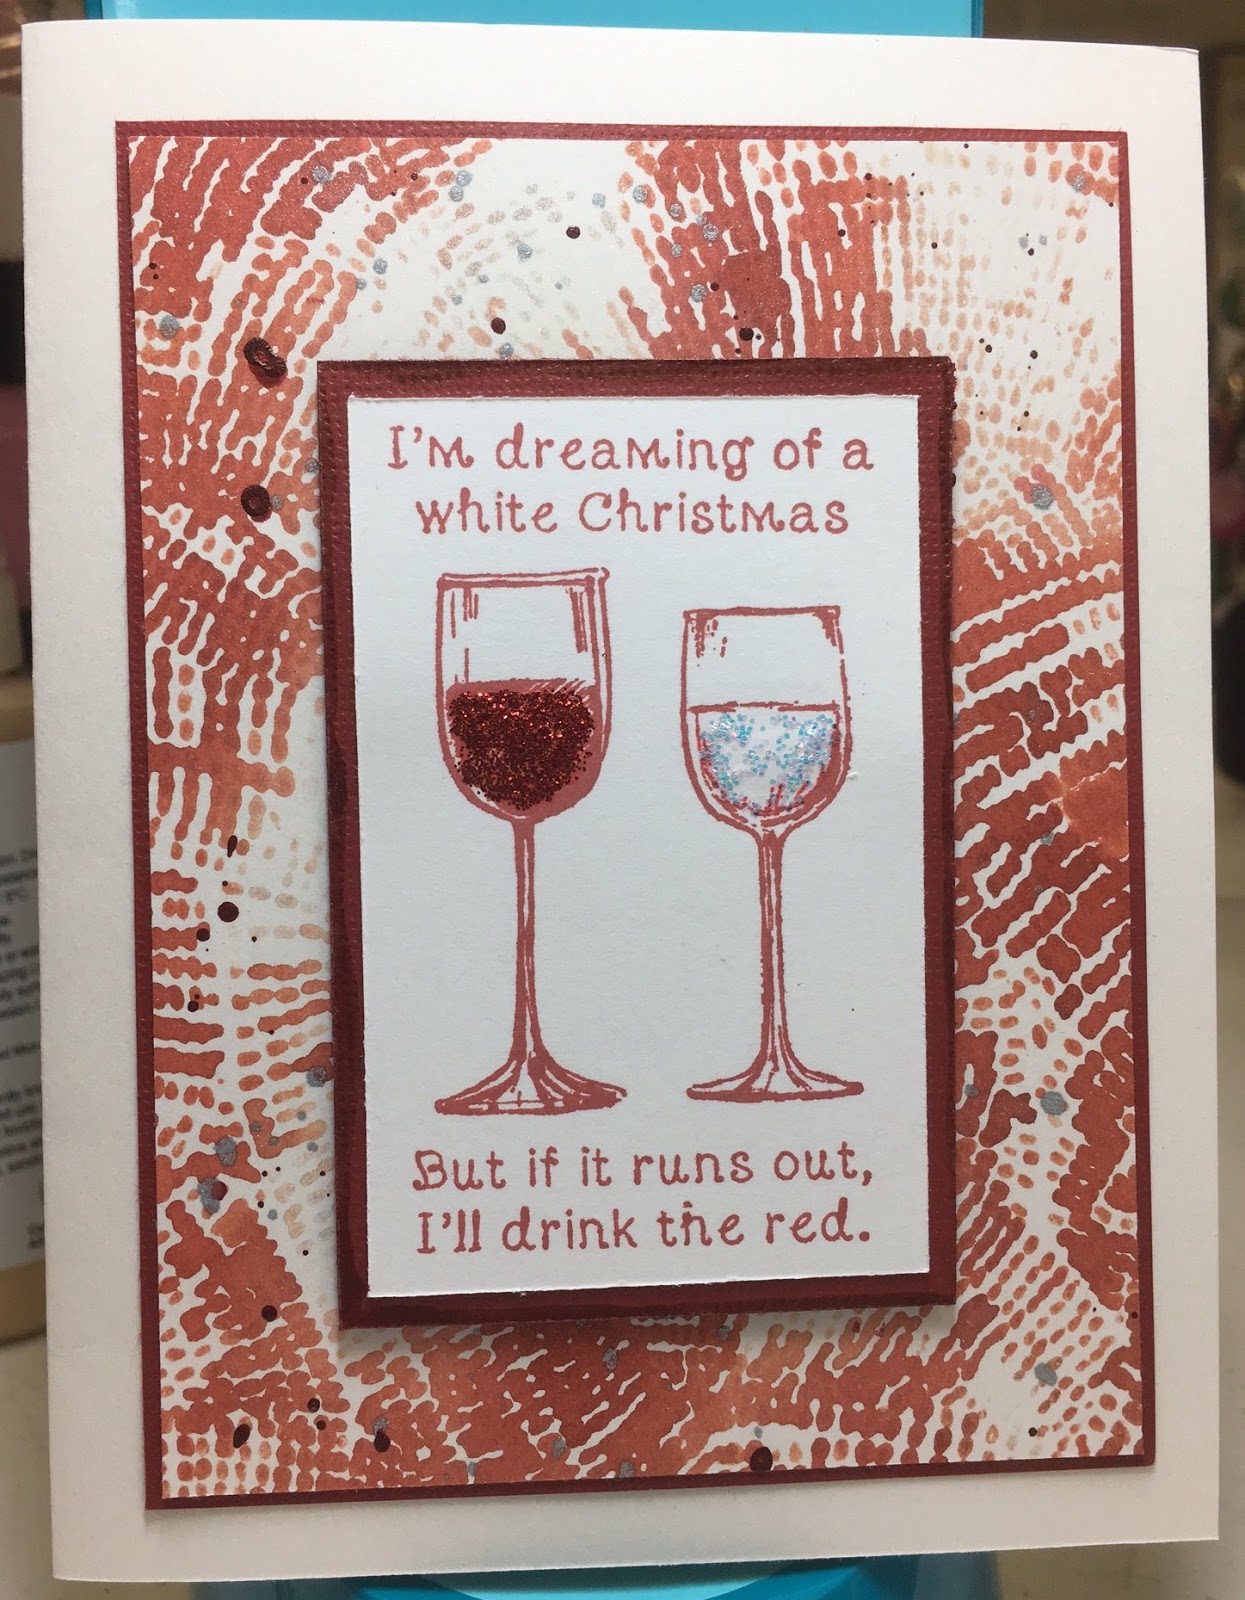
I used one of my favorite background stamp Swaths of Texture and applied Distress Stains directly to the stamp in a couple reds and silver.  I added red and clear Stickles to the Red or White Christmas wine glasses for added sparkle and shimmer.


I was able to get a second impression from the same stains/background image and decided to create a birthday card using the versatile set Grand Greetings for an OSU loving friend.


The last card I simple covered a piece of card stock with different washing tapes and added the adorable Christmas Carol Kitty to the front. I colored him using Spectrum Noir alcohol markers.


Thanks for stopping by and...

Until next time...
Happy Creating!
~Tonya xoxoxo 

30 Days of Christmas, Day 21

Happy Monday! Today is day 21 of the 30 Days of Christmas, and we are celebrating with a new Christmas post every day PLUS 25% off all Christmas stamps. Time is running short - make sure to get your order in today!  I ship (in most cases) within 24 hours OR LESS, so order today and it will be winging it's way to you right away...

Today I am happy to show you my Christmas Carol Kitty card. I love this cool cat! The background was made using my MISTI and the Christmas Trees set, like I show you HERE.

Oh Christmas Tree, Oh Christmas Tree...

Hope you have a great week. Come back tomorrow for some inspiration from Beth!
XO,
Pat Huntoon

Sunday, December 4, 2016

30 Days of Christmas - Day 20, with a "two-fer"

Hi! Ro Donner here  -- glad to see you back here for the 30 Days of Christmas! Don't forget to load up on your Christmas stamps during the sale and receive 25% off at checkout!

Today we have two posts -- the one you are reading today, Day 20 - and we also have a guest blogger, Lydia Fiedler, of Understand Blue fame, who has a great Christmas Mug Shot piece to show you! After you read this, hop on over to her blog to see her wonderful kitty!

Today's card features an atypical kind of background, which makes the card very whimsical.


Supplies Used:

Build It:
  • Trim a piece of dotted design paper to slightly smaller than the A2 card and attach to card base.
  • Using Versafine Ink and green embossing powder, stamp and emboss two of the Christmas Trees from the set on white cardstock. Trim down the cardstock to the width of the dotted paper, trimming around the trees, and trimming off the bottom so the top of the threes are about 2/3 from the top of the card.
  • Cut two more panels for the front layers of "snow".
  • On the smallest panel, stamp and emboss the sentiment.
  • Attach all layers to the card base using foam tape.
Hope you're inspired by today's card. Be sure to come back tomorrow and see what's new!

Til next time,
Keepin' It Inky.

Saturday, December 3, 2016

All is Calm on the 19th day of Christmas

Hello All Lanette Here!

Welcome to day 19th day of our 30 days of Christmas Celebration! I hope that we are inspiring you with lots of Christmas Cheer!

To day I wanted to share a tag that I created using a couple of our fabulous Christmas stamps.


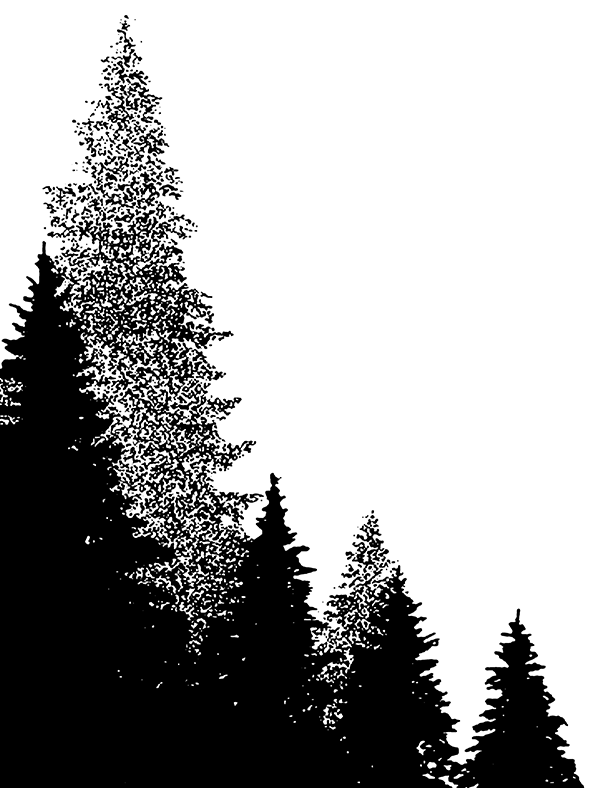
Products Used: Technique Junkies Hillside Pines & All is Calm Stamps, Lindys Stamp Gang Mist, Creative Embellishments Chipboard Snowflakes, Prima Beads, Embossing Powder, Thread, Bo Bunny Pattern Paper, White acrylic paint and a touch of Bling.


Here is a closer look at the stamps I used today...

S695 Hillside Pines

Hillside Pines


Thank you so much for stopping by today! 
I hope that I have inspired you in some way!

Friday, December 2, 2016

Day 18 - Christmas with an old friend...

Today is day 18 of the 30 Days of Christmas, and I decided to spend it with an old friend.

My old friend is my K-pads! I haven't pulled out Kaleidacolor ink pads in a lonnnnggggg time, but sometimes we just need to reconnect with old friends. Remember how colorful and easy they are to use?

Kaleidacolor pads have always been special to me. My first introduction to stamping involved a K-pad, glossy paper, and a brayer...I have been hooked on stamping every since.

One of the best things about K-pads is their ease of use. They are perfect for Christmas cards -- a fast, easy colorful way to make your cards. I have three different examples here for you -- I have they inspire you to revisit with YOUR old k-pad friends!
And don't forget..ALL stamps in the Christmas category are 25% off through December 14th. Simply place any Christmas stamp in your shopping cart and the 25% discount will be automatically applied to your purchase. No coupon codes required!

Snowflakes in Blues and Greens

Our first look is a study of blues and greens on plain white. Using a brayer, the color was inked over the Snow Swirls background. I used my MISTI - it allowed me to stamp over the areas that didn't stamp as well (um, remember that I said these were OLD friends? They really needed to be reinked!).


 To finish the piece, I added glitter over some of the snowflakes, and Glossy White Nuvo Crystal Drops in the insides of the snowflakes.   The Snowflakes Fall stamp and a trio of punched snowflakes finish the piece.

Desert Heat Foliage
This piece was really out of my comfort zone. The combination of the orange/red background with the green, yellow and glittered foliage made me question my color sense the entire time! When I finished coloring all the the foliage, I realized it really DOES work.

Desert Heat K-Pad was brayered over the Winter Foliage stamp, and the inside foliage was colored with glitter pens.

To make the focal image, the K-pad was brayered over a white piece, then the  Wonderful World sentiment was stamped. Note that I stamped the sentiment with the color turned in the opposite direction from the base piece.


Creole Spice Dove
This was the simplest card of the lot. The Creole Spice Kaleidacolor pad was brayered over the Peace on Earth Dove. Then I simply added Diamond Glaze (i.e. Crystal Effects/Glassy Glaze) over the dove portion. A little matting - and it was done!

I hope you were inspired to bring out YOUR old K-Pad friends! 
Warmest Wishes,
Pat Huntoon