Monday, May 18, 2015

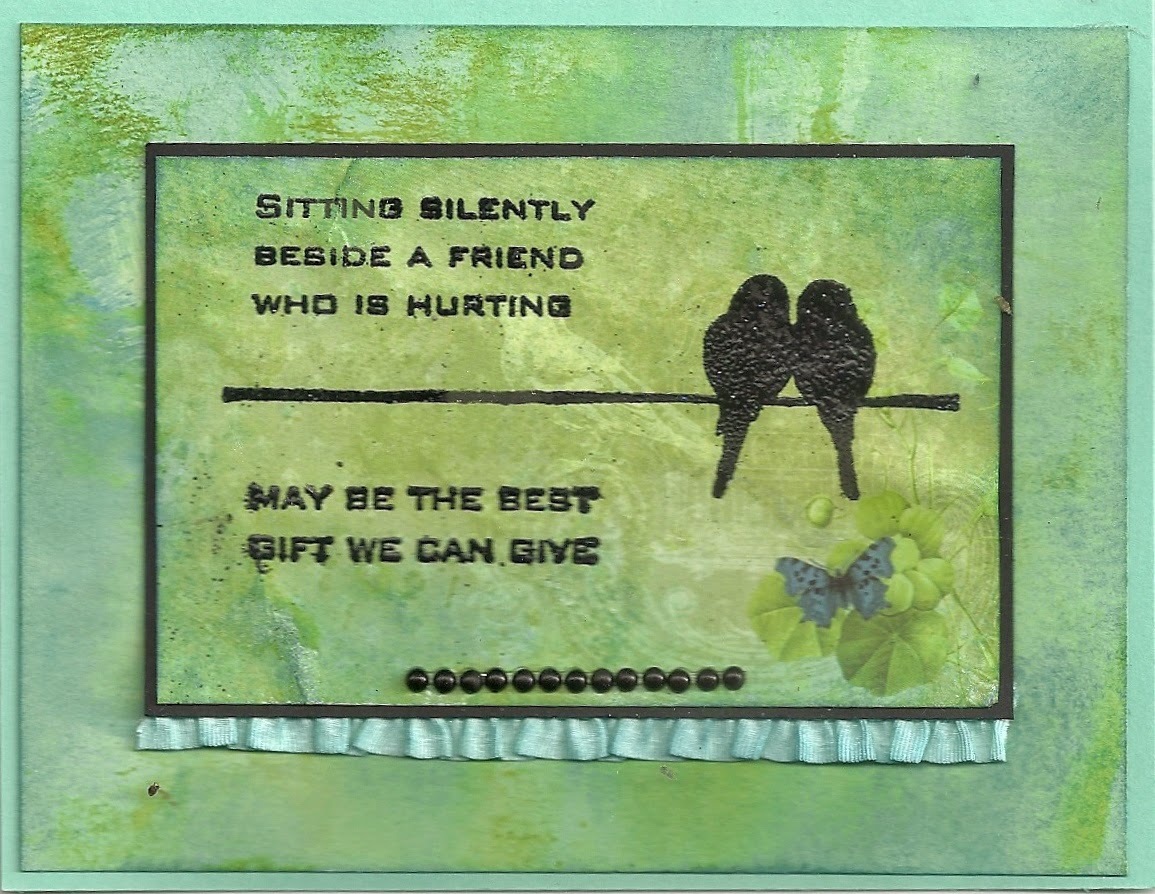
Sitting Silently

Today I want to show you two cards using the same stamp.

 
This stamp is called The Best Gift -  http://techniquejunkies.com/the-best-gift/.
 
I used the Antique Glimmers technique in different ways on these two cards.  For the burgundy card, this technique is on the panel where the birds are stamps.  Then that is layered on three pieces of card stock to get the look I wanted.  That was then layered on the burgundy background card stock.
 
For the green card, I used a piece of background paper  that had a lot of open areas and was light in color.  Then I used that piece and applied the Antique Glimmers technique to it.  The back panel also has similar colors for the Antique Glimmers technique. 
 
Both cards have different embellishments and you see I have two different looks for these cards.
  
Have a lovely inky day!
 
Judy Jackson

Saturday, May 16, 2015

Always...

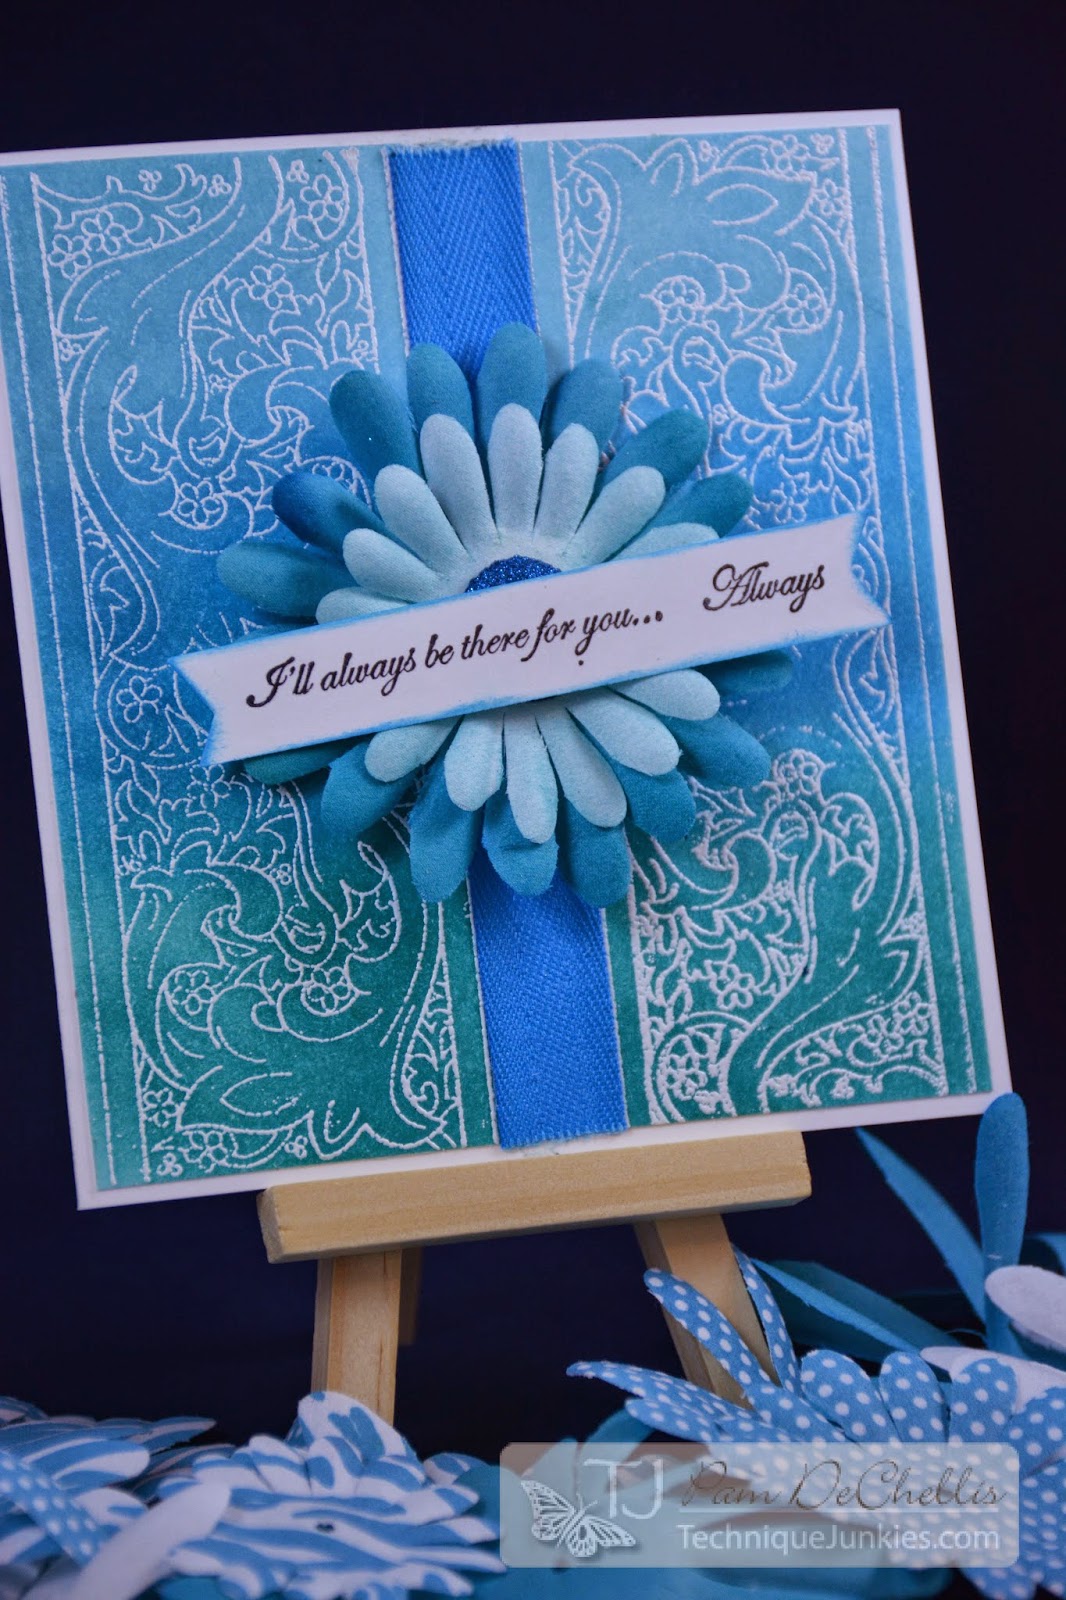
Happy Saturday Junkies!!  Pam here and I am excited to share another May release stamp with you today! The stamp used is Margot's Flourish Panel. This stamp has amazing detail and looks fabulous stamped with Versamartk Watermark ink, embossed with white embossing powder, and inked with Distress inks.  


For this card I chose to use three shades of blue to create and ombre effect-Peacock Feathers, Mermaid Lagoon, and Tumbled Glass.  I stamped two separate panels and placed them side by side on a card front-after running them through my Xyron Creative Station-loaded with the 5" Permanent adhesive cartridge.  Matching ribbon and paper flowers were then added as embellishments.  Another TJ stamp  Always Be There was stamped in Archival black and used as the sentiment.


As I was stamping and coloring this project I imagined this design using more elegant colors would make a great wedding invitation background!! Hmmmm.... another project!
 I hope you enjoyed today's inspiration and check out this and all the other new releases at the TJ store. Pat has such a fantastic selection of stamps!

Happy Crafting!
Embrace Imperfection!
Pam

Thursday, May 14, 2015

A Bushel and A Hug- Stained Embossing Technique

Happy Thursday Junkies-Jerri Here.
Whew! what a crazy month this has been already.  May seems to be one of the crazier months for sure.  Several birthdays, always a graduation or two, Mothers Day..... Oh and just a few more days of freedom for me before the grandbabies get out of school. Let the craziness begin!!

Today I am sharing a card I created for Technique Junkies using the Stained Embossing Technique.

I had a BUNCH of fun creating this card.  
I took this picture at a different angle so you could see that the card is a Z fold.  The sentiment is on the back part of the "Z".  I left an open space on the back (left side) of the card for writing. When the card is laying flat, you can see both the front of the card and the sentiment, which peeks out on the right hand side.

How I made the card:

By using Distress stains (I used Tim Holtz)- with a Cuttlebug embossing folder, you can create a beautiful background which is pretty enough to use alone in my opinion, or along with a stamp.

 Normally I would apply the stain to my embossing folder in a random pattern but for this design I was a little more specific in where I placed the color.  I wanted the flowers to be purple and tried to get more of the greens on the stems. I used water color paper for this process.  Complete directions on how to do Stain Embossing can be found on the Artistic Effects CD at Techniquejunkies.com.

Once my Stain Embossed piece was dry, I embellished it with a Viva Pearl Pen and then I placed little silver dots with a silver Metallic Sharpie.
I had a leftover dragonfly ( Dragonfly (set of 2) ) from a previous project that I was able to use on this card. I had stamped it on a piece of vellum with silver detail embossing powder and cut it out.  I placed the dragonfly on the card with a pop dot.

The sentiment used is called Needed to Be. This is a beautiful sentiment that rings so true with me.  
I used my silver embossing powder for the sentiment as well.
Thank you for checking out my card! If you have a question just leave it in the comment section and I will get back with you.  

Have a Fantastic Day!

Jerri


Wednesday, May 13, 2015

Happy Wednesday Junkies!  The Crafty Nurse here bringing you a post featuring Technique Junkies May Release.

For today's project I've highlighted "What Cancer Cannot Do #SD607."  The background technique is called, "Stenciled Spray Fun" from the Sensational Stencils CD.  I used Dylusions Ink to get that vibrant pink and purple combination.

I wanted to highlight the stamp so I inlayed the panel using Lawn Fawn's Rectangle dies making one flush panel.  To do this simply cut out a few sizes of the rectangle die and piece them back together like a puzzle. 

I finished off the card with a few flower dies from WPlus9 and added small pearls for the centers.


Thanks for stopping by the Design Team Blog today and look forward to seeing you at the Technique Junkies store for lots more of the May Stamp Release.

By for now,
The Crafty Nurse

Tuesday, May 12, 2015

One Layer Panel Card


Good morning fellow Technique Junkies.  It's Beth Norman here with a tutorial for a one layer panel card that I designed.  It's a good way to use up your favourite stamps.  I am so in love with the Whimsy Branch and use it whenever I can. 

My card measures 5 1/2" x 5 1/2" simply because my Poppy is so large.  This technique works well with an A2 size (4 1/4" x 5 1/2") as well. 

I'd love to see some of your One Panel cards on our Yahoo group.

Stamps Used:

Whimsy Branch SD393
Bee Quotes S402
Poppy SD293


Supplies:  Ink Pads, three (or more) stamps, ink, sponges, sticky Post-it notes


Sponge on your colour.  Use as many ink pads as you desire. 


Sponge colour all over your cardstock and stamp your main image in the center of your cardstock.


Place sticky notes on both sides of your main image.  For my 5 1/2" x 5 1/2" card I left a 1 1/4" (3 cm) border.  Sponge ink along the sticky note.


In the opposite direction, place sticky notes so it leaves a small square, and sponge with ink once again.


Leaving your sticky notes in place, stamp out your images as shown.


Place your sticky notes over top of the sponged colour, leaving the sticky note on the long side in place.  Sponge colour ONLY along the side, and stamp out your image, with the sticky note in place.


Repeat the step above, placing your sticky notes along the edge of the previously inked edge.  Ink your long edge (you will note I forgot to ink before I stamped out my image) then stamp out your image, leaving sticky notes in place.


Take off all the sticky notes, and you will find your card inked as shown.

I hope you liked my technique.  I have done it on glossy cardstock with a Kaleidacolor and brayer on my A2 sized card.

I look forward to seeing your work on our Yahoo group.

Cheers,

Beth


Monday, May 11, 2015

What Cancer Can Not Do


 Hi, It's Gini and I've got another card to share with you today using Technique Junkies stamps.  So many people are effected with cancer, and having an encouraging card to send may be just what they need. I painted Art Anthology Velvet paints on the Wasted Palettini background stamp. After that was dry, I sprayed the Colorations spray over the top.  Then I stamped the What Cancer Can Not Do stamp over the background using VersaMark ink, and heat embossed with black powder.  This was a fun technique to use for this stamp set.

Sunday, May 10, 2015

Proud as a Peacock

Hello!  It's Robin Redd, here!  (a.k.a. Rockin Redd Robin)
I used two stamps from the May Release to make this card.  
I don't know if they were made with each other in mind or not 
but I think they are PERFECT together!
http://techniquejunkies.com/peacock-feathers/ 
The background stamp, S619 Peacock Feathers, was inked up with Kaleidacolor, Blue Breeze.

http://techniquejunkies.com/you-make-me-proud/ 
I used SD612 You Make Me Proud stamp for the focal point.

Get it?  Proud as a peacock?!
Cute, huh!