Saturday, October 12, 2019

All is Calm


Happy Saturday!
I have a one layer Christmas card to share today.

Here are the how to's:

1. Create a white card.
2. Sponge the area that will be behind the trees with Thé (Tea) IZINK ink leaving the bottom area white - this area will be the snow.
3. Using the MISTI, stamp the Fir Forest twice (2nd time without reinking) with Brou de Noix (Walnut) IZINK ink.
5. Splatter thinned white acrylic paint over the tress to create a snowy look. 

Don't forget to add the code TJ10Jeanne for 10% off at Technique Junkies! 


Hope you enjoyed my project!

Friday, October 11, 2019

TJ Inkspiration: Stamped Glowing Christmas Lights

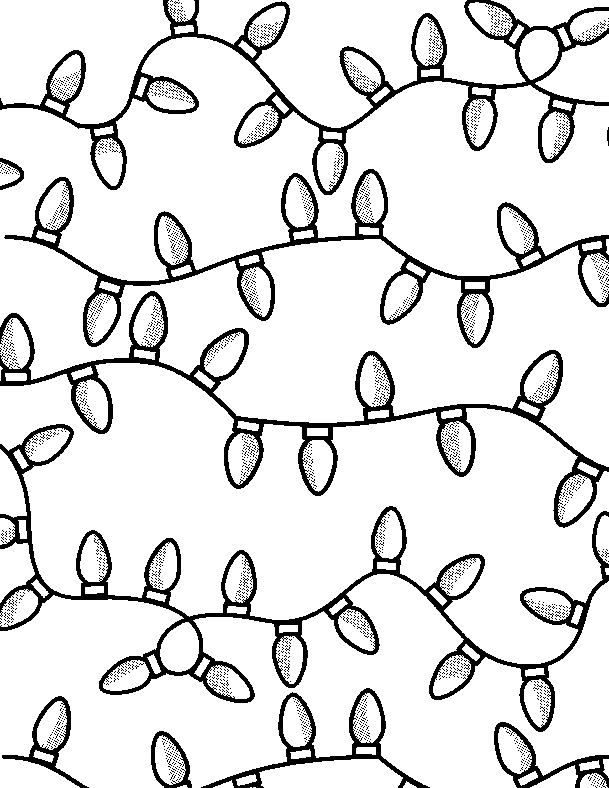
I love the new Christmas Lights stamp from the October Release. Such a simple stamp, really.  Just a little coloring and you can evoke the magic of Christmas.

I had a vision for this stamp right from the beginning. I knew those lights were meant to glow, and I knew I would make a video to show you what I had in mind. That's what today's video is all about! 

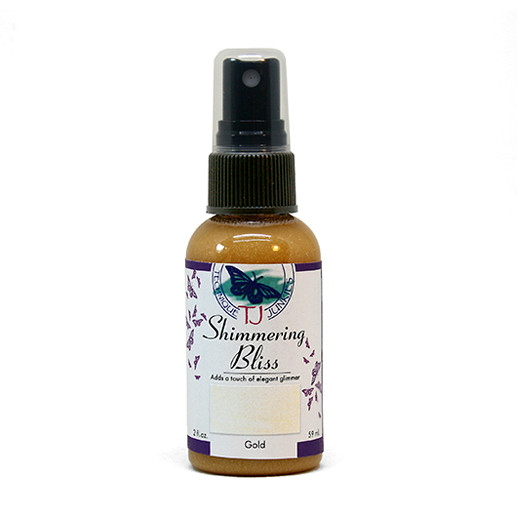
In the video, there are 4 main products: The S842 Christmas Lights Stamp; Copic Markers (or other markers, your choice), Glossy Glaze (or similar product) and Gold Shimmering Bliss.  That's it! Sometimes simple is better.

First, here is the artwork:
Holiday Lights
 

Ready for the video?
Stamped Glowing Holiday Lights


More artwork inspiration:

Christmas Lights and Victorian Greetings

And here are the products from Technique Junkies:
Gold Shimmering Bliss
S842 Christmas Lights
I hope you are inkspired by today's issue. See you next week!
 
Sincerely,
 

Pat Huntoon
Technique Junkies LLC 

Thursday, October 10, 2019

Reindeer

Hello friends!

Hope you all are having a great day!
Today I have a Christmas card for you using this adorable Reindeer Names Background Stamp and the little Poinsettia from Poinsettias Set of 4

Details:
Stamp Reindeer Names on white cardstock in Versamark Watermark Ink, add White embossing powder and heat set.
Stamp Small Poinsettia in White cardstock ink Black Ink, color it with markers and mist with Mixed Metals Shimmering Bliss.
Add banners and poinsettia to corner, add gold thread.
Embellish with clear sequins.

Use my code to get a 10% off
Have a wonderful day!

Tuesday, October 8, 2019

Stencil Shading

Hello fellow stampers!

Have you ever wondered how to add more depth to your stenciled project?  Today, I am going to show you how to add shadows to help with that 3-D effect.  The stencil I used today is from A Colorful Life Designs.  The one I am using in this tutorial is called Adored Frame and can be purchased at A Colorful Life Designs.

Did you know that Technique Junkies sells A Colorful Life Stencils too?  You can use my discount code of TJ10Beth to receive 10% off your stencils, or any other product that is in the store.  This discount does not apply to clearance items.  For a full line of A Colorful Life Stencils at Technique Junkies please view here.

Tape your stencil down onto a firm background.  Be sure to use painter’s tape and tape along the inside edges of your cardstock.  Pixie spray works wonderfully too and can be purchased at Technique Junkies.  Yes, my code TJ10Beth is good for a 10% discount too.  By using Pixie spray, you do not have to use tape.

Using a finger dauber, or sponge, rub your ink-stained sponge over the area of your stencil.  Any stencil can be used.
Surprise!  You will be using a Q-tip for this step.  Using your Q-tip, rub it into a darker shade of ink than what was placed onto your cardstock.  Place the darker ink on the lower portion of the stem, swirl, star, etc.  Be sure to add the darker shade of colour in a “flicking” motion so your colour blends nicely.  If the area is elongated, such as the swirls in my stencil, add some darker colour in the top third of your design.
If there are small areas in your stencil, too small for sponging, feel free to use a pointed marker to fill in those areas as see above.
And, lastly, stamp a sentiment on your stenciled background.  Here I used Technique Junkies Love You More, set of 5.


I hope I inspired you to try adding some depth to your stencils.

Monday, October 7, 2019

Cardinal

Happy Monday!

I had some fun with alcohol inks creating this card. 

Here are the how to's:

1. Using the MISTI, stamp Cardinal with Réglisse (Licorice) ink.
2. Use alcohol inks to "paint" the bird and background loosely by adding drops of ink. 
4. Let dry completely.
5. Using the MISTI, stamp Cardinal again with your favorite Archival ink. 
6. Use a white gel pen to highlight the eye area.
7. Stamp the sentiment (Victorian Greetings Set of 6)
8. Use gold Nuvo drops to create a border and accent the sentiment. 


All the October Release Stamps (click to see them all!) are 15% off until October 8th 
Use the code TJ10Jeanne for 10% off at Technique Junkies
That's 25% off the October Release stamps!!! 


Hope you enjoyed my project!

Sunday, October 6, 2019

Christmas Rose Card In Colored Pencil

Hello Design Junkies peeps!  Lynda Joy here, to bring you a card using stamps from the Technique Junkies October Release.  And, oh my, what a release.  If you missed the hop, head on over HERE and check out what my design team comrades have made.  Now, on to my card for today...
Links to stamps and stencil from Technique Junkies:
     Christmas Rose JT025
     Victorian Greetings Set of 6  JT030
     A Colorful Life Swirl Grid Stencil
     Gifts of Christmas Set of 5

I stamped the Christmas Rose onto white card stock with antique linen distress ink so that the lines would fade in with my coloring, as I was going for a no-line coloring look.  I colored the rose with watercolor, and Polychromos colored pencils.

For the background, I used the A Colorful Life Swirl Grid Stencil.  I made a mask for the flower, and brushed color through netting part of the stencil, ever so lightly.

For the verse, I used the Merry Christmas from the Victorian Greetings Set of 6  .  I love the type script on the six phrases in this set.... so perfect for holiday cards.  

For the inside, I used the swirl parts of the stencil, and stamped a verse from the Gifts of Christmas Set of 5.
All of the October release stamps are 
15% off through  October 8th.  
Use code TJ10Lynda for 10% off your entire order, including the October release stamps.  
That's 25% off release stamps with my code 
through October 8th!


My other cards are on my release blog post HERE

I hope you like my card.  

Blessings,

Saturday, October 5, 2019

Pretty Poinsettias


Hello Junkies! 
It's Ceal, here to share with you today a card I created using the Poinsettia stamp set from our October release. All the new release sets including this one are still on sale for 15% off and if you use my code TJ10Ceal you get an addition 10% on to of that, so what are you waiting for?

To create this card I started with an White top folding card base, a Jelly Bean Green panel for the mat and a panel of bristol smooth card stock for my focal panel. I stamped the poinsettias masking them off as I went to cluster them together. I used some Zig Clean Color markers to watercolor it and then stamped the greeting underneath.