Monday, January 20, 2020

Small Steps


Stencils are fun to use. I used one of the delightful A Colorful Life Stencils on the Technique Junkies website.  I used Pixie Spray to hold the stencil in place.  This YouTube video from Pat Huntoon will show you how to use Pixie Spray. 

I sprayed several colors of Shimmering Bliss Sprays.  I heat set it to dry the card stock.  Then I stamped one of the stamps from the Technique Junkie stamp set Modern Encouragements.  A few tiny beads, some ribbon, and layering and the card is complete.

Save some money as you shop -- use TJ10Judy - when you check out. 


Have a terrific day -- and make some time to get inky!


Sunday, January 19, 2020

Dare to Begin a new Book


Good morning, Junkies!  It's Holly posting today and I'm sharing my watercolored card with you.  I stamped the new Stack of Books onto some watercolor paper with Versafine Clair Pinecone ink.  I then stamped the beautiful sentiment from the new Modern Encouragements set with the same brown ink and let the ink dry completely.  The background was watercolored with a pale gold ochre paint and it looks like old weathered parchment paper (love that!).  Then I used various colors of paint to watercolor all the books.  I deliberately faded the colors so the books look old and worn.

There's just something about starting a new book that feels like a dare, right?  These two stamps were meant to go together.  Have you gone shopping yet?  Feel free to use my code, TJ10Holly, to save money on your stamps when you check out.  Enjoy your week!


Saturday, January 18, 2020

Fire, Baby, Fire!


Hi again! It's me, Carmen, the newbie, back with another January release project with tutorial! 

This has to be one of my favorite stamps ever. Insurance money notwithstanding… I will always find money to buy cupcakes; whether it’s the old beg, borrow, steal or embezzlement from the grocery budget, cupcakes will happen.

Wait… Somehow I’ve already completely lost track of this blog post and my purpose here entirely. But not to worry! I’ve gotten it back. For now. So, just hold on for the ride.

When I saw the stamp all I wanted to do was make the fire… Well… Look like a fire. So I dug down into my mixed media box (I guess it’s technically just a box full of garbage but it sounds classier the other way)  and found a matchbox. I painted it with gesso and covered it with graphic 45 paper. Then I stamped the image on the outside of the box.


Next, I cut the fire part out using scissor snips. I found a free clipart image of a cupcake that I liked and printed both the regular and reverse image on heavy card stock then glued the images together with rainbow crinkle in the middle.  I also use liquid pearls and bling. Since the matchbox was pretty flimsy, I also added heavy pieces of chipboard to reinforce the ends, top and back. It still didn't make the sides straight and even (that's just the nature of mixed media and art assemblage-you use what's at hand and embrace imperfection. And before you ask...No. I'm still trying to wrap my arms around it but finding that whole "not perfect" thing a little challenging. HAH!) but it'll be fine, pumpkin! I promise! 


I taped a very thin piece of Yupo transparent paper inside of the matchbox over the flame I had cut out. I used a small candle that I mounted on tape to give the illusion of a flickering flame. I also made sure it was easy to slide the matchbox open enough to switch the candle on and off as well as replace it when the battery dies. I’m very picky about things like that.


OK… OK. I’m completely OCD about things like that.

I hope you enjoy this project if you have any questions please don’t hesitate to ask!

And whatever you do don’t forget that if you use this code TJ10Carmen you can get 10% off any purchases at Technique Junkies, including this great stamp!

See you again soon and don’t forget… Eat those cupcakes!!!

Thursday, January 16, 2020

Wishing Big for you!

Hello friends!
Giovana here today bringing you a Birthday card, using one of the new stamps just released this month called "Wishing Big"

Details:
Start applying Pixie Spray on Big Rose Stencil.
Blend Rosée (pink) Aladine Ink, very gentle motion. Cut panel to 5.25" x 4".
Stamp "Wishing Big" image in Grenadine Ink, a MISTI helps with multiply re-stamping to get the perfect impression.
Stamp image vellum in Versamark Ink heat embossed with gold embossing powder. Fussy cut the rose part and adhere it to image.
Adhere a frame to image pop.
Embesllih with White Nuvo drops and gold pen.


You can get all the products highlighted in red with a 10% discount using my TJ10Giovana code!
Hope you like this card!
Have a wonderful day!

Wednesday, January 15, 2020

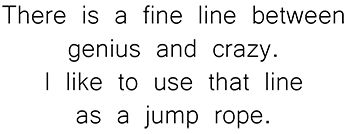
Fine Line


Happy Wednesday!

I have a funny card to share today using Genius and Crazy on an alcohol ink background. 

Use code TJ10Jeanne for a 10% discount! 

Hope you enjoyed my project!

Tuesday, January 14, 2020

How to add depth to your stencilling


Let your stenciled background shine!  This super easy, and fun, technique uses ink, a bold stamp and markers to add depth. This stencil is available at A Colorful Life Designs (the stencils that Technique Junkies carry).   You can see all the stencils that Technique Junkies carry here.

Anything purchased at Technique Junkies is 10% off  by using my code TJ10Beth .  Clearance items have already been reduced.

Tape your stencil down well with tape, touching the sides of your paper.  If you have the fabulous new Pixie Spray, use that.  Unfortunately, I live in Canada and cannot have it shipped across the border so I'm on the lookout at local stores.


Sponge ink over entire surface of stencil.  Here I blended my Distress Oxides with the Ink Blending Brushes in colours: Picked Raspberry, Twisted Citron, Broken China.
Using fine-tip markers you will be adding depth to your pretty card front.  I filmed, and started using, Distress markers, but personally I found it too bright.  You may like that look.  Ended up switching over to SU markers.  It's all about what you like to use.  When adding marker, use a darker version of what has been sponged on.

Using your markers, trace around various areas of your stencil as seen in the photo.  You can add as little, or as much, as you like.  For this tutorial I traced lines on most of the stencil.  Tip:  if you have two different colours in one spot, you can use two coordinating markers in that one spot.
Here you can see the added depth because a shadow was created.
By using a bold stencil such as You are so Loved, as above, a sentiment is all you need.  This allows your hard work to shine.

I hope you enjoyed this tutorial. 


Monday, January 13, 2020

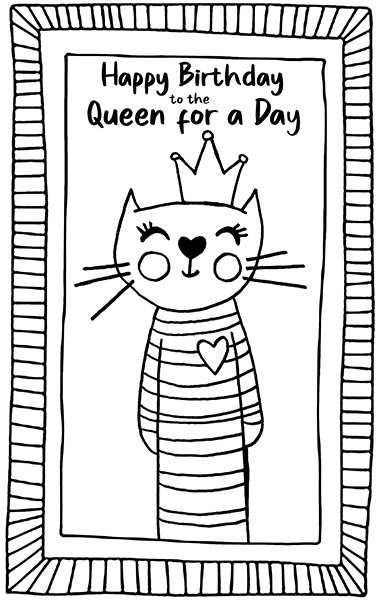
Birthday Queen


Happy Monday!

I have a birthday card to share today using Birthday Queen on a acrylic paint background. 

Use code TJ10Jeanne for a 10% discount! 

Hope you enjoyed my project!