Wednesday, October 20, 2021

Sleigh Bells Ring Snow is Glistening

 Hello. Tracy Shultz, the Hopeful Crafter, here with today's card. I used the new Sleigh Bells Ring stamp from the October New Release and the previously released Star Power stamp. Check out the Technique Junkies store to see these and so many other amazing stamps: www.techniquejunkies.com and, if you use my coupon code, TJ10Tracy you can save 10% off your order. 

To create this card I first heat embossed with silver sparkle embossing powder the Sleigh Bells Ring Stamp. I love this stamp and it's flowy font. Then I used regular silver embossing powder to heat emboss the Star Power stamp. This stamp is a must have staple for all your holiday cards: Christmas, Hanukkah, New Year's, and for Birthday's and other Celebrations. I matted the Sleigh Bells Stamp with silver shimmery cardstock. I matted the Star Power stamp with silver glitter cardstock.   
Here's a list of the stamps I used today:
Star Power: https://techniquejunkies.com/star-power/



Tuesday, October 19, 2021

Poinsettia Wreath Wishes


Hello fellow stampers. Beth Norman-Roberts here. Have you started making your Christmas cards?  I'm about done, but there's always room for making more.  I'm sure you are busy in the U.S. thinking about Thanksgiving preparations.  Here, in Canada, we celebrated our Thanksgiving.  It is a special time of year for me because my daughter was born on Thanksgiving Day.  Her birthday doesn't always fall on Thanksgiving Day because our Thanksgiving Day fluctuates.


Put aside your Thanksgiving plans for now, let's focus on Christmas for a moment.  Using Poinsettia Wreath Wishes, set of 7, I created numerous cards and am showing three of my cards here.

Steps to Making the Wreath

  • Using brown ink stamp your wreath onto a lightly coloured wood paper or a light coloured cardstock of your choice
  • Choose your sentiment and line it up on your stamped out wreath.  
  • Using an embossing buddy run over the area made for a sentiment
  • Emboss using gold embossing powder
  • Stamp out a second image on white cardstock if you are only making one or two cards.  If you make more, take the stamp off your block or Misti and ink up just the area of the poinsettia and hand press onto white cardstock.  Repeat as necessary
  • Using a circular die, cut out your wreath
  • Colour your hand-stamped poinsettia and cut along the edges so you are left with just a poinsettia
  • Adhere coloured and cut poinsettia over top of the originally stamped image.  I adhered my coloured poinsettia with a pop dot
  • Add pearls to the centre of the flower, and greenery around the flower too
  • Embellish your card as desired

For links to my videos please visit my blog Sunflowers and Dragonflies


Monday, October 18, 2021

Joy to the world!


With just 2 inks (red and green) and 4 markers for coloring, this easy card is perfect for making multiple Christmas Greetings. Our Christmas Frame stamp is perfect with the Light of Faith stamps, which were designed to nestle nicely into the frame. This is one of the many, many cards I am making this year to spread the Joy of Christmas!

www.techniquejunkies.com Pat Huntoon

Sunday, October 17, 2021

Framed Joy in Black and White


Hi Junkies, it's Holly here.  Today I am sharing a rather non-conventional Christmas card.  I love the new Christmas Frame and the Light of Faith set from Technique Junkies, and I wanted to try something different with them.  I stamped the beautiful Christmas Frame with some white pigment ink directly onto a black card base.  Then I carefully arranged the Joy sentiment from the Light of Faith set and stamped it right in the center of the frame with the same white pigment ink.  I set this aside to dry for about 30 minutes before I dared to touch it with my finger.  LOL  I added some tiny red rhinestones around the frame for a tiny pop of color.  

This card is a true one-layer card.  It's just the black card base, no extra layers at all.  That's the beauty of this Christmas Frame.  It has the blank space in the middle built into the stamp so you can just add your sentiment right to the same paper as the frame.  You can use this frame in either orientation - horizontal or vertical, whichever way works best with your sentiment.  Fun fact - all of the sentiments from the new Light of Faith set fit perfectly inside this Christmas Frame!

Please feel free to use this code, TJ10Holly, to save 10% when you shop at Technique Junkies.  You can stock up on new Christmas stamps, Shimmering Bliss, the new Catherine Pooler ink pads, and tons of stencils.  Have a great week!


Saturday, October 16, 2021

Glittering Jingle Bells


 Our Sleigh Bells Ring sentiment pairs beautifully with our Jingle Bells stencil. The stencil uses Gold Izink Diamonds from Aladine for shimmering, stay-put, glittery color.

www.techniquejunkies.com Pat Huntoon

Friday, October 15, 2021

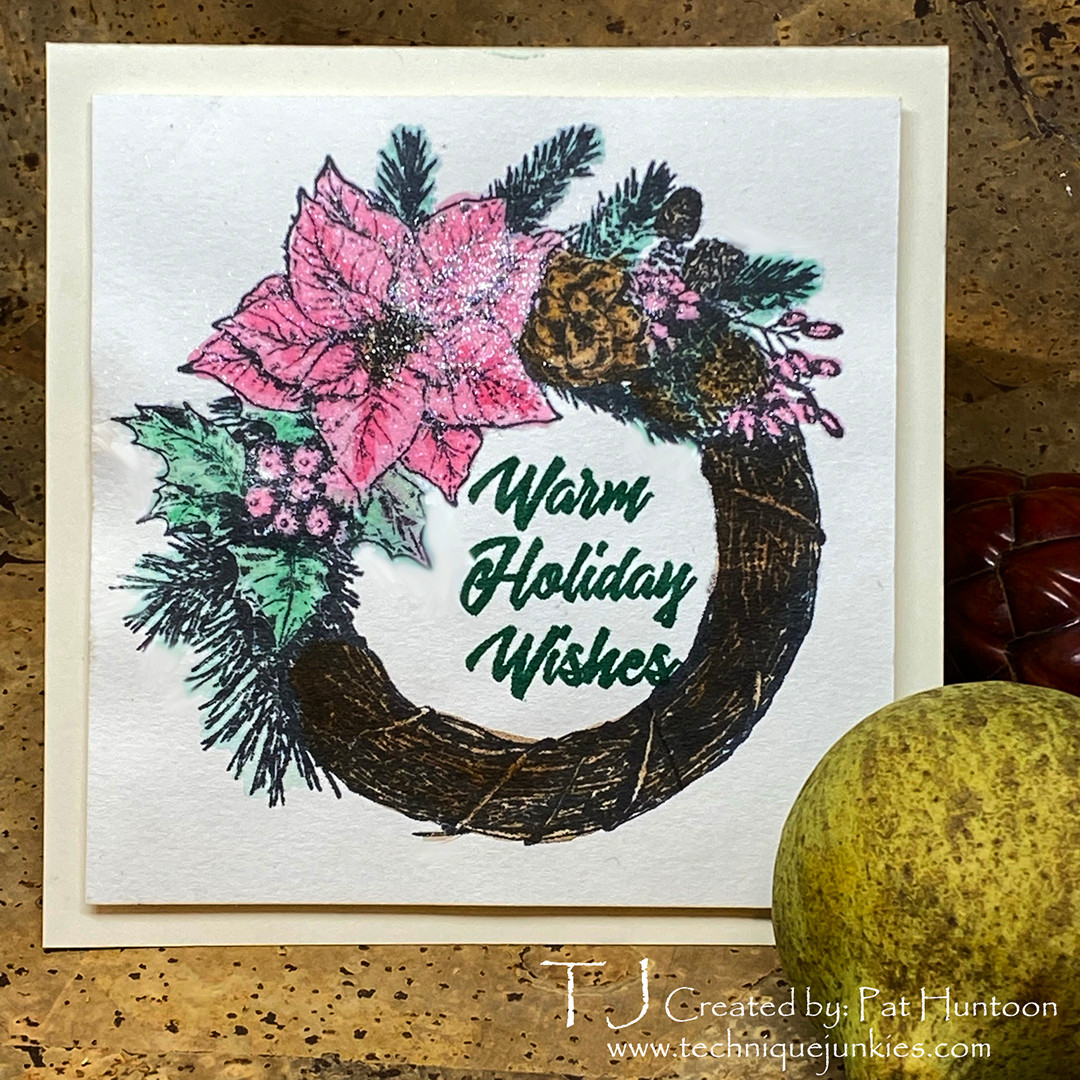
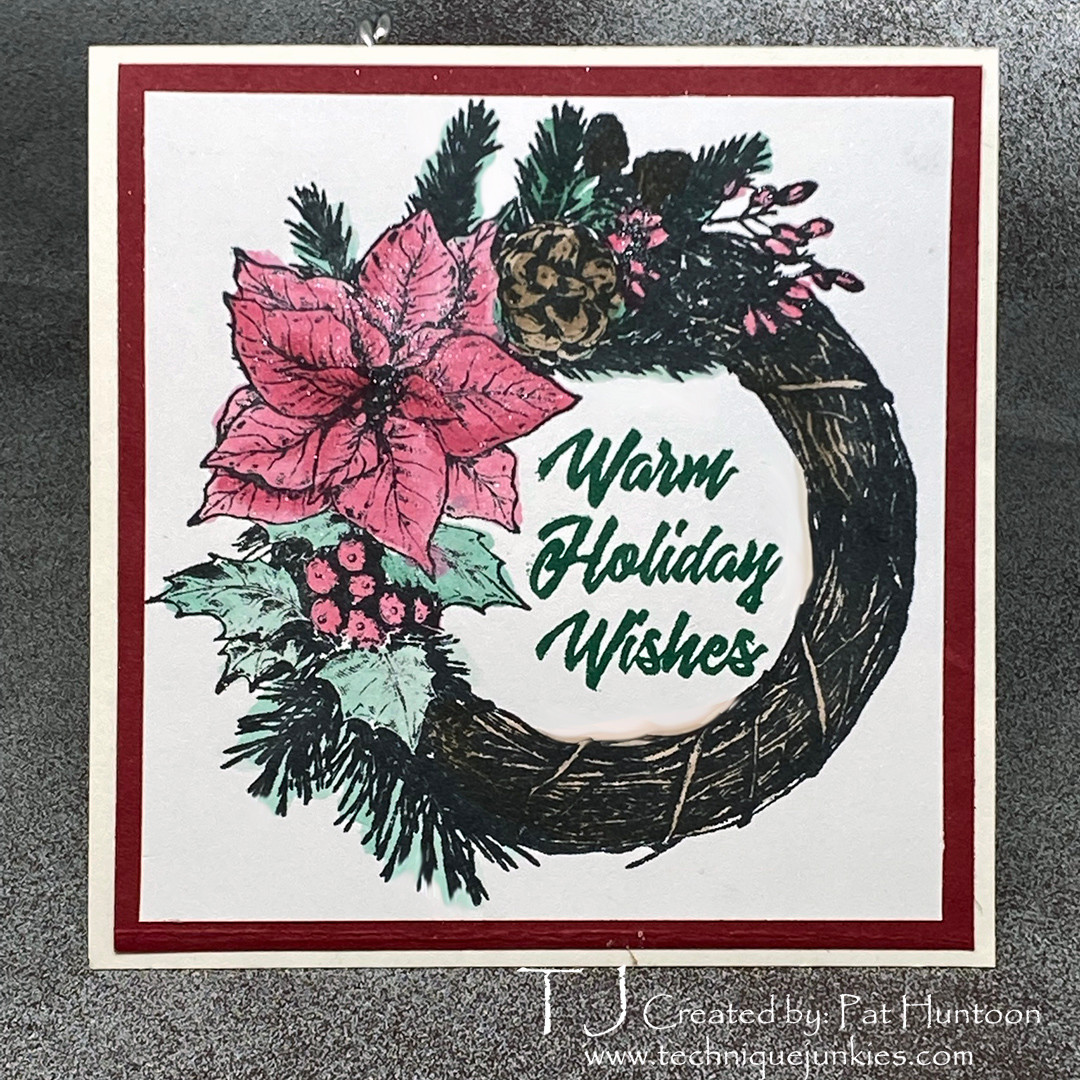
TJ Inkspiratons: Wreath Wishes Watercolor Card


This couldn't be easier!
Easy Ink Pad Watercolor!
Today we are making the easy card shown above with the Poinsettia Wreath Wishes Set and just a few Catherine Pooler Inks. I continue to be incredibly impressed with the Midnight Black Ink Pad - it is wonderful to watercolor with. There wasn't even a hint of black ink moving around on the watercoloring!

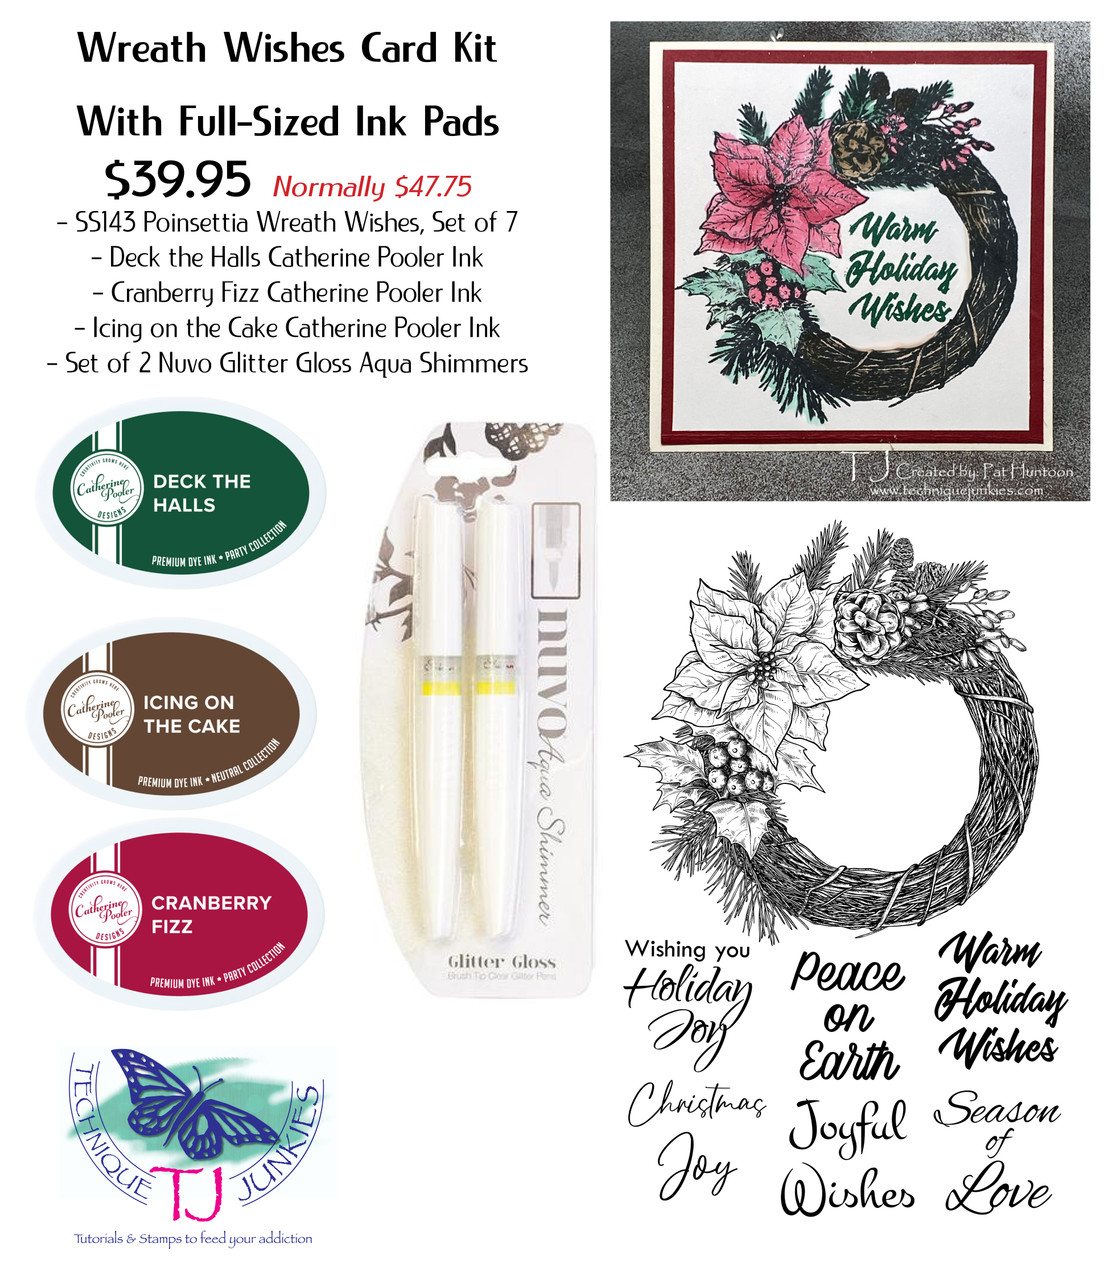
I have a kit with this video, too. You may notice that the black ink is not included in the kit. The reason I did that is because I plan on using the pad for future tutorials and I don't want to put it in every kit, since many of you order kits frequently (and you only need one). Make sure to get yourself one, though - you will NOT be disappointed!


Here is the video:
Wreath Wishes Watercolor Card Kit
Here is the kit:
‌
On the Road Again!

Meet us on the Road at our next show:

Hampton VA: October 23 - 24

Allentown PA: October 30 - 31

Thursday, October 14, 2021

Poinsettia Wreath Wishes

Hello Friends!

I'm up on the Technique Junkies blog to share two pretty cards, using beautiful new stamps from Technique Junkies.

The #SS143 Poinsettia Wreath Wishes is one of my favorites from this release. The set includes the wreath stamp, and 6 sentiments: Wishing you Holiday Joy, Christmas Joy, Peace on Earth, Joyful Wishes, Warm Holiday Wishes, and Season of Love. I thought it might be fun to create a couple of different looks with this set.

For my first card, I used an Ink Blending Brush, and some Distress Oxide Inks to 'antique' the background a bit. The image and sentiment were then stamped in brown ink, and colored with Copic markers. Next I took the Shining Star Stencil, and made up a glitter paste to spread over the stencil, being sure to go just to the edge of the image. The flowers and leaves were covered in Glossy Accents and set aside to dry. The focal panel was adhered to a burgandy card base. Last, I added a few dots of gold Stickles for some additional shine. I'm pleased with the way it turned out!


The second card was fun, veering away from traditional Christmas colors to a pretty pink and mint green. Again, the image and sentiment were stamped with brown ink, but this time the coloring was done with colored pencils. I squeezed on some Diamond Stickles over the entire image for a 'snowy' look, added a few dots of Gold Stickles, and went to work on the background. Using a straight edge, I drew diagonal lines with the pink pencil, and began coloring in the stripes with pink and mint green pencils. The focal panel was adhered to a pink card base. This one made me smile!


I'm such a Christmas Junkie - am loving this release!

So glad you stopped by today!

Don't forget!!! You can always save 10% on any order by entering TJ10Patti at checkout.


Be sure to head over to the Technique Junkies store and do a little crafty shopping!

Hugs and smiles,
Patti J.