


| |||||||
| |||||||
Friday, February 2, 2018
TJ Inspirations: February 2018 Artwork video


Thursday, February 1, 2018
Technique Junkies February Release Hop & Discount!

Happy February Release Day!
We have 14 new stamps in the Technique Junkies line!
See our hop list before for some sweet inspiration from our Design Team!
All of the February 2018 New Release stamps are 15% off through February 8th!
We can all use a little bargain, right? No codes needed, just put them in
your shopping cart and the discount will be applied at checkout.
How about a bundle at a special price?
The Faith Hope Love Bundle includes the Faith Hope Love Background and
Your price - $23.95!!!!
If you order before February 8th you'll get an automatic 15% discount off that bundle price!
Get yours here!
Want an additional 10% off non release stamps?
Use code code TJ10Jeanne
My first card uses Faith Hope Love Background and
the Faith Hope Love stamp set.
These are the stamps you get in the Faith Hope Love Bundle!
My first card uses Faith Hope Love Background and
the Faith Hope Love stamp set.
These are the stamps you get in the Faith Hope Love Bundle!


Hop List:
TJ Blog - you are here!
For an additional 10% off non release items
Use code code TJ10Jeanne

Have a great day!!!
Wednesday, January 31, 2018
Birthdays & Donuts
I love donuts ... especially a warm glazed donut, which has always been my kryptonite. Because of my donut-love, I tend to collect donut-themed paper products (because they have no calories).
Remember, if you go shopping, use my discount code TJ10Stephanie for 10% off your purchase.
Needless to say, the newly released Birthdays & Donuts stamp was a must have for me ... together with the accompanying Donuts Happy Birthday sentiment.


Remember, if you go shopping, use my discount code TJ10Stephanie for 10% off your purchase.
Needless to say, the newly released Birthdays & Donuts stamp was a must have for me ... together with the accompanying Donuts Happy Birthday sentiment.

I loved pairing the stamps with some 3-D Donut Stickers from my stash.

Don't they look quite scrumptious.

Another fun thing about this stamp, is that donuts can come in every single color of the rainbow ... especially when they're covered in sprinkles.
Now I seriously think I need a donut ...

Stephanie from
Tuesday, January 30, 2018
How to Create a Remix of Colorful Silhouettes

For 10% off your order please use TJ10Beth.
Today, I am using I Woof You, and Swirls and Curls. You can receive these stamps and receive 10% off your total order simply by using my code below.


Monday, January 29, 2018
Love You!
Happy Monday!
I have a super fun card to share today using stamps from the January Release.
Would you like a discount?
Use code TJ10Jeanne at checkout for 10% off!
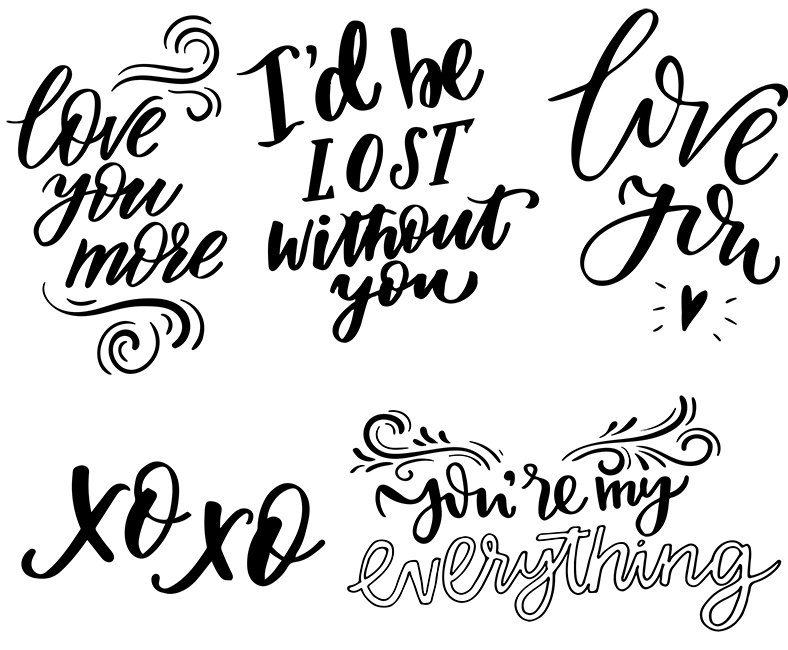
I stamped Love Harlequin background in red ink on my card. I added then added a little white acrylic craft paint (with my finger) to mat the sentiment (let dry completely before stamping). I then positioned the Love You from the Love You More (set of 5) set on my MISTI and stamped it a couple times to get good coverage over the paint. I stamped The Kiss in black ink onto some white cardstock. I colored with watercolors and then cut it out (minus the whiskers). I stamped the image again on my card and lined up my cut out image and layered it on top.


10% off !!!
Use code code TJ10Jeanne
Have a great day!!!
Jeanne
Sunday, January 28, 2018
Baby, You are So Loved
Hello Friends!



I water colored a piece of watercolor paper using distress ink (Picked Raspberry) and then die cut a circle in it.
The sentiment was stamped in grey on white cardstock and then clear embossed.
The birds were stamped with Memento Tuxedo black ink and colored with Copics, then fussy cut out. I assembled the card, popping the panel up on dimensional tape. The panel is off centered to the left and a small strip of pattern paper runs down the side of the panel. I added the birds, some sequins and some die cut clouds. I also added small pink pearls on the sentiment panel; I love the extra punch it adds.
February 1st is right around the corner, which means a new release is coming! We will be hopping; hope you will join us!
That is it for me! I hope I have inspired you with my project.

I love vintage looking images and these 3 sweet little birds have just the look that I love. If you love
these birds as much as I, you can get a 10% discount on them using code TJ10LeeAnn.

I was waiting for the right sentiment to come along to make a baby card with these birds.
Along comes the January release and the 'You are Loved' stamp~

I water colored a piece of watercolor paper using distress ink (Picked Raspberry) and then die cut a circle in it.
The sentiment was stamped in grey on white cardstock and then clear embossed.
The birds were stamped with Memento Tuxedo black ink and colored with Copics, then fussy cut out. I assembled the card, popping the panel up on dimensional tape. The panel is off centered to the left and a small strip of pattern paper runs down the side of the panel. I added the birds, some sequins and some die cut clouds. I also added small pink pearls on the sentiment panel; I love the extra punch it adds.
February 1st is right around the corner, which means a new release is coming! We will be hopping; hope you will join us!
That is it for me! I hope I have inspired you with my project.

Lee Ann
greytpapercrafts.blogspot.com
Saturday, January 27, 2018
To The Moon

Hello Junkies!
It's Ceal here to share a card using a little bit of a different variation of the Ombre' Splatter Technique. Making this card was so much fun!
I started with a piece of watercolor paper and the Love Harlequin stamp,
like this stamp? You can get it and anything else and save 10% using my code TJ10Ceal at techniquejunkiescom.
I stamped the image using Versamark ink and then embossed it with gold embossing powder, next I created the background using distress oxide inks in Candied Apple, Picked Raspberry and Worn Lipstick and bended them together. after I achieved the Ombre effect then I spritzed it with water to get Ombre' Splatter.
for the greeting I used the To The Moon stamp and partially embossed it in gold, to achieve this I masked off the portion I wanted gold and stamped the rest in black and the I did the opposite and embossed in gold.


Subscribe to:
Posts (Atom)

