Friday, September 15, 2023

TJ Inkspiration: 180 degrees Worn Leaves Stamping Technique


Creative use for your background stamps!

Worn_Leeaves_180_degrees__89236 image

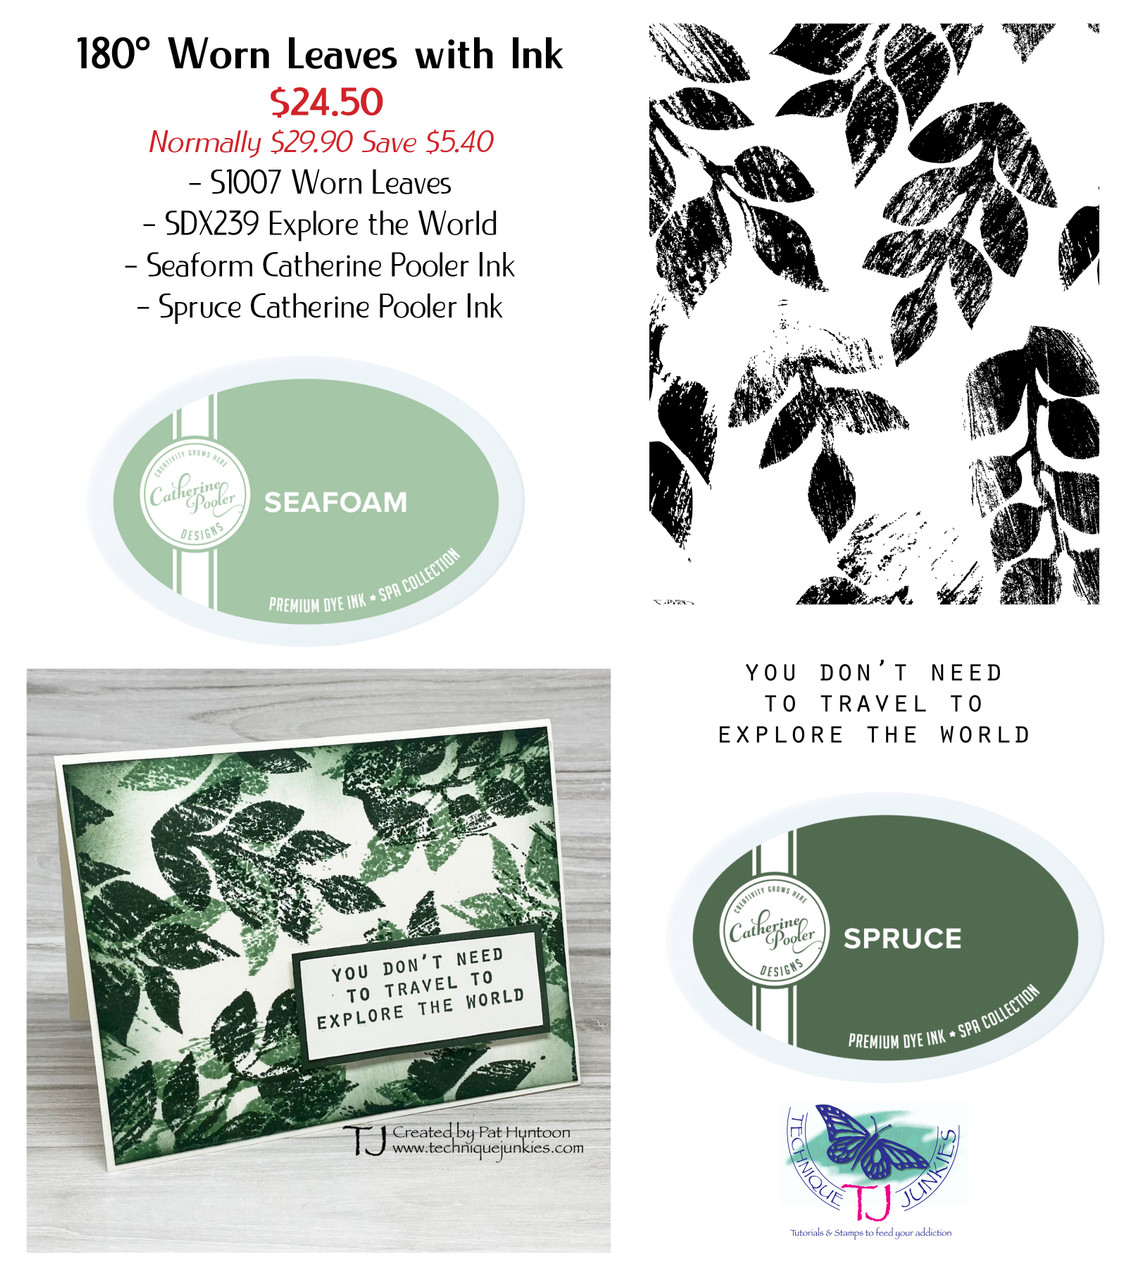
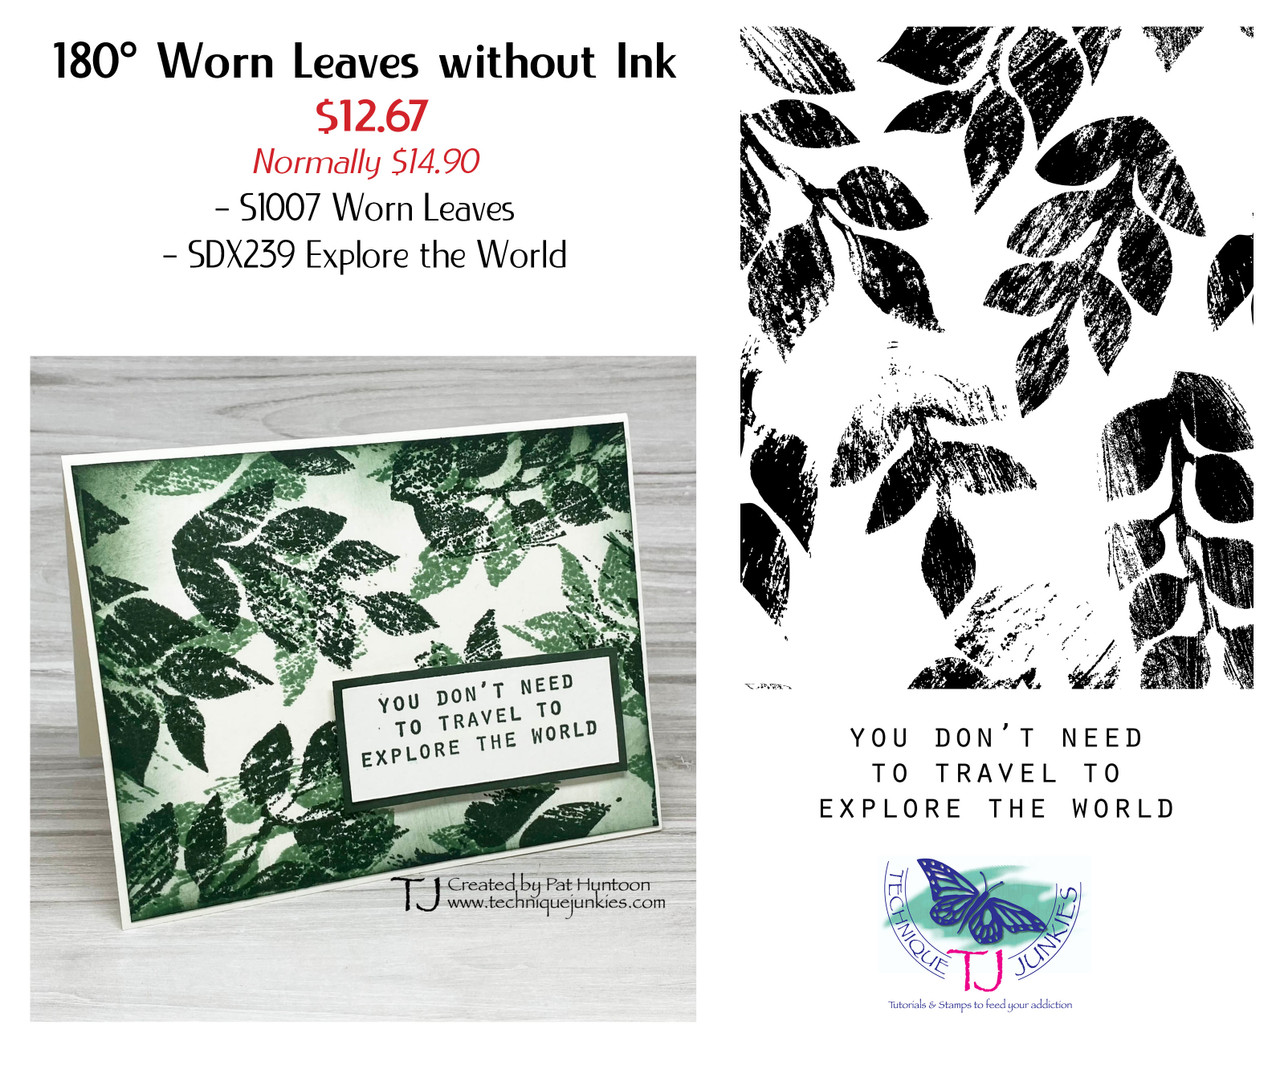
Or video today uses a technique from WAY back: 180 degrees background stamping. The new Worn Leaves stamp is perfect for this technique, and the Explore the World stamp is a great sentiment for it too.

The card in the video tutorial below is just stamps and ink. No die cuts, no stencils, just the materials we love to use the most.

I have a two kits for you today, too, one with ink and one without. Both are bery reasonably priced, too! The kit mays be found HERE.


Our Tradeshow schedule for the remainder of the year is below the video.

Select Catherine Pooler Ink/ Reinkers on Sale Save over 30%!

I have an overstock of Catherine Pooler Ink and reinker sets - and you get the benefit! Here are two of the biggest savings:


  • Select ink pads with their matching reinker - normally $13.00, now $8.99!
  • Reinker sets of 8 (to match the MINI ink sets sold previously) normally $44.00, now $29.00!
  • Select full sized stamp pads: normally $7.50, now $5.50!


Catch your savings HERE

180degrees_Worn_Leaves_with_Ink_kit__02109 image
180degrees_Worn_Leaves_without_Ink_kit__80694 image

The video is HERE ( or click on the image below):

Our Tradeshow Schedule for the Remainder of the Year:


Southfield MI - September 23, 24

Stamp Scrap Art Tour


York PA - October 13, 14

StamperCon


Hampton VA - October 21,22

Stamp Scrap Art Tour

Thursday, September 14, 2023

Up, Up and Away!


 This new Frequent Flyer stamp is so much fun to play with!!  In the first, I turned the image sideways and added some die cut kitties flying across the moon, substituting another TJ sentiment on a tent topper card.  In the second card, I tore strips of orange/yellow cardstock and used a cat for a latch. In the last, I stencilled some spooky clouds and added ribbon, a gem and some die-cut bows.  There is no limit to the ways you can use this fun stamp!  Get these stamps and so much more at techniquejunkies.com.  Use my code TJ10FAITH for 10% off your order!

Wednesday, September 13, 2023


Happy Hump Day! Today I am showcasing the wonderful Halloween Scene, set of 12. There are endless possibilities as to what you can do with this set. AND you can use it with so many other TJ sets, too. The Happy Halloween and the Bare Tree Duo are from previous releases.
This was so simple to put together. I used a light lavender base and stamped the Bare Tree Duo in black and then the house, bats and crosses/tombstones in black, as well. I die cut the sentiment with a stitched rectangle and popped it up on dimensionals. When gluing the lavender and black mat base to white card stock, I did an oops and got black on the edge...so I used a Kleenex and added more black for a distressed look! There is always an answer.
I think Technique Junkies has the best Halloween stamps available....fun to mix and match. Go check them all out here and use my code TJ10Pam at checkout!

Cheers,

Pam 


Tuesday, September 12, 2023

Halloween is coming !!!

Only seven more weeks to halloween !!!

Do you know anyone whos birthday falls on Halloween?

I do - and I think either one of these cards work 

work for that. 

sing the new Hocus Pocus stamp set today and a stencil

from A Colorful Life (yes also sold at TJ)

You will note there is only one leg in the stamp set...

I mirrored imaged it using some acetate and versa mark ink

so I could emboss it.

add the lace and fluffy black string...and done


The other card I made using the Frequent Flyer stamp set

actually a nice easy one to make - sponged some orange ink

on background cardstock - added some bats.

Stamped the brooms and kept it plain white.

Little bit of orange ribbon and a die cut bat for decoration

then just add the saying


Good for the birthday person who likes to travel alot - right!

#discounts - remember to use my code

TJ10Darlene 

to get 10% off your order !

Check out my other makes on my blog too

dar's blog (blog-dar-blog.blogspot.com)

Monday, September 11, 2023


 The Halloween scene is so versatile! This set of 10 was designed to allow for many combinations of stamps - enabling you to make dozens of unique cards! I used 3 of the Halloween Scene stamps with the Spidery Halloween and the Large Spider Web stamp for my creation today. You may find these stamps here:

Sunday, September 10, 2023

Put an Obi on your card - let me explain

Hello Crafty friends,

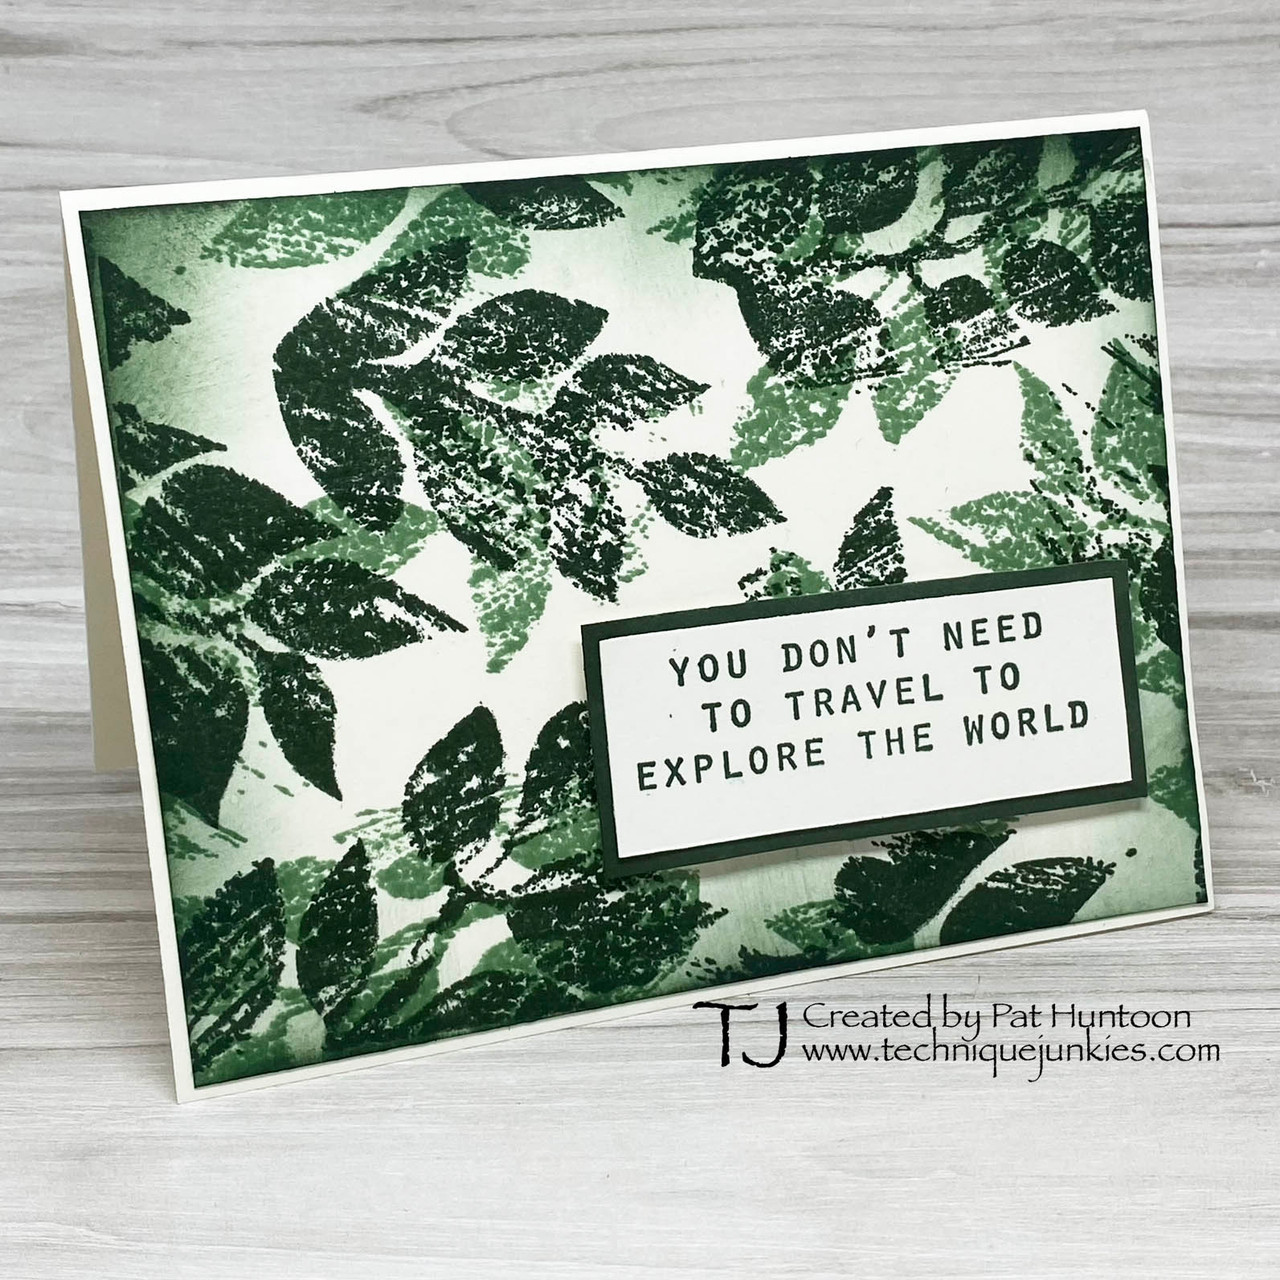
The mixed media card I'm sharing today shows what you can do with origami paper, fabric, mirror card stock, and scraps. It's my hope it will challenge you to dig around in your scrap bin and create something out of your comfort zone that is different and beautiful.  This design might look complicated, but if you follow along you'll see it isn't. It just takes a little time and patience.

It's interesting how this card came together. I was playing around with several different pieces of origami paper that I had cut into long triangle strips. I randomly chose different pieces and attached them to a piece of black card stock and adhered to a tan card base. The card then floated around my table a while because I knew it needed something else.  

Also on my table is a little container of pretty scraps of this and that. Shiny, sparkly and some pieces with special fabrics on them like colorful kimono fabric from Okinawa, Japan. I bought a bag of kimono fabric scraps while visiting there in 2015. Why you ask? Because I knew I'd do something with those little beauties some day.  And here we are...


My paper obi - let me explain

There's a piece I added below the sentiment that reminds me of an obi. Most of you have seen an obi, but perhaps didn't know it had a special name. It's functionally a tie wrapped around a woman's waist over a kimono. They can vary in size and shape. My version of a paper obi is right under the sentiment. The one created here has 4 layers. A base layer of red, then a slightly wider piece of silver mirror card stock, next a narrow piece of kimono fabric, and last is a sliver of gold and blue card stock (you could use string). It looks like a beautiful belt on my card. 

What I used:

- Tan card base 

- 3 different patterned pieces of origami paper.  (Use 3 pieces of patterned paper if you don't have origami)

- black card stock - 4 x 5.25 piece

- two scrap pieces of red card stock, 1 small piece mirror card stock, scrap piece of fabric and a sliver scrap or use string.

- Sending Caring Thoughts sentiment stamped in red ink on white card stock  (Difficult time - set of two)

-  3 silver gems

-  foam (optional - to use behind sentiment)

-  adhesive

Putting this all together...

Stack your origami papers and cut them with your paper trimmer - from a wide end to pointy end. See my card example.

Like a puzzle, alternate and adhere origami pieces on the black card stock. Tip: Let them go past the edge of the black piece on both sides. When you have your origami pieces like you want them, glue them down, then trim the excess hanging off the sides with your paper trimmer. Attach to your base.

Stamp your sentiment on white card stock and layer on a slightly larger piece of red. Don't attach to card yet. Set aside.

Make your obi - the pretty paper belt for your card. Here's the measurements I used:

Red 3.5 x 2 1/8     Silver/mirror 3 5/8 x 1.5    Fabric 4 x 3.4   Sliver or string 4 inches

Decide on the best placements for your sentiment (use foam behind sentiment if you have it - that's optional) and paper obi and adhere to card. We're done!

I hope this card inspires you to look at your scraps, fabric and origami paper with a fresh eye.

Happy crafting!

AJ ~ Art Cards with AJ 


Saturday, September 9, 2023

Whimsical Snail

Hey Crafty Friends - 

How about the creativity of the Snail with Whimsical Mushrooms September released stamp?! The image spoke to me and I couldn't wait to create with it. 

If you follow me you know I tend to use a variety of stamps in my projects. Check out the process I used to create this card below.
  • I created a background using the Worn Leaves Background stamped in black ink. 
  • The Snail with Whimsical Mushroom was stamped on white card stock. I then stamped the image again on Ink Drops - Candy patterned paper by Craft papers. 
  • I colored the leaves, snail body and trunks of the mushrooms with Spectrum Noir Tri Blend markers. 
  • I enjoy paper piecing so I did just that with the shell of the snail and the tops of the mushrooms. I used my white gel pen to add accents to the shell of the snail as well as added sparkle with my clear shimmer pen. 
  • I then cut out the entire image and adhered it to the background I created with 3-D foam tape. 
  • The sentiment is from the Nature Heals stamp set. I thought it was fitting. I heat embossed it on black card stock and cut it out going around the words. I then used the same patterned paper to add the sentiment too and cut around the sentiment again to so it didn't get lost against the black and white background. 
  • I added the background mat to a black piece of card stock and adhered it to an A2 size base. 
             Here is card number two I created using using the Snail with Whimsical Mushroom stamp:

  • I randomly stamped the image on white card stock with light grey ink. I used a scalloped edge die to cut out the randomly stamped background. I then stamped the image on top of the same piece of card stock in black ink. 
  • The colored the snail body, leaves and trunk of the mushrooms. I paper pieced the snail shell and mushroom tops. 
  • I heat embossed the Get Well Soon sentiment in white on black card stock. The sentiment is from the Simple Sentiments 2a stamp set.  
  • I added a few embellishment gems to finish this card off. 

I hope you are inspired! Thank you for stopping by and Happy Crafting!