Monday, January 14, 2019

Eiffel Tower in the Spring


I found this information about the Eiffel Tower on the internet and thought I would share it with you.  These are not my own words.
The Eiffel Tower, as the name might suggest, was designed and built by Gustave Eiffel's engineering company, Compagnie des Établissements Eiffel

Contrary to popular belief, however, Eiffel himself has very little to do with the tower's design and actual construction.  The tower was designed by two of Eiffel's senior engineers, Maurice Koechlin and Émile Nouguier. The tower's design came about after a discussion about a suitable centerpiece for the 1889 Paris Exposition.

The Eiffel Tower was originally constructed for the 1889 Paris Exposition.
It was specifically intended as the grand entrance to the Exposition and was not meant to be a permanent feature of the Parisian skyline. After its official inauguration in March of 1889, the tower was supposed to stand for 20 years and be dismantled in 1909.

This was the total time limit awarded to Eiffel for his permit to build it. Once ownership reverted to the City of Paris the original plan was to dismantle it. In fact, part of the original competition rules was for the winning structure to be easily dismantled. But as it provided a great radio antenna it was allowed to remain standing after the permit's expiration.

So  groups of  tourists travel to see the Eiffel Tower many years after it was built. 

I used Technique Junkies Shimmering Bliss sprays to color the scene.   The Technique Junkies Collage Eiffel stamp is so lovely.  The truck comes from the Technique Junkies Stamps Enjoy the Ride.  I used a small portion of  Technique Junkies Key Script to stamp the die cut circle at the top left. 

Please remember using the discount code TJ10Judy will discount your entire order amount by 10%.  

Have a wonderful day, and get inky!

Sunday, January 13, 2019

My Friend In Paris

My card today features the January release stamps Paris Postmark and French Sentiments
I went neutral with my background, stamping the Paris Postmarks onto kraft card stock, and adhering it to a kraft A2 card.  Before I adhered it, I dyed the edges of the card front with Blueprint Sketches distress ink, and added a satin ribbon and double looped bow.


I stamped the Mon Ami (My Friend) from the French Sentiments set, onto a kraft card stock scrap, mounted it onto a piece of some dyed blue to match the card front, and adhered with foam tape for dimension.  I also distressed the edges of the main panel and this piece with vintage photo distress ink.

My middle school granddaughter takes French, so she was able to tell me what the sentiments in the French Sentiments set say.

Did you know that you can get a 10% discount on these or any stamps in the Technique Junkies line by using my code, TJ10 Lynda, at checkout?  Bon shopping!  

Hope you were inspired by my card.  

Blessings,

Saturday, January 12, 2019

Shiplap & Sunflowers


Hello Junkies! 
It's Ceal here to share a card using one of our January releases, Weathered Wall which remind me of shiplap.  I love all things farmhouse so you can imagine how much I love this background stamp, especially paired up with the Single Sunflower. You can save 10% off these two stamps plus you entire order (excluding clarence) by using my code TJ10Ceal

To create this card I started with a white top folding card base, a gray panel and a white panel to stamp the image on. I stamped the Single sunflower and then masked it off and stamped the Weathered wood background in Gina K Moonlit Fog. 
I removed the mask and then colored the sunflower using Copic markers. To finish the card I added the Just For You greeting. 


Friday, January 11, 2019

TJ Inkspirations: Sprayed Stencil Layers (and a discount!)

One of the things I love about January is the wintry weather - mainly because it gives me an excuse to stay inside and craft!  Sometimes, though, it can be hard to get started, so I turn to an easy technique to jump start my creativity.  The tutorial today is GREAT to provide that jumping off point, since it is easy to do and has such a pretty result.
The video today shows you how to layer stencil designs using Shimmering Bliss.  The video is relatively short - meaning that you can achieve pretty results quickly too!
To help you get started, You can take 10% off the individual Shimmering Bliss  
sprays using the code sprays10 at checkout. If you haven't tried the sprays before (or if you are collecting them), a little money off can't hurt!

Here is the artwork from the video:
Layered Stencils


And the video:
Sprayed Stencil Layers
I hope you are a little inkspired by today's issue. See you next week!
 
Sincerely,
 

Pat Huntoon
Technique Junkies LLC 

Wednesday, January 9, 2019

JE T'AIME

And speaking of love, I am IN LOVE with these two new stamp sets released this month. Collage Eiffel (S786) and French Sentiments (SS103) are just so merveilleux (wonderful) and go so well together. And who doesn't love shaker cards (one of my favorites!)?


Shaker cards are not difficult...just a little time-consuming. But oh so worth it! Basically, I stamped the image on white CS using Memento Ink (London Fog). Using Angel Pink and New Sprout Memento Ink and a sponge dauber, I added some subtle color to the panel. I sprayed another piece of CS using Shimmering Bliss in Festive Flamingo and Thulian Pink. I then used two rectangle dies to create frame from the sprayed piece.  After attaching a piece of acetate to the back of the panel, I set it aside and worked on the "well" for the shaker elements.

Using foam adhesive, I trimmed pieces to snuggly fit the perimeter of the stamped piece of CS. You always want to make sure your corners are flush so no "sparkle" falls out. I added the hearts, then attached the framed acetate to the top. That panel was then attached to an A2 card base that had also been sprayed with Festive Flamingo and Thulian Pink.


I then stamped the sentiment using Memento Tuxedo Black Ink, trimmed the piece down, and sprayed with the Shimmering Bliss. That piece was then attached to the card front with foam adhesive.


I love the combination of the glistening bright colors of the card and subtle colors of the background, and all those fun shaker bits!

Here are the images of the stamp sets used:

COLLAGE EIFFEL (S786)
FRENCH SENTIMENTS (SS103)
In case you missed them, check out Technique Junkies for all the new releases...I'll bet you'll find something magnifique! There are also some great Shimmering Bliss and Stamp Bundles. And don't forget to enter my special code (below) to save 10% on many of your items!

Hope you enjoyed my project today and felt a little "Ooh La La!"  

Til next time,
Keepin' It Inky!


Monday, January 7, 2019

Life is Always Better With Coffee!


Happy Monday!!!

Don't forget that today is the last day to get a discount on all the January release stamps!
15% off and if you use the code TJ10Jeanne you can get an additional 10% off! 


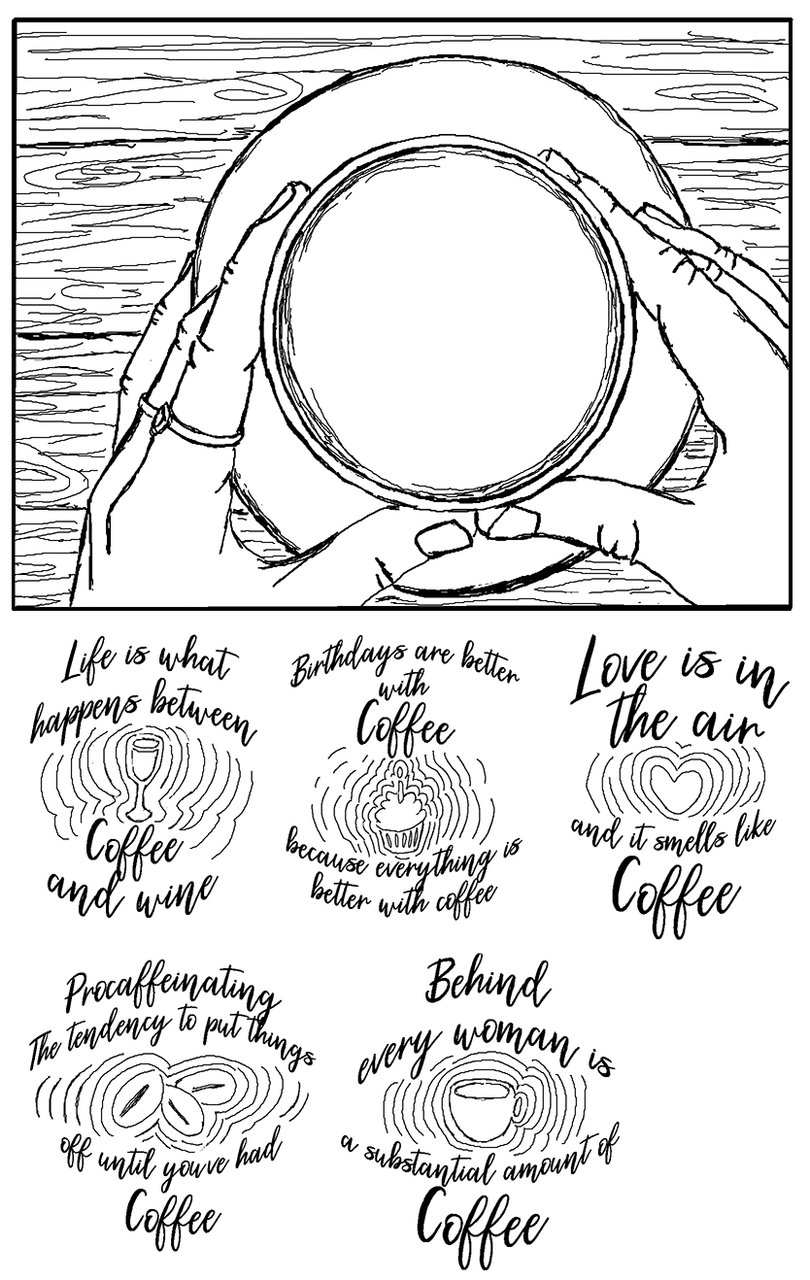
Today's project uses Better with Coffee Set of 6
Look at all the fun phrases for the coffee!


Here is another look


Hope you enjoyed my project!

Sunday, January 6, 2019

Birthday Beignet


Good Morning!!

I hope you enjoyed a wonderful holiday!
It's back to the normal routine for me now, I'm just taking down the decorations and trying to bring some semblance of order to my house!!!

I've had this sweet stamp around for a bit and i've been just itching to use it!!!

The Stamp is called:

See that little bit of texture in the background?
I created that using the Scribble Circles Background Stamp

Such a fun fun card to make!!!!

Have a wonderful Sunday and Enjoy some Donuts

En Francais? = Beignet~

--Vicki~~