Saturday, October 16, 2021

Glittering Jingle Bells


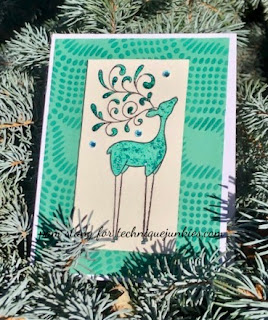
 Our Sleigh Bells Ring sentiment pairs beautifully with our Jingle Bells stencil. The stencil uses Gold Izink Diamonds from Aladine for shimmering, stay-put, glittery color.

www.techniquejunkies.com Pat Huntoon

Friday, October 15, 2021

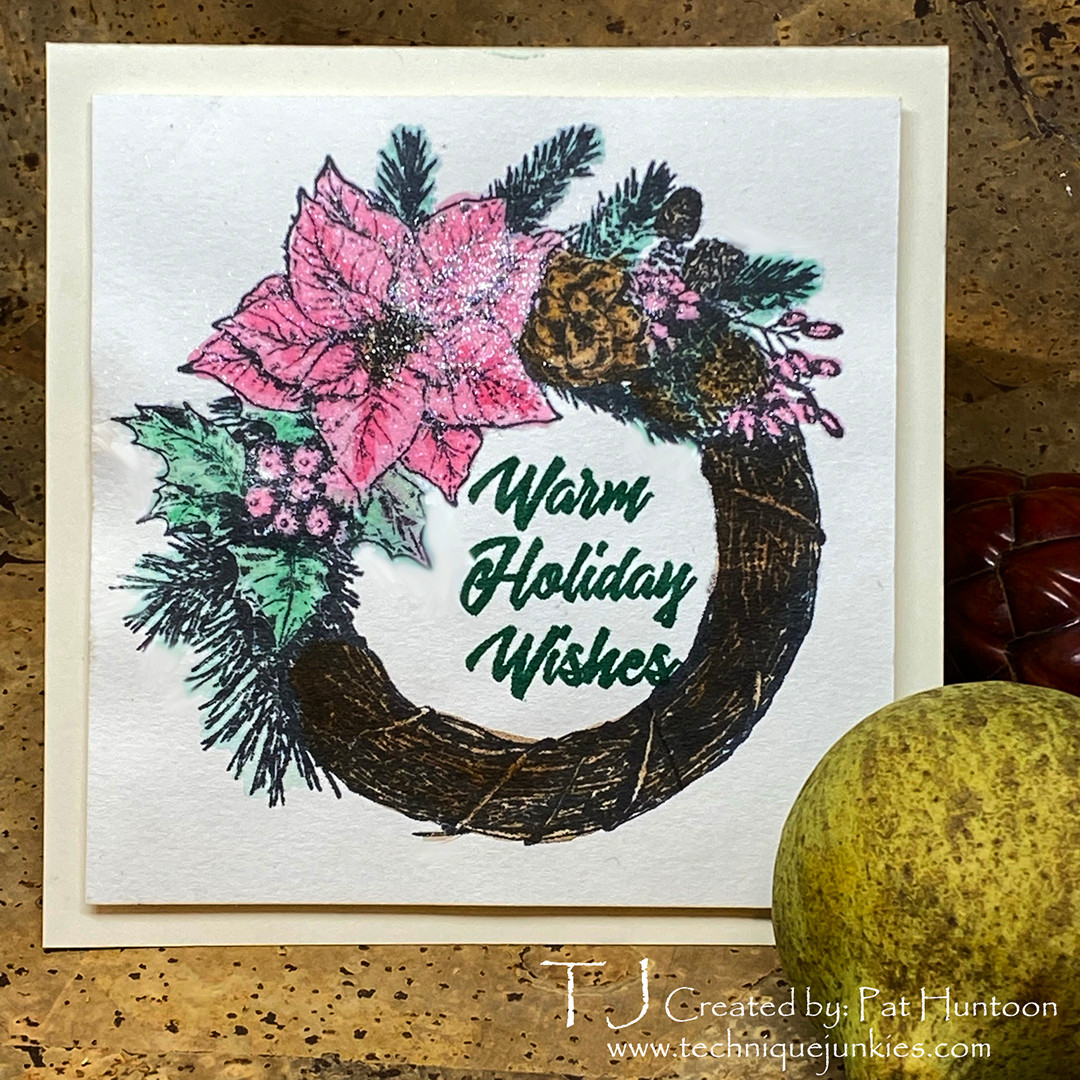
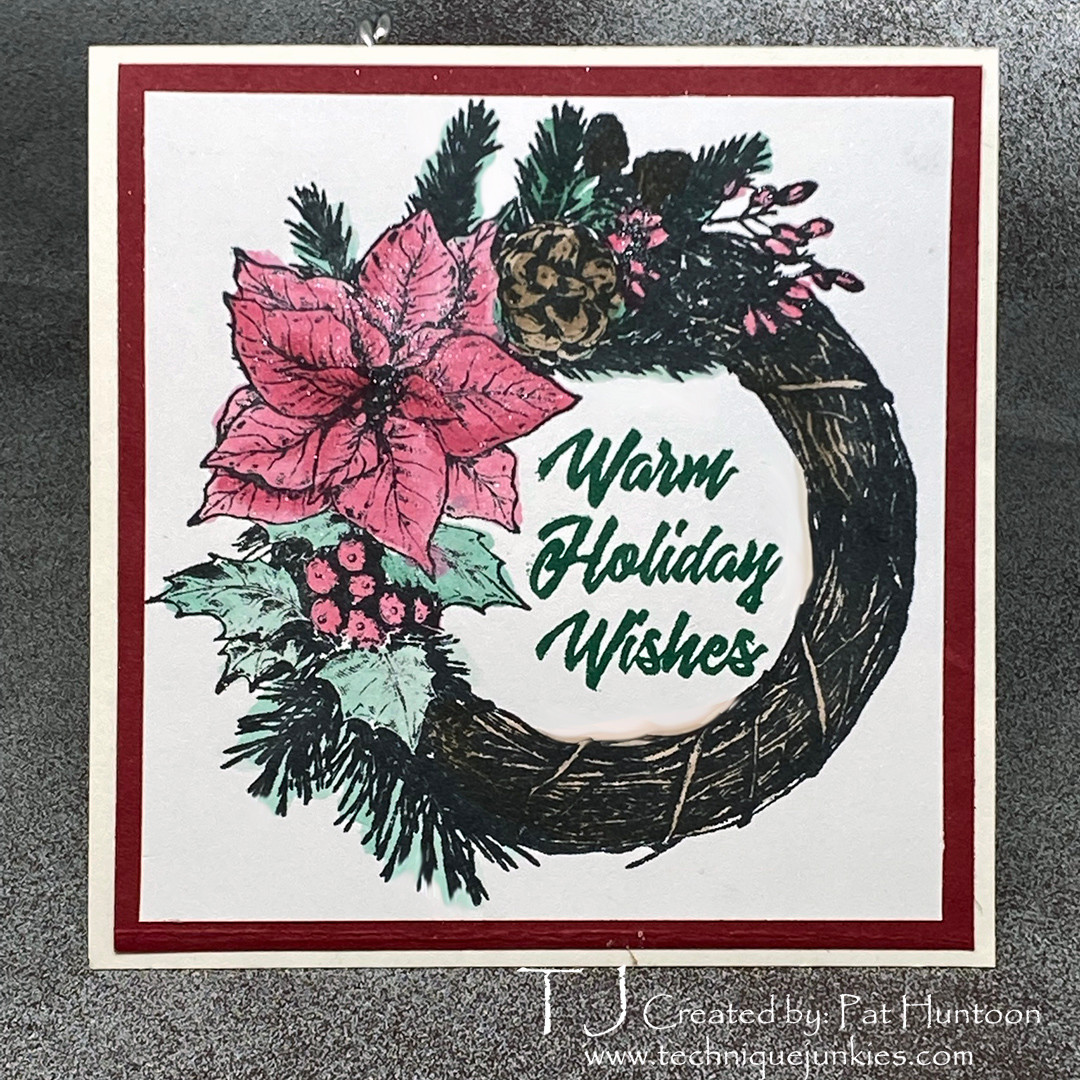
TJ Inkspiratons: Wreath Wishes Watercolor Card


This couldn't be easier!
Easy Ink Pad Watercolor!
Today we are making the easy card shown above with the Poinsettia Wreath Wishes Set and just a few Catherine Pooler Inks. I continue to be incredibly impressed with the Midnight Black Ink Pad - it is wonderful to watercolor with. There wasn't even a hint of black ink moving around on the watercoloring!

I have a kit with this video, too. You may notice that the black ink is not included in the kit. The reason I did that is because I plan on using the pad for future tutorials and I don't want to put it in every kit, since many of you order kits frequently (and you only need one). Make sure to get yourself one, though - you will NOT be disappointed!


Here is the video:
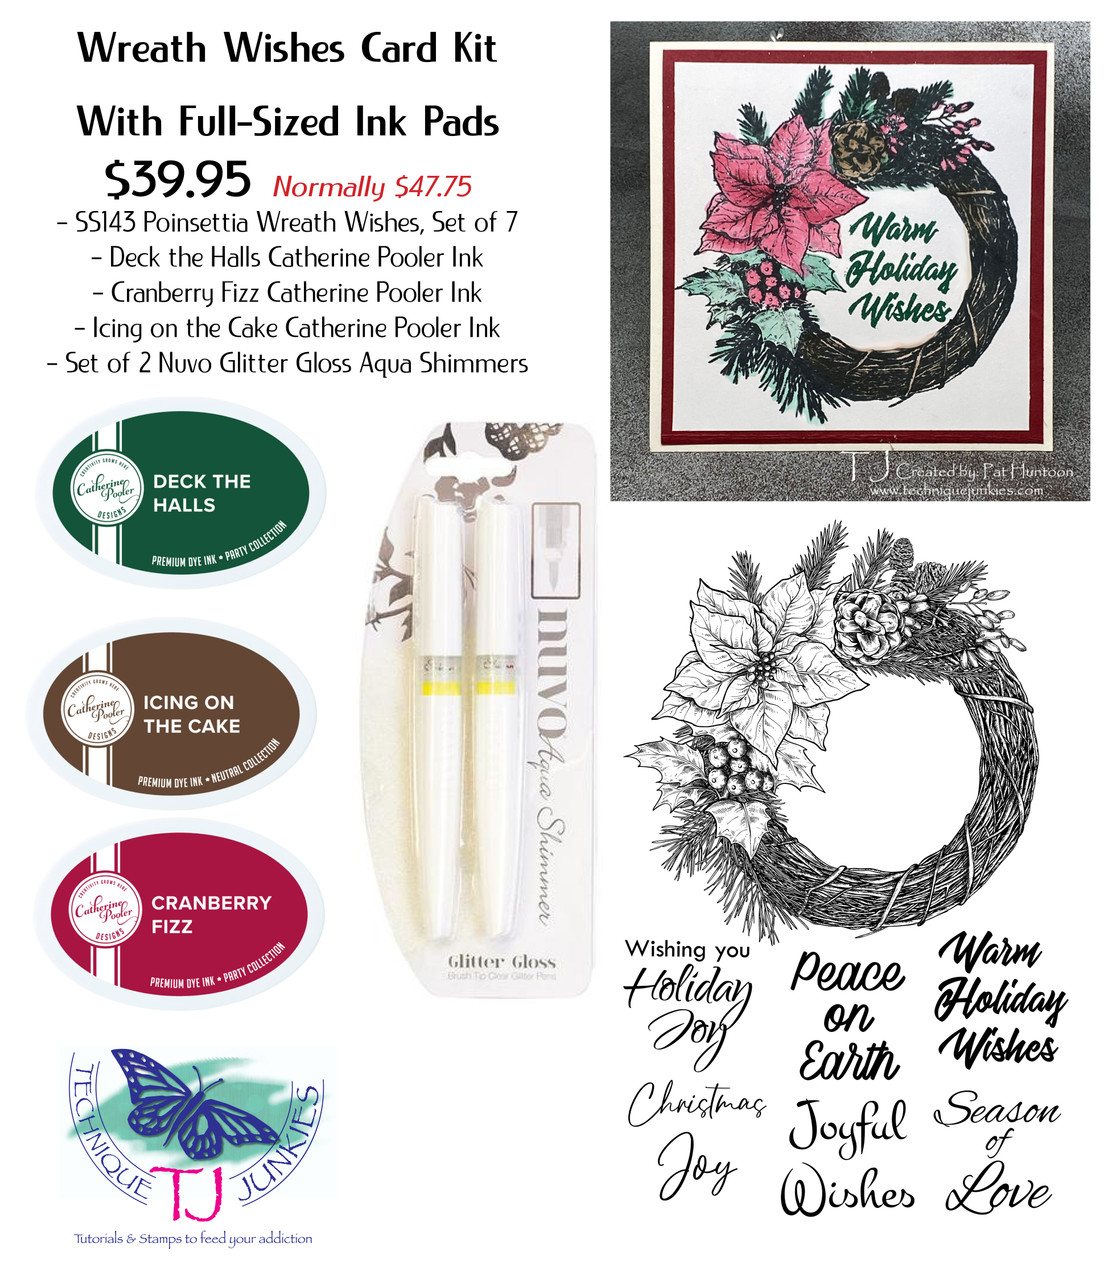
Wreath Wishes Watercolor Card Kit
Here is the kit:
On the Road Again!

Meet us on the Road at our next show:

Hampton VAOctober 23 - 24

Allentown PA: October 30 - 31

Thursday, October 14, 2021

Poinsettia Wreath Wishes

Hello Friends!

I'm up on the Technique Junkies blog to share two pretty cards, using beautiful new stamps from Technique Junkies.

The #SS143 Poinsettia Wreath Wishes is one of my favorites from this release. The set includes the wreath stamp, and 6 sentiments: Wishing you Holiday Joy, Christmas Joy, Peace on Earth, Joyful Wishes, Warm Holiday Wishes, and Season of Love. I thought it might be fun to create a couple of different looks with this set.

For my first card, I used an Ink Blending Brush, and some Distress Oxide Inks to 'antique' the background a bit. The image and sentiment were then stamped in brown ink, and colored with Copic markers. Next I took the Shining Star Stencil, and made up a glitter paste to spread over the stencil, being sure to go just to the edge of the image. The flowers and leaves were covered in Glossy Accents and set aside to dry. The focal panel was adhered to a burgandy card base. Last, I added a few dots of gold Stickles for some additional shine. I'm pleased with the way it turned out!


The second card was fun, veering away from traditional Christmas colors to a pretty pink and mint green. Again, the image and sentiment were stamped with brown ink, but this time the coloring was done with colored pencils. I squeezed on some Diamond Stickles over the entire image for a 'snowy' look, added a few dots of Gold Stickles, and went to work on the background. Using a straight edge, I drew diagonal lines with the pink pencil, and began coloring in the stripes with pink and mint green pencils. The focal panel was adhered to a pink card base. This one made me smile!


I'm such a Christmas Junkie - am loving this release!

So glad you stopped by today!

Don't forget!!! You can always save 10% on any order by entering TJ10Patti at checkout.


Be sure to head over to the Technique Junkies store and do a little crafty shopping!

Hugs and smiles,
Patti J.

Wednesday, October 13, 2021

A Retro Reindeer Christmas

Today I am showcasing this wonderful October 2021 release, Retro Reindeer (#SD1119) and two great sentiments, All is Calm (#SDX079) and Seasons Greeting (SDX158). I decided to showcase some stencils and a few different mediums while keeping a monochromatic look on each card.

My first card below was stamped on watercolor paper and colored in with Bermuda bay. Next, with the fabulous IZink Diamond glitter Paint in teal, I painted the antlers and the body with it. The background was inked in with Bermuda bay using the Dotty path stencil from ACLD. A couple rhinestones for interest and image popped on dimensionals.

My second card was stamped on watercolor paper and colored in with Inka Gold in gold. The sentiment was stamped and punched out and the gold was placed around it as well...layering with a black mat. Using the tree stencil, I painted the Inka Gold onto my background. The image and sentiment are on dimensionals.

My third creation I stamped the deer on watercolor paper and watercolored the image in red. The Big Splash Stencil from ACLD was used and I watercolored in red. 3 big rhinestones and a little one and the sentiment and image are on dimensionals.

My last card was done using a tannish/brown Zig watercolor brush marker for the anters and body of the deer. The background was done using a woodgrain embossing folder and then swiped with an antique linen ink pad....the main image and sentiment were swiped with it, too. Some organza ribbon and a banner sentiment.

Head over to Technique Junkies for some wonderful, quality red rubber stamps. Please feel free to use my code TJ10Pam to receive 10% off of your next order.

Here is the entire October release below...so wonderful! You can make some gorgeous creations for Christmas!


Have a wonderful day!

Pam


Tuesday, October 12, 2021

Stamping & Fussy Cut Christmas Card


Want to add some extra special detail to a few Christmas cards this year? Adding a little effort to one or two cards in your project stash is well-worth the effort, especially when the card itself is the gift. I like to do this with my older family members or for those who live far away; they always appreciate the time it clearly takes to stamp, color and fussy-cut a lovely card.


This new release set is absolutely gorgeous, and you will be able to make SO many lovely projects with the stamps! (Make sure when you shop, enter coupon code TJ10ERIN to save 10% on your entire order!)


I used Archival Ink to stamp the Christmas Card Frame onto white cardstock. Then I stamped one of the "Light of Faith Sentiments" in the center. After that, I used Distress Inks and Distress Oxide Inks and a water brush to add color to the leaves, pine boughs, pinecones, and star.


With some "Dragon's Blood" Shimmering Bliss Spray, I added the red color to the ornament and the berries. I love the shimmer it gives!


Once it was colored, I used a craft knife to cut out the intricate details inside the branches. Then I used detail scissors to fussy cut the outside of the entire stamped image. I mounted it on a piece of die cut patterned paper from "This Miracle Night" paper collection by Craft O'Clock and embellished the card with a few fussy-cut elements also from the same paper collection. As a final touch, I added a few sequins.
I did the same process on a second card, and created a video tutorial as a companion. If you are interested in this process and want to learn to color with inks or to fussy-cut stamped details, check out the video below:


Thank you for looking! 


Monday, October 11, 2021

Promise and Hope


This slimline card was created with silk poinsettias and a die cut Nativity scene.  The black card stock in the back was pierced with a slimline piercing plate.    I used yellow Prills in the center of the poinsettias.   The verse was heat embossed with detail white embossing powder.  It is from the set Light of  Faith. 

If you purchase items not on sale, you can get 10% off those items by using TJ10Judy.


Have a  great day and get inky! 


Sunday, October 10, 2021

Moonlit Sleigh


Hi Junkies, it's Holly posting today.  We are celebrating Christmas in October over at Technique Junkies this month, and there are lots of wonderful new Christmas stamps waiting to jump into your cart.  I used two of the new stamps on this card today, Santa's Sleigh and Merry Christmas to All.

I started by stamping an older stamp called Hillside Pines on the bottom left corner with a permanent black ink.  I then angled the Santa's Sleigh to look like the reindeer were gliding over the pine trees, and then I stamped it with the same black ink.  I set this aside to dry for a few minutes because I didn't want any of the black ink to smear while I was adding the blue and purple inks over the background.

Once I was sure the black ink was set, I used a small circle punch to cut a circle from a sticky note.  I placed this sticky circle over Santa and the sleigh, and then I brushed on some blue and purple inks all over the card.  When I was done, I removed the sticky circle mask and very lightly added a little bit of blue ink to the "moon."  I let this piece dry for about five or ten minutes before I moved on to the sentiment.  Because I wanted to emboss the sentiment with white embossing powder, I needed to make sure my card panel was completely dry.  I stamped the Merry Christmas to All with Versamark and covered it with white embossing powder.  Then I tapped off the excess powder and heated the sentiment until the white powder melted.

Please feel free to use this code, TJ10Holly, to save 10% when you shop at Technique Junkies.  If you are a fan of Catherine Pooler inks, they have just been added to the Technique Junkies store (yay - I can't wait to try these!).  You can also find stencils and Shimmering Bliss and Aladine glitter paints.  Have fun shopping!