Sunday, April 14, 2019

Easter Bunnies...celebrating Spring


Easter is just around the corner! Nothing celebrates the sweet renewal feel of the season like this Spring Bunny.  I love this little guy! I just adore his realistic look, and the tulip he is paired with can be colored in many ways, making it a very versatile stamp. 

I colored him with Copic markers, and I chose to make my tulip a strong red to make it really stamp out. After coloring, I cut him out, then placed my bunny over a panel stamped with Happy Easter and matted that to match red of my tulip. 

When searching for a background, I thought the Sketched Tulip stamp was just perfect, so I stamped it in green, in alternating directions, using my MISTI to line up the stamp perfectly on the background. I wanted a springtime, sketchy-flower feel, and I think this stamp truly did the trick.

This season, I am fortunate to have booth my boys home for the Easter holiday --  one of the many blessings I have to keep my heart full.

I hope your springtime season is happy, full of blooms and renewal!
Pat Huntoon

Saturday, April 13, 2019

Wildly Colorful and Capable


Happy Saturday morning Technique Junkies! This is Janelle here today with a colorful, creative card for spring using a variation of a favorite crafting technique.

Have you looked at the new April release yet? Stop here and see it!
Use this 10% discount code, TJ10Janelle, anytime when shopping at

If you've done a pouring technique, you'll realize this is definitely using less paint medium and the addition of water to create something similar to an original pour look. Take a look at the supplies and instructions then give it a try!


Supplies:

  • Wildly Capable Stamp
  • Poppies, Large Stamp
  • Craft Acrylic Paint (3 colors or more)
  • Water Spray Bottle
  • White and Blue Cardstock
  • Waterproof Ink Pad
  • Spoon or Palette Knife
  • Palette or small bowls
  • Painter's Tape
Directions:
  1. Mix craft paint colors (about a pinto bean size amount) with a teensy bit of water to the consistency of thick syrup. 
  2. On white cardstock that has been taped down onto a flat surface, drip three round puddles of one color then dripped right on top the next color, then the third color. 
  3. With leftover paint, drip randomly around the main paint puddles. 
  4. While still wet spray over the whole thing with water. 
  5. Let it dry or speed it up with a heat tool very carefully.
  6. Trim to card size and stamp Poppies with black ink, make sure that it's dry before gluing to card base.
  7. Paint white cardstock with one of the paint colors, dry and then layer behind sentiment stamped on white cardstock with black ink.

Check out more Technique Junkies projects on my blog at Rain Puddles Design. Thanks for stopping by today!

Have a great weekend!

Friday, April 12, 2019

TJ Inkspirations: Shimmering Glazed Hot Peppers

I like things HOT, especially my food! Today I celebrate the heat with this fun Hot Pepper Video. In just 3 minutes you can see how we made this shimmery glazed background and topped it off with a fiesta!
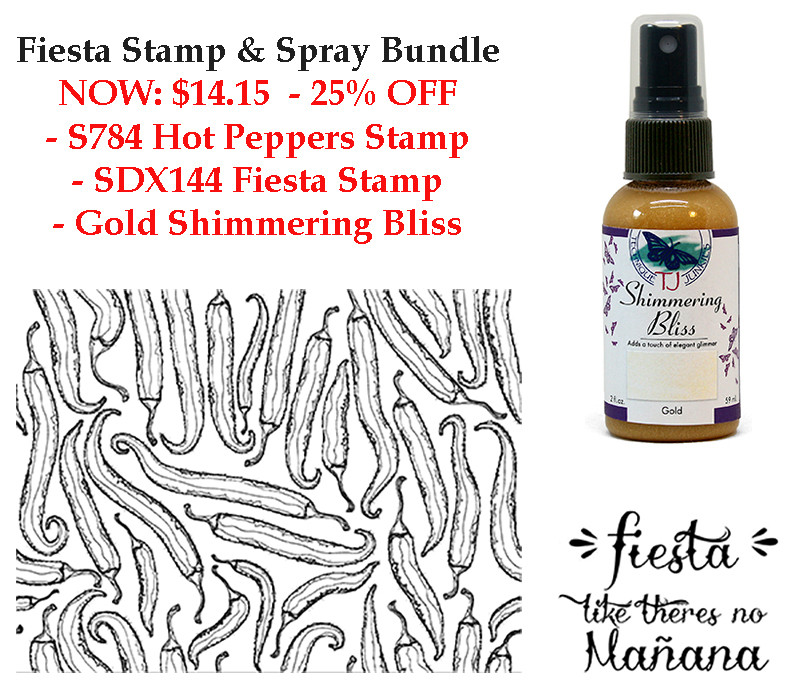
I put together a little bundle for you, too -- both stamps used in the video, plus the Gold Shimmering Bliss Spray -- and I discounted it by 25%. With Cinco de Mayo right around the corner, our Fiesta bundle is just in time for the celebration.
Fiesta Stamp and Spray Bundle

Before we get tot he video, you just have to check out this gorgeous shimmer:


Ready for inspiration?
Here's the video:
Shimmering Glazed Hot Peppers

I hope you are a little inkspired by today's issue. See you next week!
 
Pat Huntoon
Technique Junkies LLC 

Thursday, April 11, 2019

Hot Peppers for Dad


Hello friends!!
Giovana here posting a little late, goodness, I thought I had a project already scheduled, but looks like I forgot, lol.
Today, I am thinking ahead and ready for "Father's Day"
I don't know if your husband or male figures in your life love spicy food but mine does!
The spiciest, the better!!

Let me tell you the details about this project
Stamp Hot Peppers Background on white cardstock in Black Ink.
Color pepper with markers, here I used Copics.
Trim panel to 5" x 3.75", add foam tape behind and adhere it to a White Card Base.
Stamp Happy Father's Day sentiment on white cardstock in Navy Ink. Trim and adhere it to  piece of Black cardstock and adhere it to card.
Add few Black Nuvo dots.


Use my TJ10Giovana code for a 10% discount on your order.

Hope you like this project.
Have a wonderful day!


Wednesday, April 10, 2019

Wedding Scribble Roses

This weekend I purchased some Distress Resist Spray, so I thought I'd give it a try with the Scribble Roses Stencil.  Remember, you can use my code TJ10Stephanie for 10% off your entire purchase at the Technique Junkies Store (which includes stencils, stamps and other products).


Unfortunately I didn't get quite the resist effect I was hoping for (as the spray dried it seeped under the stencil itself, so I didn't get quite the striking resist I was hoping for).

However, when things don't turn out the way you planned ... there is always Plan B ... which for me was some beautiful Wedding cards.  For the blue one, there was a little residual red ink still on the stencil which seeped into the paper (one of those happy accidents) and then when that ink combined with the Ocean Depth Shimmering Bliss Spray, I got hints of purple peeking through the design.


I added a paper flower, some deconstructed bling flourishes and a lovely Mr. & Mrs. Sentiment from the new Technique Junkies Wedding Wishes Stamp Set.

I decided to stick with the Wedding theme for my second card.  In the picture above, I used some Red Distress Inks direct to paper ... but when I went to assemble my card, the red ink started rubbing off, so I wiped it clean and then used some beautiful Thulian Pink and Harvest Sunset Shimmering Bliss Sprays to achieve this gorgeous background.


I added another great Sentiment from Wedding Wishes, some heart bling and then I *tied the knot* with a piece of wide white ribbon.

Remember, if your first attempt doesn't turn out exactly how you pictured in your mind, there is always Plan B.


Tuesday, April 9, 2019

Be a Pineapple

Hello fellow stampers and friends.  Wow, wasn't April's release awesome!?  I had a lot of fun making this card, using Be a Pineapple.  It took precision in my Misti and instead of magnets I had to tape everything with Washi tape.  How in the world I lost two magnets is beyond my imagination.  Have any of you lost magnets? Directions for making this card is below.

For your 10% discount on this stamp, and other purchases in your shopping cart (excludes clearance items), feel free to use TJ10Beth


One of my favourite technique is to sponge inks, blending them to see what the cool results will be.  The directions are listed below:

  1. Take a large pieces of cardstock and cut a triangle in the centre.  
  2. Cut a 4 1/2 x 5 1/2 inch piece of cardstock and holding the cardstock up to the window, or light, centre your card and with painter's tape or Washi tape, tape to ends to the large cardstock
  3. Using the lighter colour (here I used Daffodil Delight) blend the centre, going close to the edges.
  4. Using a darker colour (here I used Pumpkin Pie) and holding down the cardstock good and tight, ink up your edges, blending into the centre.  Be sure you leave lots of lighter colour visible.  
  5. Place the large cardstock into your Misti and stamp until you achieve results that make you happy.
  6. Carefully remove all tape and whalaa, you now have this beautiful one-layer card.  
Once I buy new magnets, I'll make many more of these cards.  Sponging is so fun!

Thanks for stopping by!


Monday, April 8, 2019

Live Life!


I used Floral Border  and In Full Bloom Sentiments to create this card.  I stamped the Floral Border stamp a second time to create a shadow under the verse.  The flowers were water colored. 

And as always the new Technique Junkies stamps are 15% through April 8 - which is today! Make sure you finish shopping soon! 

And Pat Huntoon is offering another "free with purchase" stamp for all orders over $30.00 after any discounts, taxes, and shipping charges. It is called  "I like to Party." It is a fun stamp for sure.

You can use the discount code TJ 10 Judy and gain another 10% off of your total order.  Just put the  code in the code or coupon box.  All other discounts are automatic.

Have  a tremendous day, and get inky!